On site in Pittsburgh

IMG_0515

Hey my sibs,

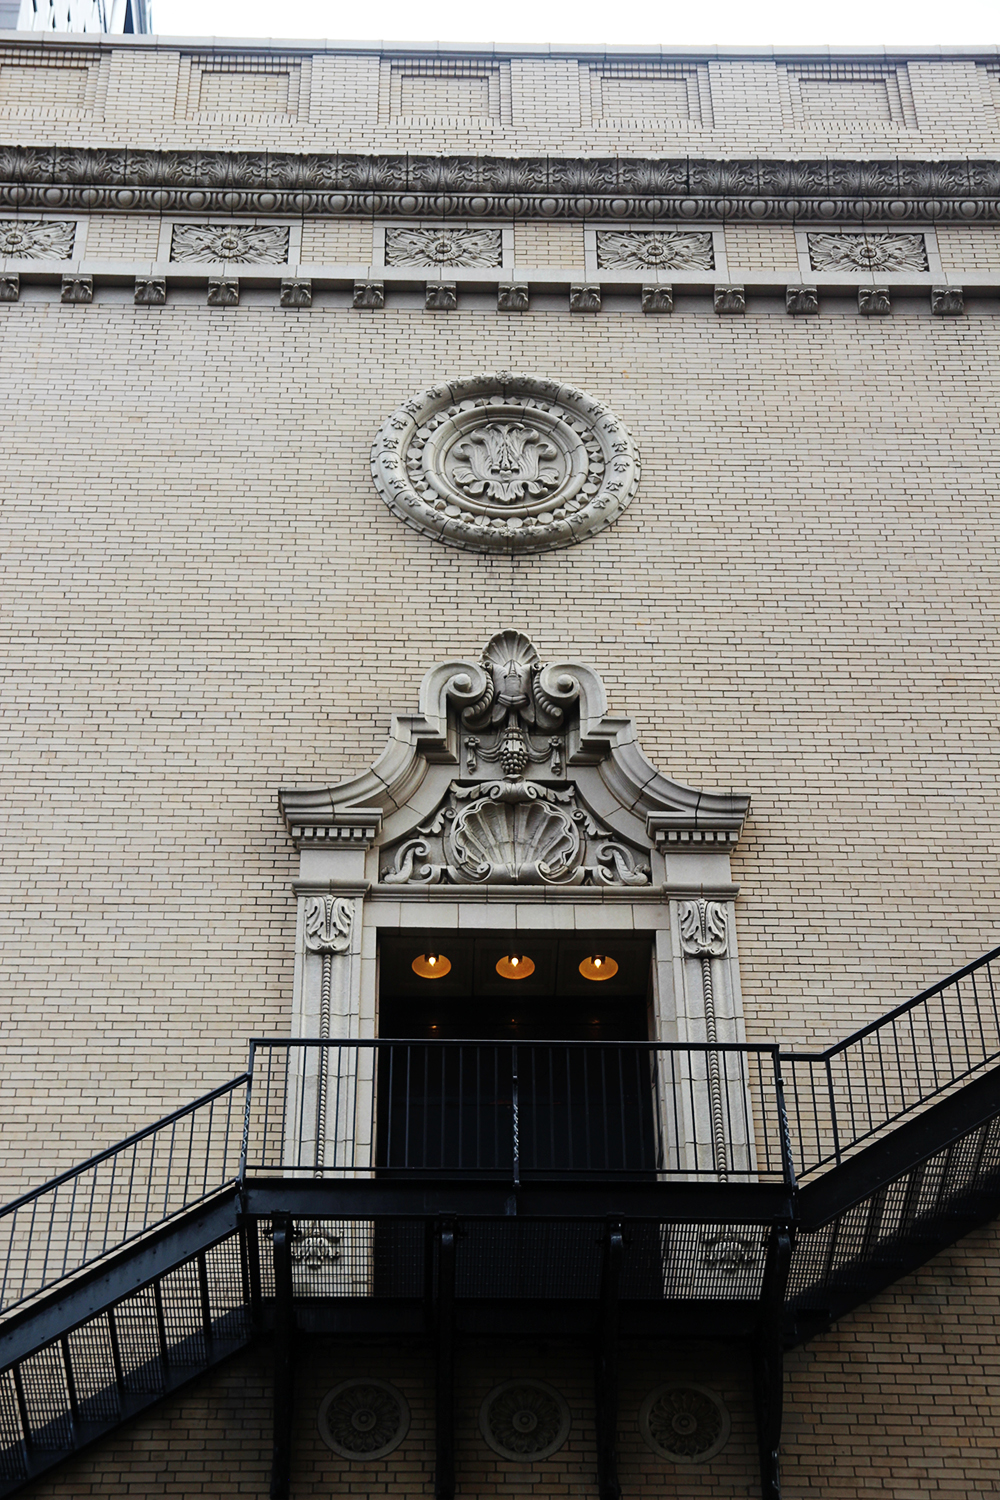
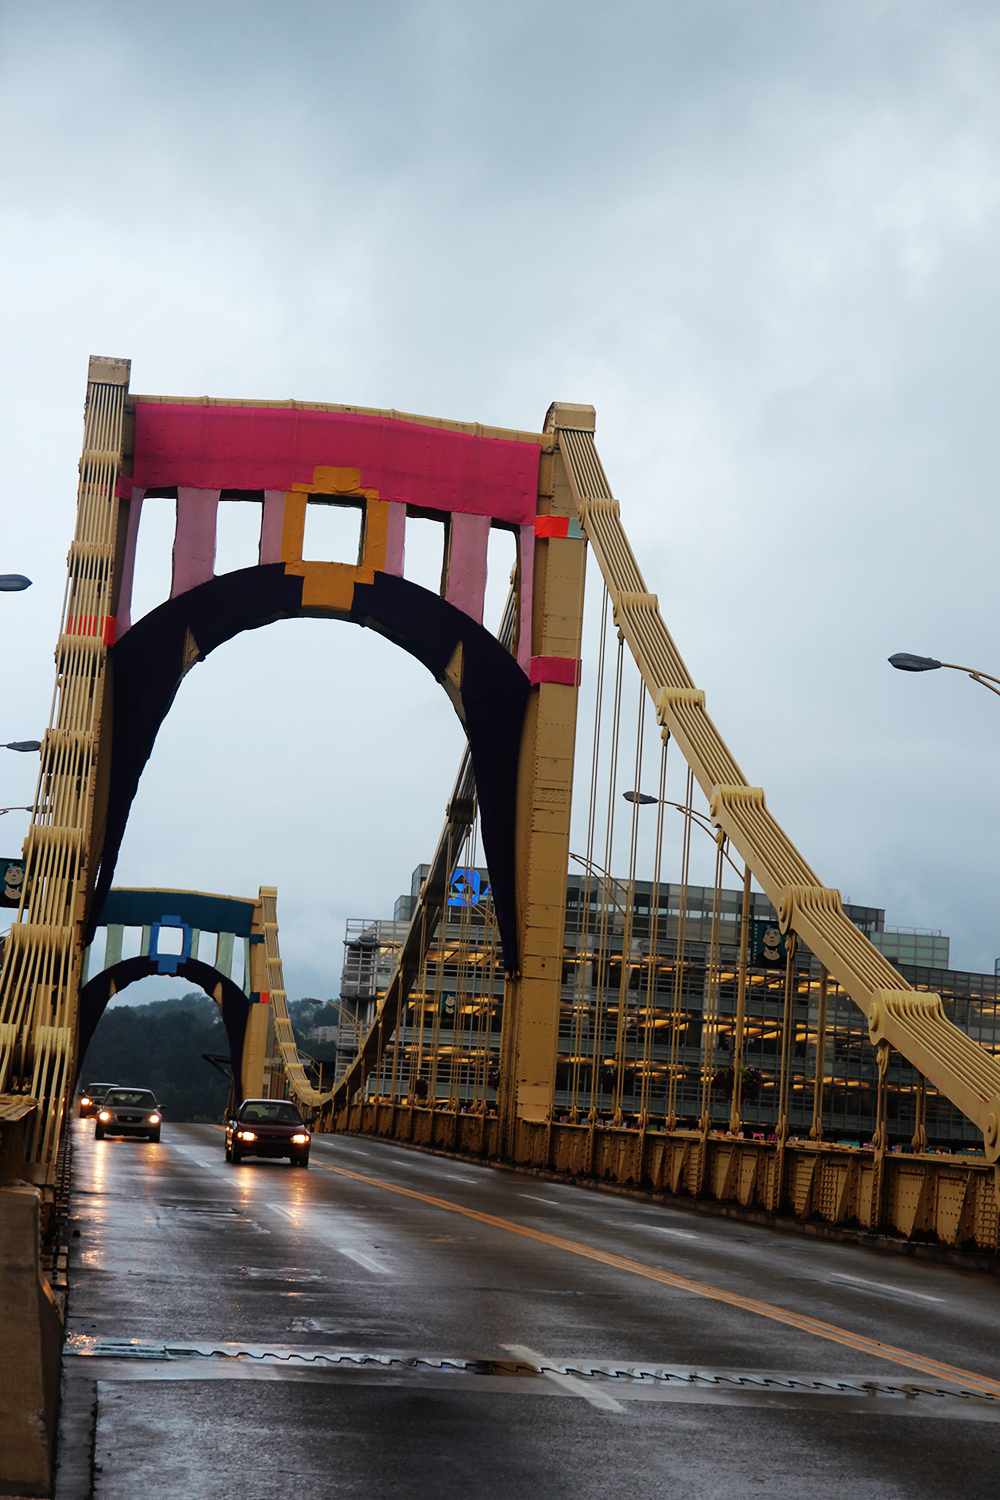
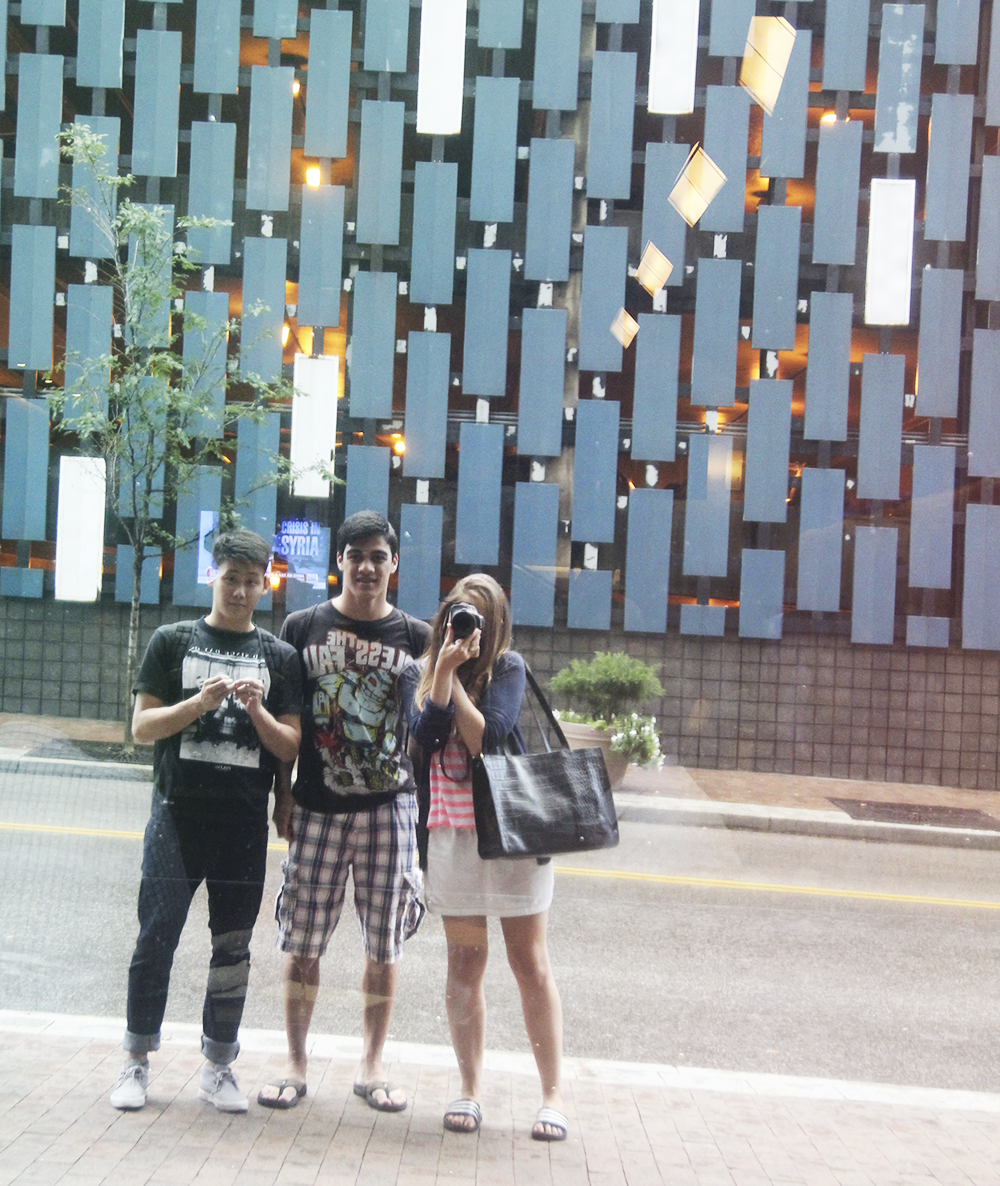
Seeing that I’ve lived in Pittsburgh for 3 weeks now, its high time that I share some snapshots of my new home with you. These photos were actually taken for a school studio project. Groups of three were assigned specific locations around Pittsburgh to explore and photograph. I was one of the three to travel downtown for the exciting photo-expedition. I had no idea where we were headed until I literally stepped off the bus into the classy, theater-filled, waterfront of Pittsburgh. It has been such an interesting place to photogrpah.
IMG_0506_2

IMG_0465
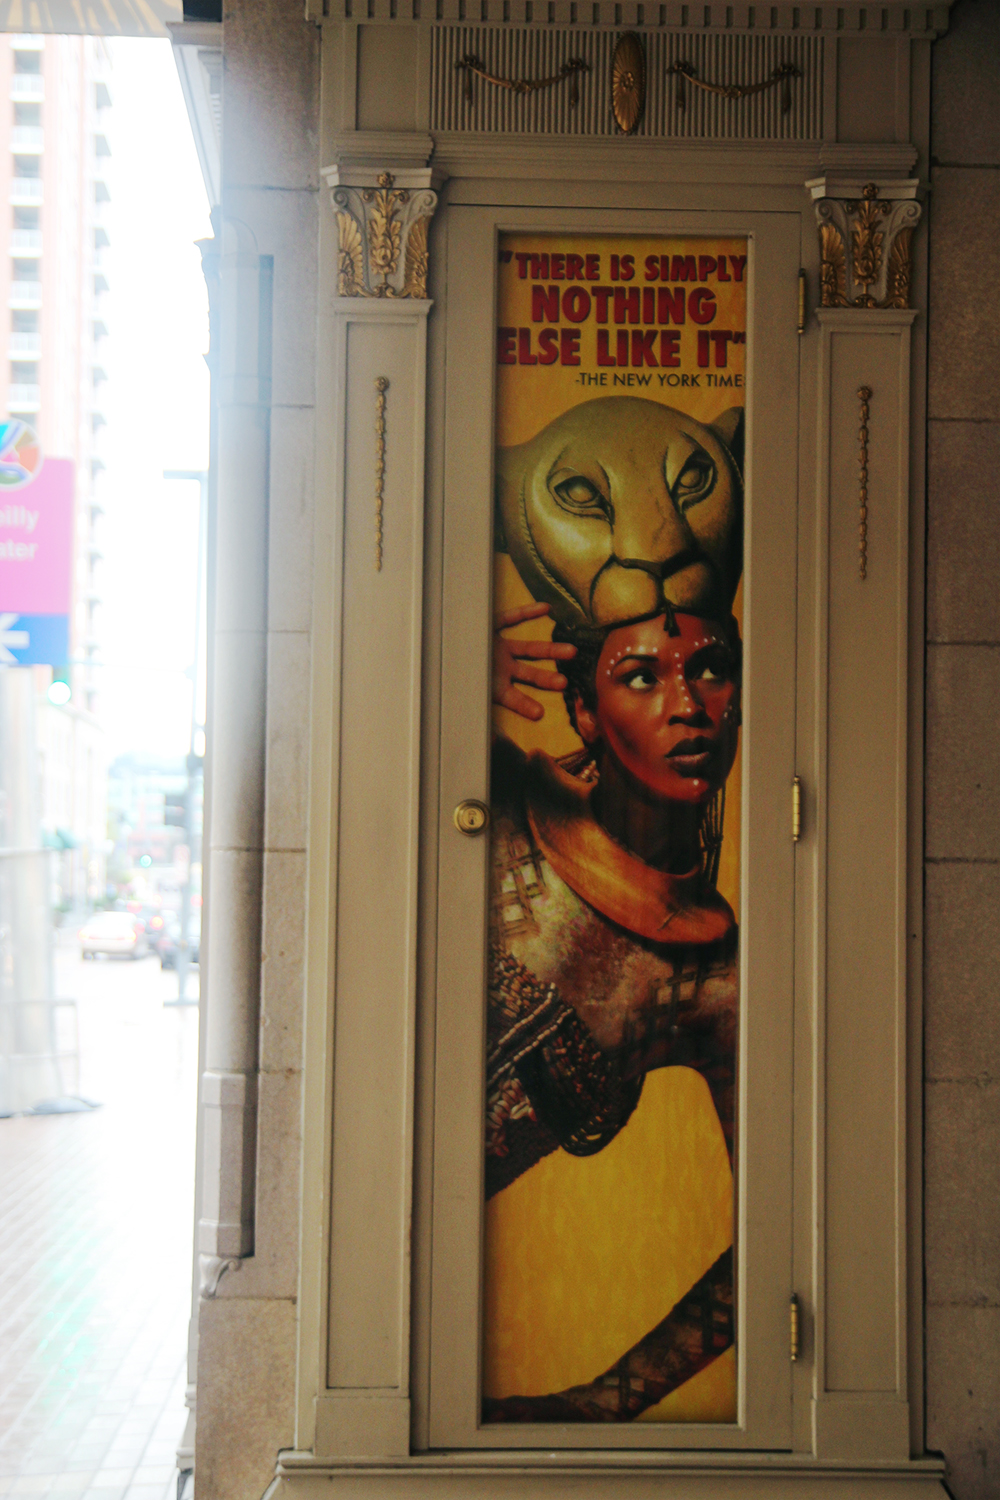
Lion King is in town this month, so all the theaters have festively dawned yellow banners and Safari characters in their windows for the occasion.
IMG_0459_2

IMG_0529

IMG_0499_2

IMG_0474

IMG_0534_2

IMG_0537

IMG_0541As I look back on these few photos, I am again amazed at Pittsburgh’s unique atmosphere. From pink bridges and sculpted flowers, to flash thunder storms and cathedrals, this place is perplexing.

IMG_2265

Thats all for now, I hope these pictures say a thousand words about my experience here so far… its at least a little clearer than telling you about it over Skype 😉 Have a great weekend! Miss you guys!

Cake Challenge: April

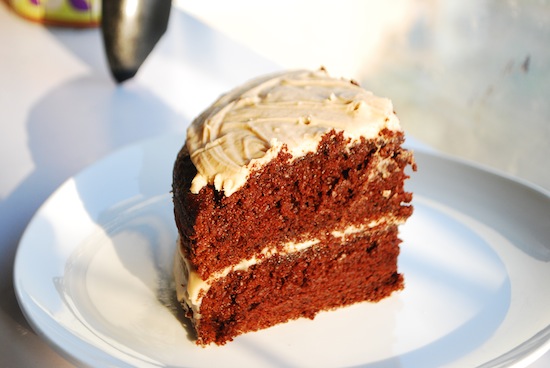
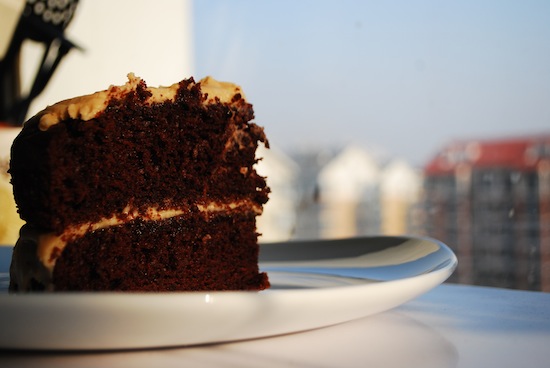
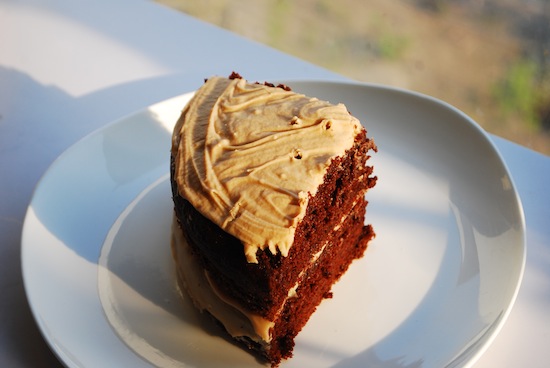
This is the cake I made for Jessie’s Birthday this year. I will just admit straight out that these pictures look like they could be used in a post titled “What Not To Do When Photographing Cake.”

1. Do not take pictures in direct sunlight.

2. Avoid late-evening-lighting because its likely your image will be dark and blurred.


3. Take pictures of your cake “before” you dig in, blow out the candles, and remove candles (leaving horrible little holes in the icing!)

On the other hand, however, the actual cake was deliciously moist and chocolatey. I used the same espresson glaze in January’s cake for the icing, with a white chocolate mousse on the side. Again, I apologize for not showing this cake in its full glory, you’ll just have to experiment with the recipe below and make a beautifully decorated cake to redeem this one 🙂

<Cake Challenge Series: is a collection of posts which document the cakes I bake each month. More specifically, I have a goal this year to bake at least one (hopefully spectacular) layer cake each month, and photograph/post them here. I hope you enjoy this collection as much as I enjoy baking these delicious desserts!>

Other Cake Challenge Posts:
January 
February
March 
May

Chocolate Cake
2 1/4 cup flour
1 cup unsweetened coacoa powder
2 1/4 tsp baking soda
1 1/4 tsp baking powder
1 tsp salt
1/2 tsp cinnamon
2 1/2 ounces unsweetened chocolate, chopped
1 cup milk
1 1/4 cup hot coffee (strongly brewed)
2 eggs
1 cup mayonnaise (sounds weird I know, but this is the secret ingredient to SUPER moist cakes!)
1 1/2 tsp vanilla extract
2 1/4 cup sugar

1. Preheat oven to 350 degrees. Butter 3, 9-inch round cake pans, line each with parchment paper (cut to fit the bottom of each pan).
2. Sift together all dry ingredients (first 6 ingredients listed)
3. Put chocolate in a heatproof bowl. Bring milk to a simmer by heating it in a small saucepan over the stove. Pour hot coffee and milk over the chocolate creating a mocha mixture. Let sit for one minute then whisk to combine.
4. In a mixing bowl beat eggs, mayonnaise,and vanilla together until smooth then add sugar to the mixture. Alternate mixing the dry ingredients and mocha into the egg mixture until smooth. Divide batter into cake pans.
5. Bake for 25-28 minutes. Once cake pans are withdrawn from the oven, let cool 10-15 minutes before removing cakes.

White Chocolate Mousse:
4 ounces white chocolate, chopped
1 cup heavy cream
1 egg white
1 tbl sugar

1. Melt white chocolate and 1/4 cup of the heavy cream in a double boiler. Be careful to avoid overheating the chocolate or it will seize. Whisk and set out to cool.
2. In a mixing bowl beat the remaining 3/4 cup of cream until soft peaks form. In a separate bowl whip egg whites with sugar until stiff peaks form.
3. Fold the egg whites into melted white chocolate (make sure the chocolate is cooled). Finally fold the whipped cream in, as well until just combined (err on the side of under-mixing)

~enjoy 🙂

How To: Become a pro on Instagram

I am constantly amazed by the creativity that shows up on my Instagram feed: the textured action shots , surreal scenes, and incredible landscapes.

In a way, Instagram on the iphone has become a strain of the popular analogue “toy cameras” produced by Lomography.

The trick to this hobby is to use a wide range of apps (not solely instagram) on your phone to get your image just right.

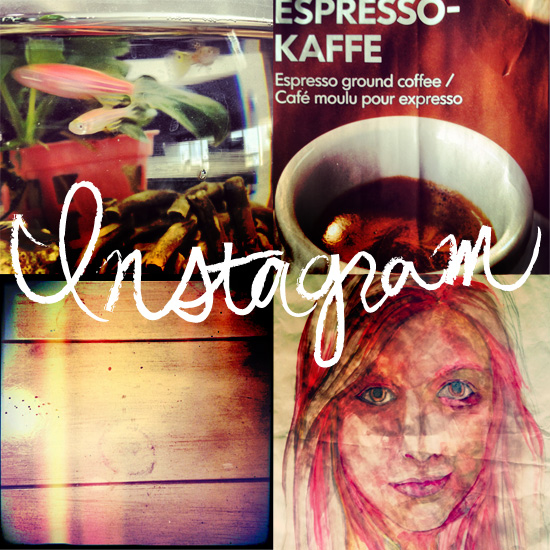
Michael Headrick's Instagrams

To get the most out of your iphone (or android smart phone), here are some apps to really open up this world of photography:

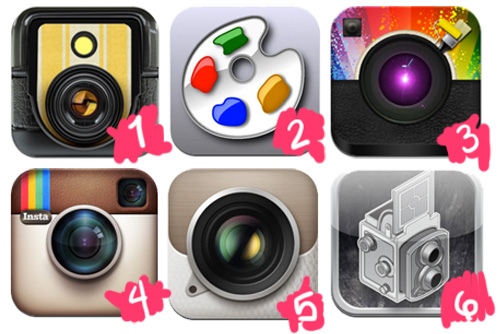
Great photo editing iphone apps.
1. D-Series 2. Art Studio 3. Filter Mania 2 4. Instagram 5. PuddingCam 6. Pixlr-o-matic

D-Series and PuddingCam are both camera applications that have a wide range of filters, and include their own options like image size, resolution, coloring, exposure, and more.

Filter Mania 2 is a bit of a cheesy app. They have many filters for photo processing, but most of them are almost cartoon-ish. However, they can be modified with the luminosity and opacity functions on the app.

My favorite are Pixlr-o-matic and of course, Instagram. Pixlr-o-matic has more freedom, but doesn’t have the strong social media aspect that Instagram has created.

Lastly, Art Studio is an interesting app. The main function is for painting and drawing, but has the capability to load images and gives freedom like blending options. This is an almost photoshop-like app, which you can use to layer images and do more detailed work.

Here are some examples and tips:

These three images were created using a variety of Instagram, Pixlr-o-matic, and Filter Mania 2.

You can add more a more graphic design look with Filter Mania 2, in the top image (the opaque circles and added colors).

Use these textures give your photos a bit of depth and some color interest factor.


The three above were created with Instagram and ArtStudio. All three are layered images.

This adds an interesting aspect to any image. The different layering and blending options utilizes the light and contrast in multiple images to give it a truly unique look.

Lastly: Use Instagram to add the finishing touches (color, contrast and blur) and share with the world!