MeMaw What’s Cooking? Blueberry Pie!

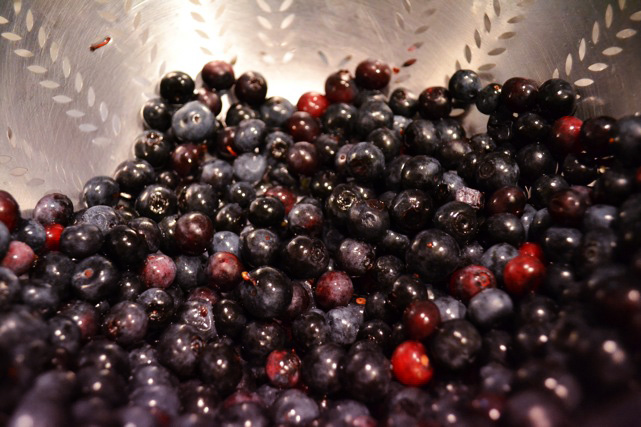
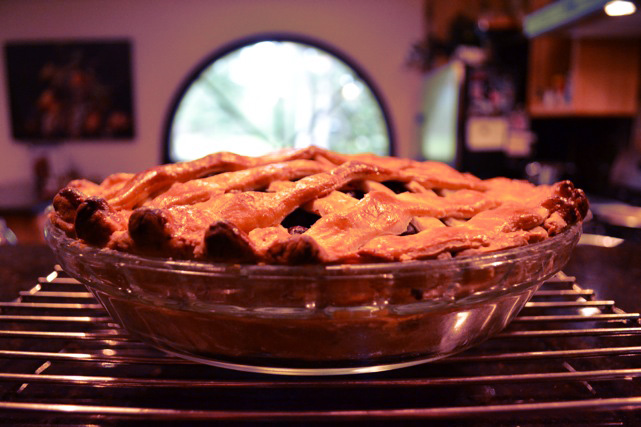
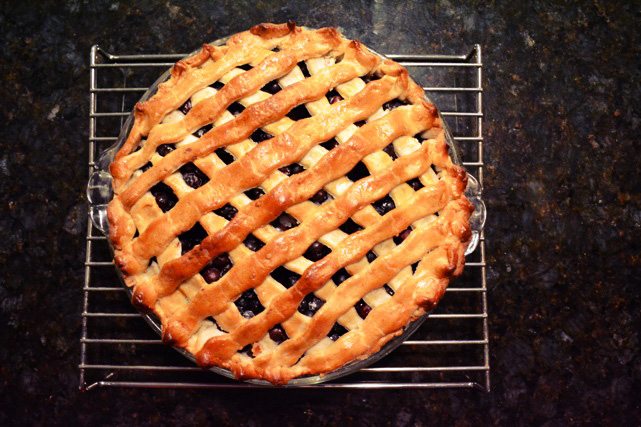
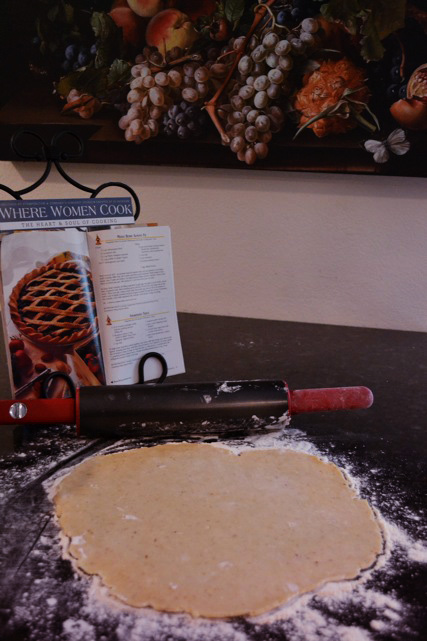
Since arriving in Texas I begged my grandmother, MeMaw, to go blueberry picking – something I haven’t done in four years! On our way back from a long shopping trip we spotted a blueberry picking sign on the side of the road and knew… it was time to pick some berries! Upon arriving at the blueberry farm we plucked and munched to our heart’s desire. Rain clouds finally rolled in, forcing us to finish up. We paid for our 20 pounds (about 30 cups) of blueberries and returned home. The following day I succeeded in talking MeMaw into making a blueberry pie with me; this was the first blueberry pie I ever tasted let alone made! And let me tell you, it turned out delicious!

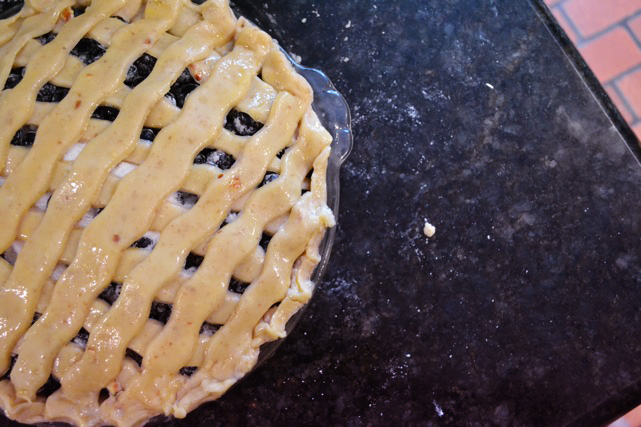
The secret ingredient to a crunchy crust : almonds!

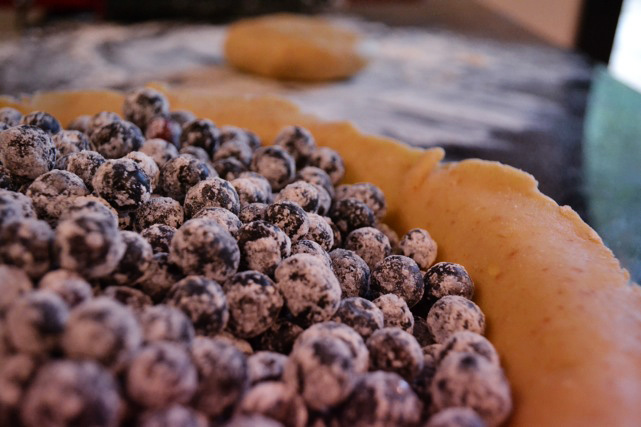
Tartness of blueberries matched with sweet sugar yields the most delicious pies! Tip: when baking pies or crisps, the more tart the fruit, the better the pie… you don’t want those four cups of sugar to overpower the flavor of the fruit.

Summer is a great time for pies, and if you cannot find blueberries: look for peach, strawberry, or even rhubarb; any of these will make a delicious pie!

Another trick: add a layer of granulated sugar directly under the crust, making a delicious blueberry syrup once baked.

Couple your pie with a glass of Southern Sweet Tea or some cool whipped cream.
Beautiful.

Happy Birthday Jessie!

Did you know that Jessie and Maddie are born exactly one week apart (with 2 years in between)?! The month of April is crazy with Birthday frill, delicious cakes, lovely packaged presents and rainbow colored balloons. We celebrated Jessie’s Birthday on Saturday (although her Birthday is really the 13th of April) and I enjoyed a day (of much needed rest) spending time with my adorable Birthday sisters. Suffice it to say, I satisfied my baking crave by baking every single thing possible within a span of two days.

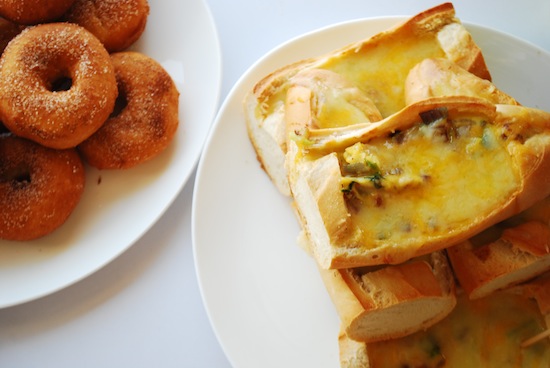
I fried cake donuts (sweet) while Maddie cooked egg boats (savory) for Jessie Saturday morning. My advice to you, “save donut boxes!” — reuse them when you feel creative enough to make your own sweet-dough desserts!


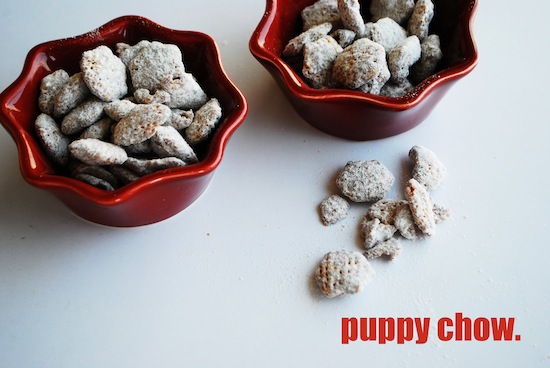
Guess where we got the ingredients to make this delicious (literally to die for) dessert? My cousins sent them all the way from AMERICA!  Of course they do not sell chex cereal, chocolate chips, OR powdered sugar in a typical Chinese super market so this was an especially delectable (and rare!) treat for Jessie.

Smoothies for an afternoon refreshment (YUM!), nothing more to be said.

Birthday Breakfast | Crepes

Happy Birthday Maddie! This morning I got up early – well, as early as I could pull myself out of bed – to start preparations for Maddie’s Birthday breakfast. We made her favorite, crêpes! These French pancakes are delicious, especially when served with whipped cream, jam, or lemon. I scrambled around, touching up the table settings and decorations, every minute expecting Maddie to wake up and catch us unprepared. I should’ve known that Maddie never wakes up on her own accord, though. In the end the breakfast was delicious. It is suffice to say that I wasn’t able to eat another bite until two in the afternoon!

To my lovely sister: I hope you had an amazing birthday today! You daily make me smile with your cheerful attitude; today I hope that I could give you at least a piece of the surprises and fun that I enjoy when I am with you! It is a blessing to have you as my sister! <3 Jessie

Cake Challenge: January

Mocha Espresso Drizzle Layer Cake:
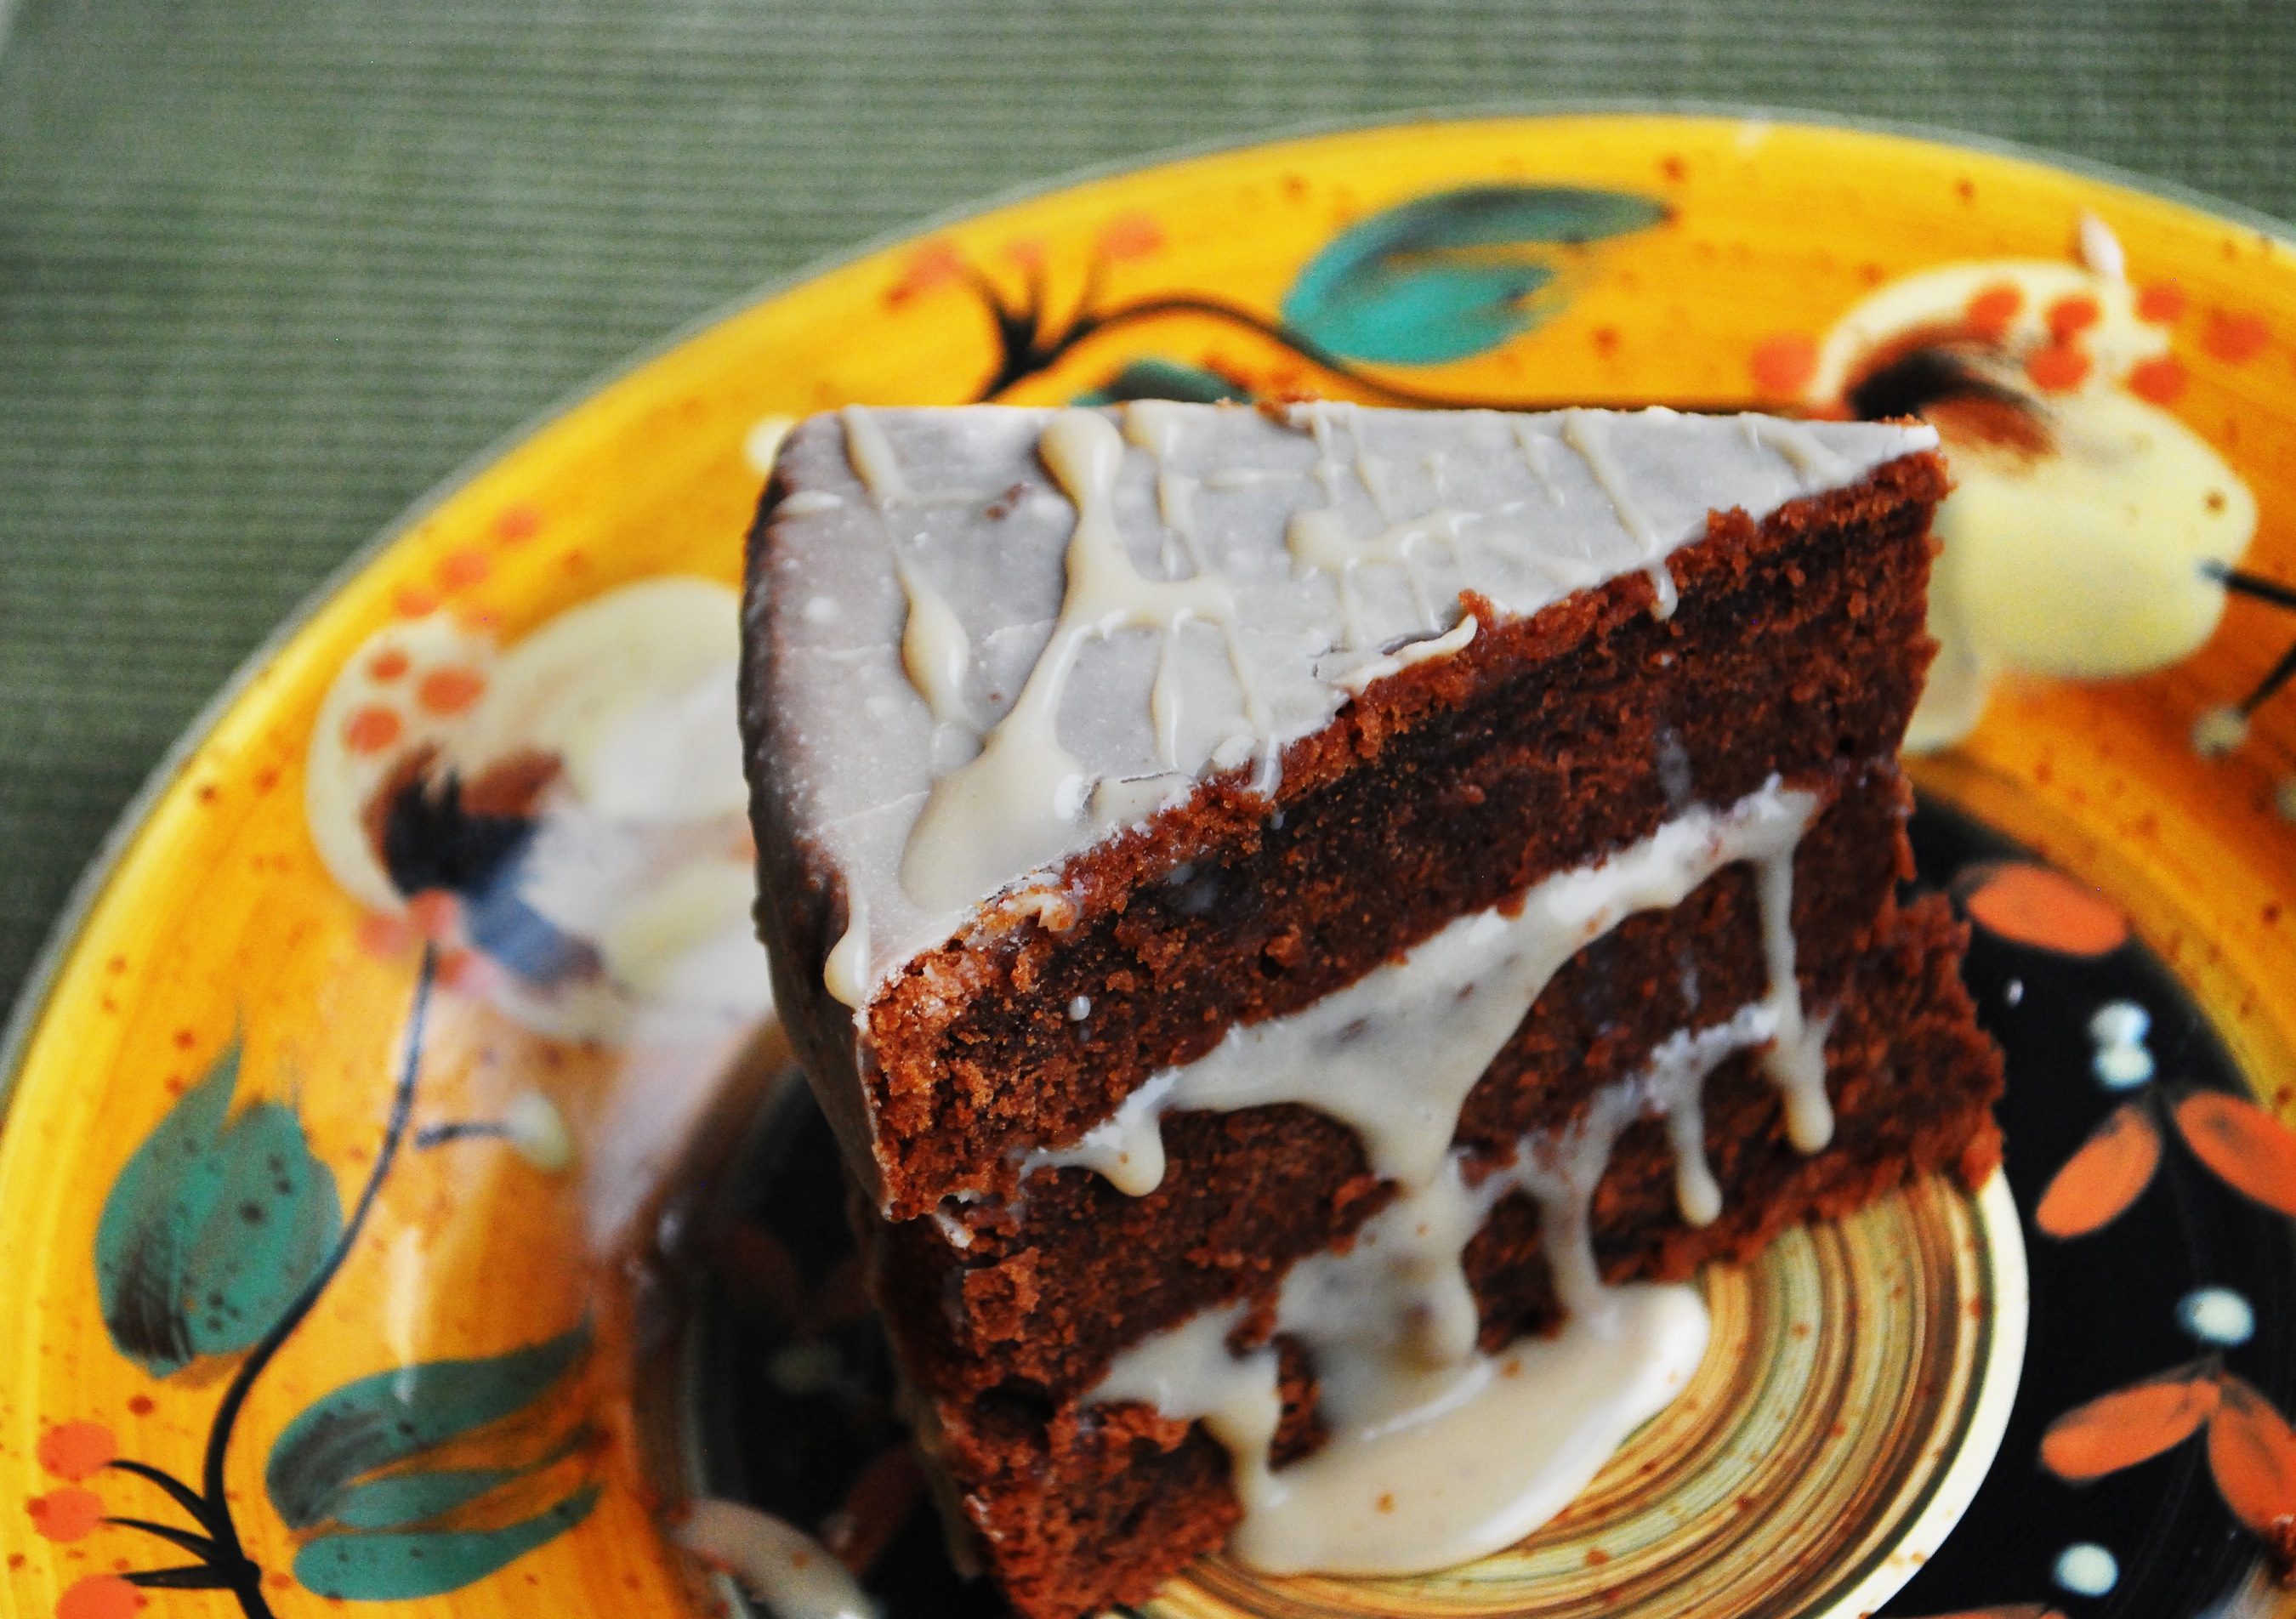
Cake Challenge Series: is a collection of posts which document the cakes I bake each month. More specifically, I have a goal this year to bake at least one (hopefully spectacular) layer cake each month, and photograph/post them here. I hope you enjoy this collection as much as I enjoy baking these delicious desserts!

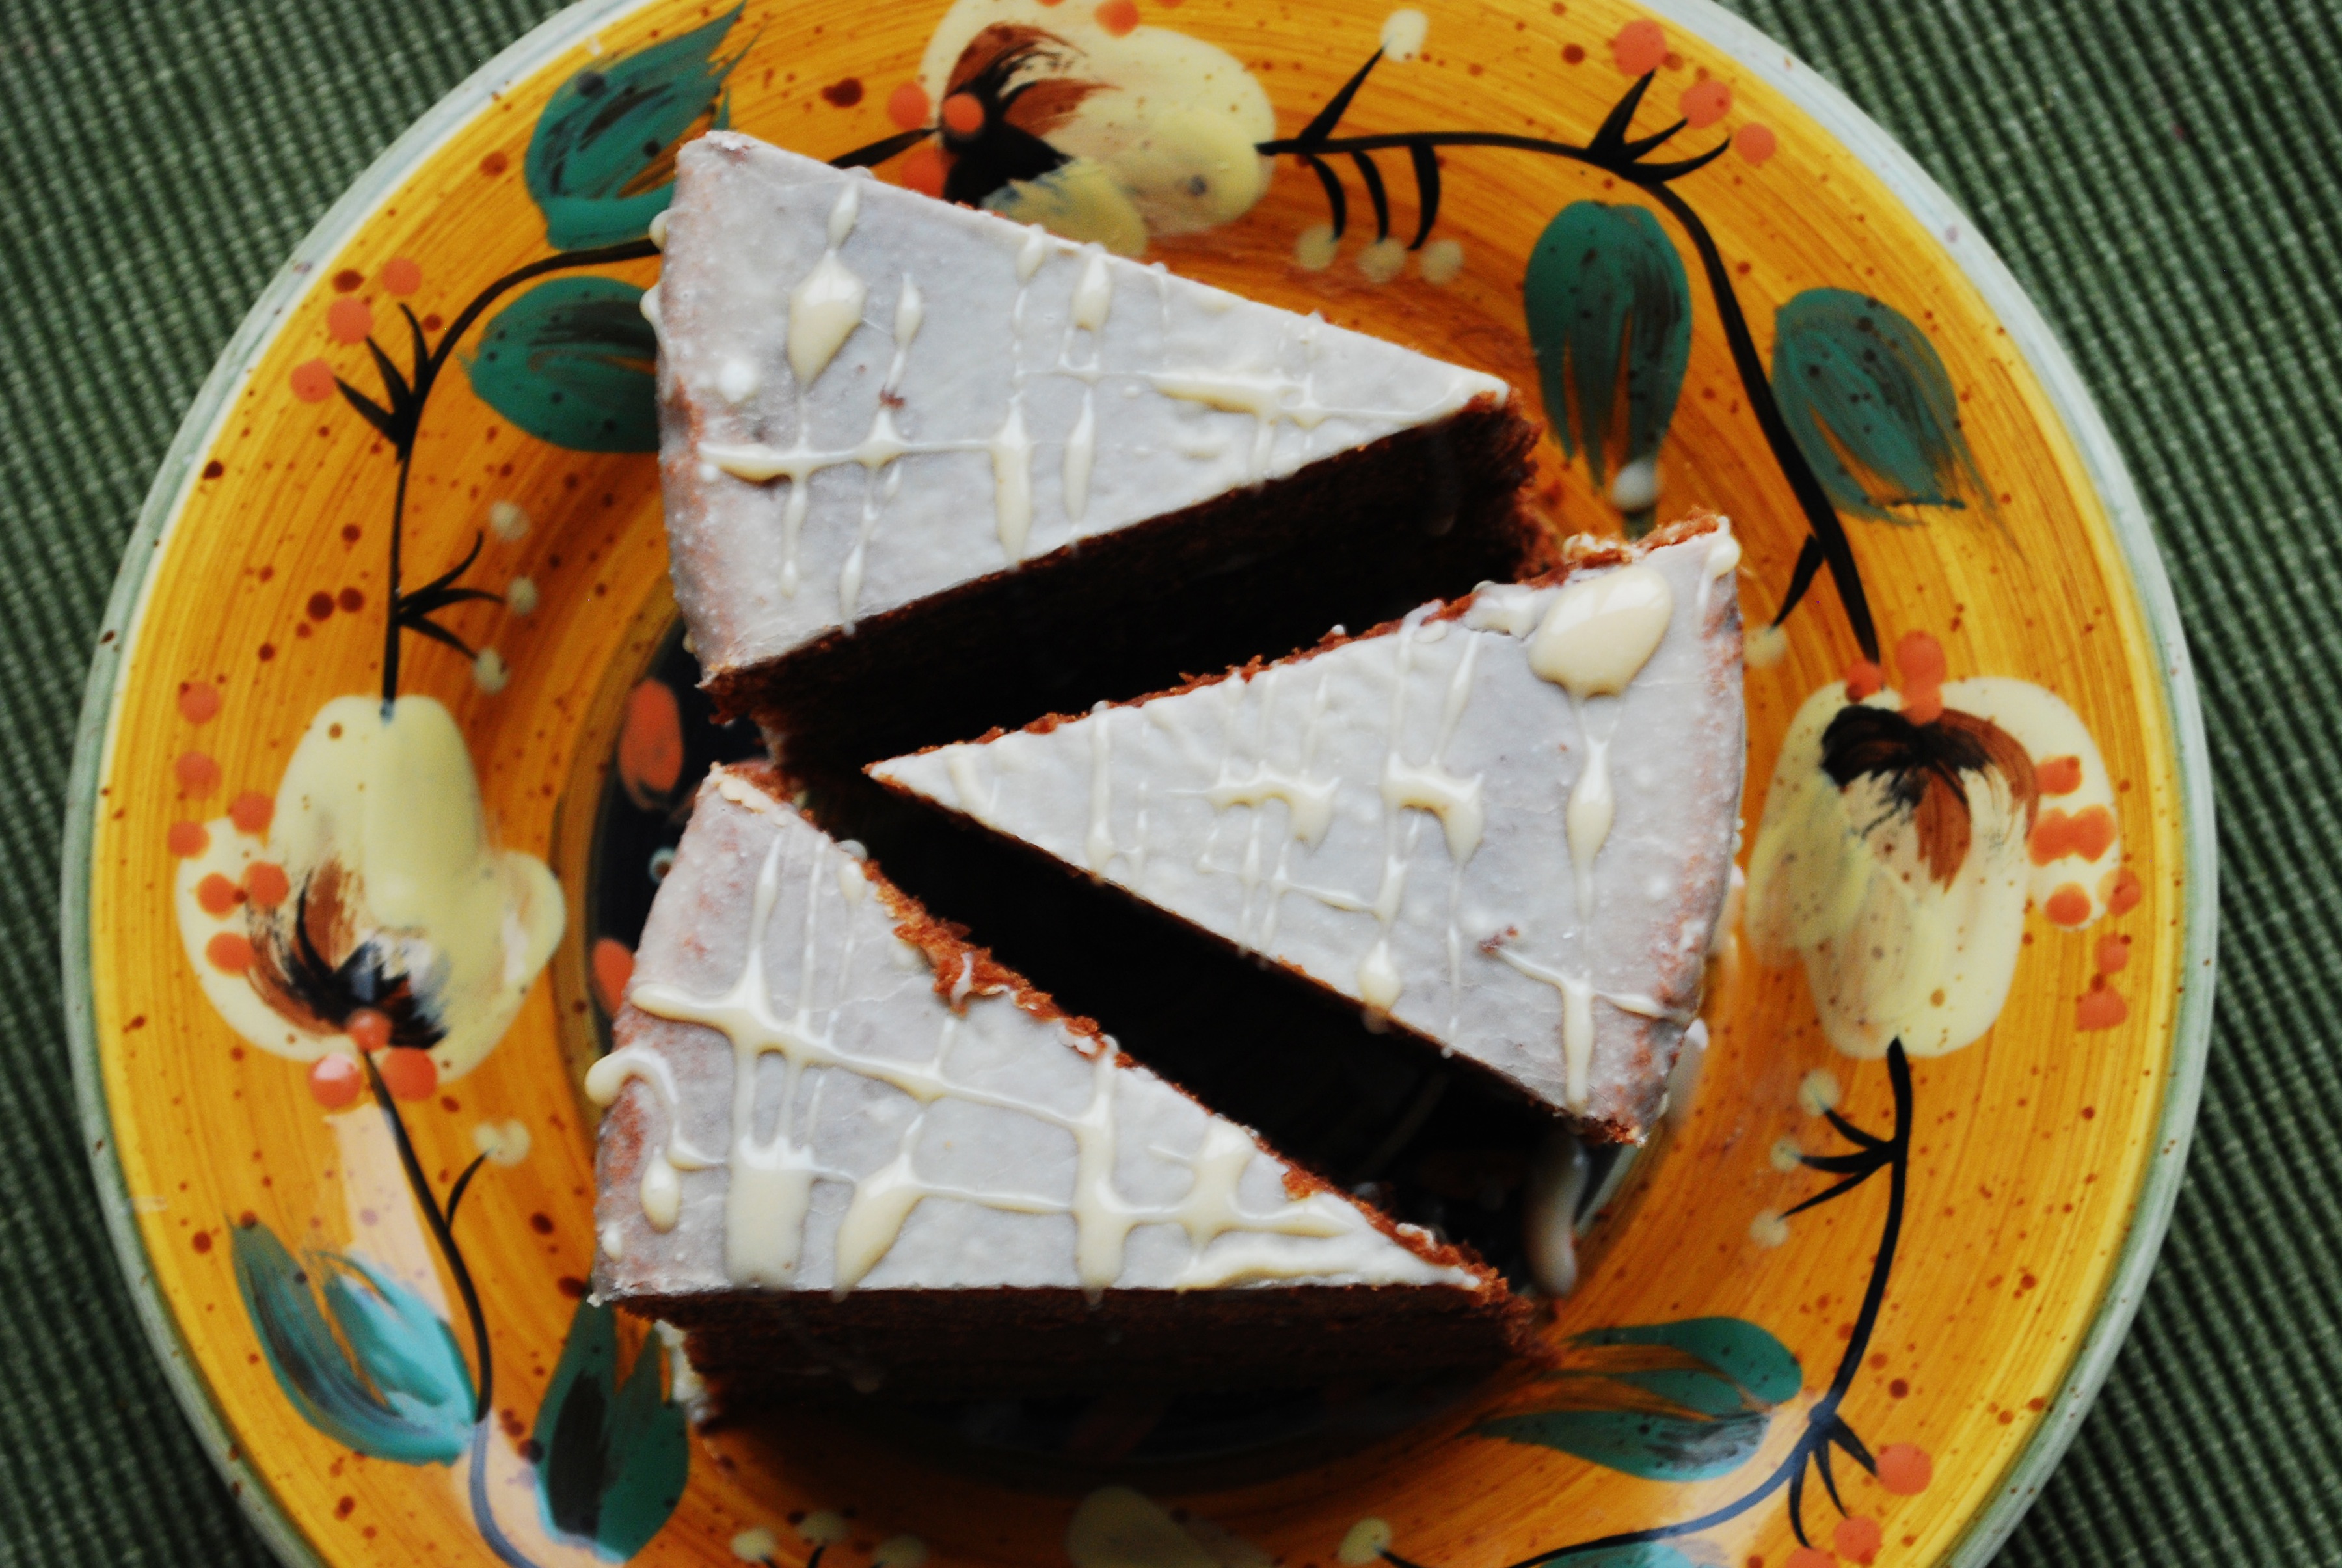
I’m happy to say that I was able to achieve my goal, for the first month at least. My first triple decker cake this year (and EVER) was from my new cookbook, Sky High. The texture of this cake is more dense than it is fluffy. Personally I enjoyed the change, I’m so used to vanilla cakes with sugar based frosting, so this coffee flavored cake with expresso glaze tasted heavenly.

As I describe this to you, I have to remember all the things that did NOT go right when making this cake. You see, I started this venture with high hopes, the ingredients were measured, the batter was spun to perfection, the oven was ready… but little did I know my “ready” was the wrong temperature. Sadly, the first two layers were slightly overcooked and a bit dry. And although the last layer was baked to delicious moistness, more problems were awaiting when I began the glaze. As you will see below, the expresso glaze calls for a bag of white chocolate chips melted. <This was when I started hitting bumps in the road.> THE CHOCOLATE WOUDLN’T MELT! My parents and their friends were coming back for dessert at our house and the glaze wasn’t even close to completion! At this point, I was quite disappointed with myself and honestly just wanted to give up. Jessie keep me going though, she never gave up hope while I on the other hand was pacing back and forth voicing “what ifs” here and there… after much stress and multiple rounds in the microwave, the chocolate finally loosened (I think something was wrong with the chocolate and that is why it wouldn’t melt).

Finally, I mixed in the the sweetened condensed milk, other ingredients and vuoila, the glaze was done. My parents were already home waiting for the cake and although the glaze was on the thin side, we quickly assembled the cake and brought it out to be served. I was definitely not eager to serve this cake; after agonizing over it for so many hours I thought that it would taste horrible for sure. But it DIDN’T! On the contrary, I quite liked it… As I happily ate this beautiful cake, I reflected on my baking experience and found that…

Baking my first layer cake taught me three things:
1.) Check the oven temperature before you start baking!
2.) Only make chocolate based icings/glazes when you are mentally, emotionally, and physically sound- and don’t start unless you have LOTS of time.
3.) If you taste bits of cake crumbs and licks of icing here and there, you won’t have any appetite left to eat the finished creation!
 

Mocha Cake

Ingredients:
1 cup freshly brewed espresso OR double-strength coffee
2/3 cup of unsweetened cocoa powder
4 eggs
2/3 cup buttermilk
1 1/2 teaspoon vanilla extract
2 2/3 cup cake flower
3/4 teaspoon baking powder
1/2 teaspoon salt
2 sticks (8 ounces) unsalted butter

Method:
1.Preheat the oven to 350 degrees F. Butter the bottoms and sides of your cake pans.
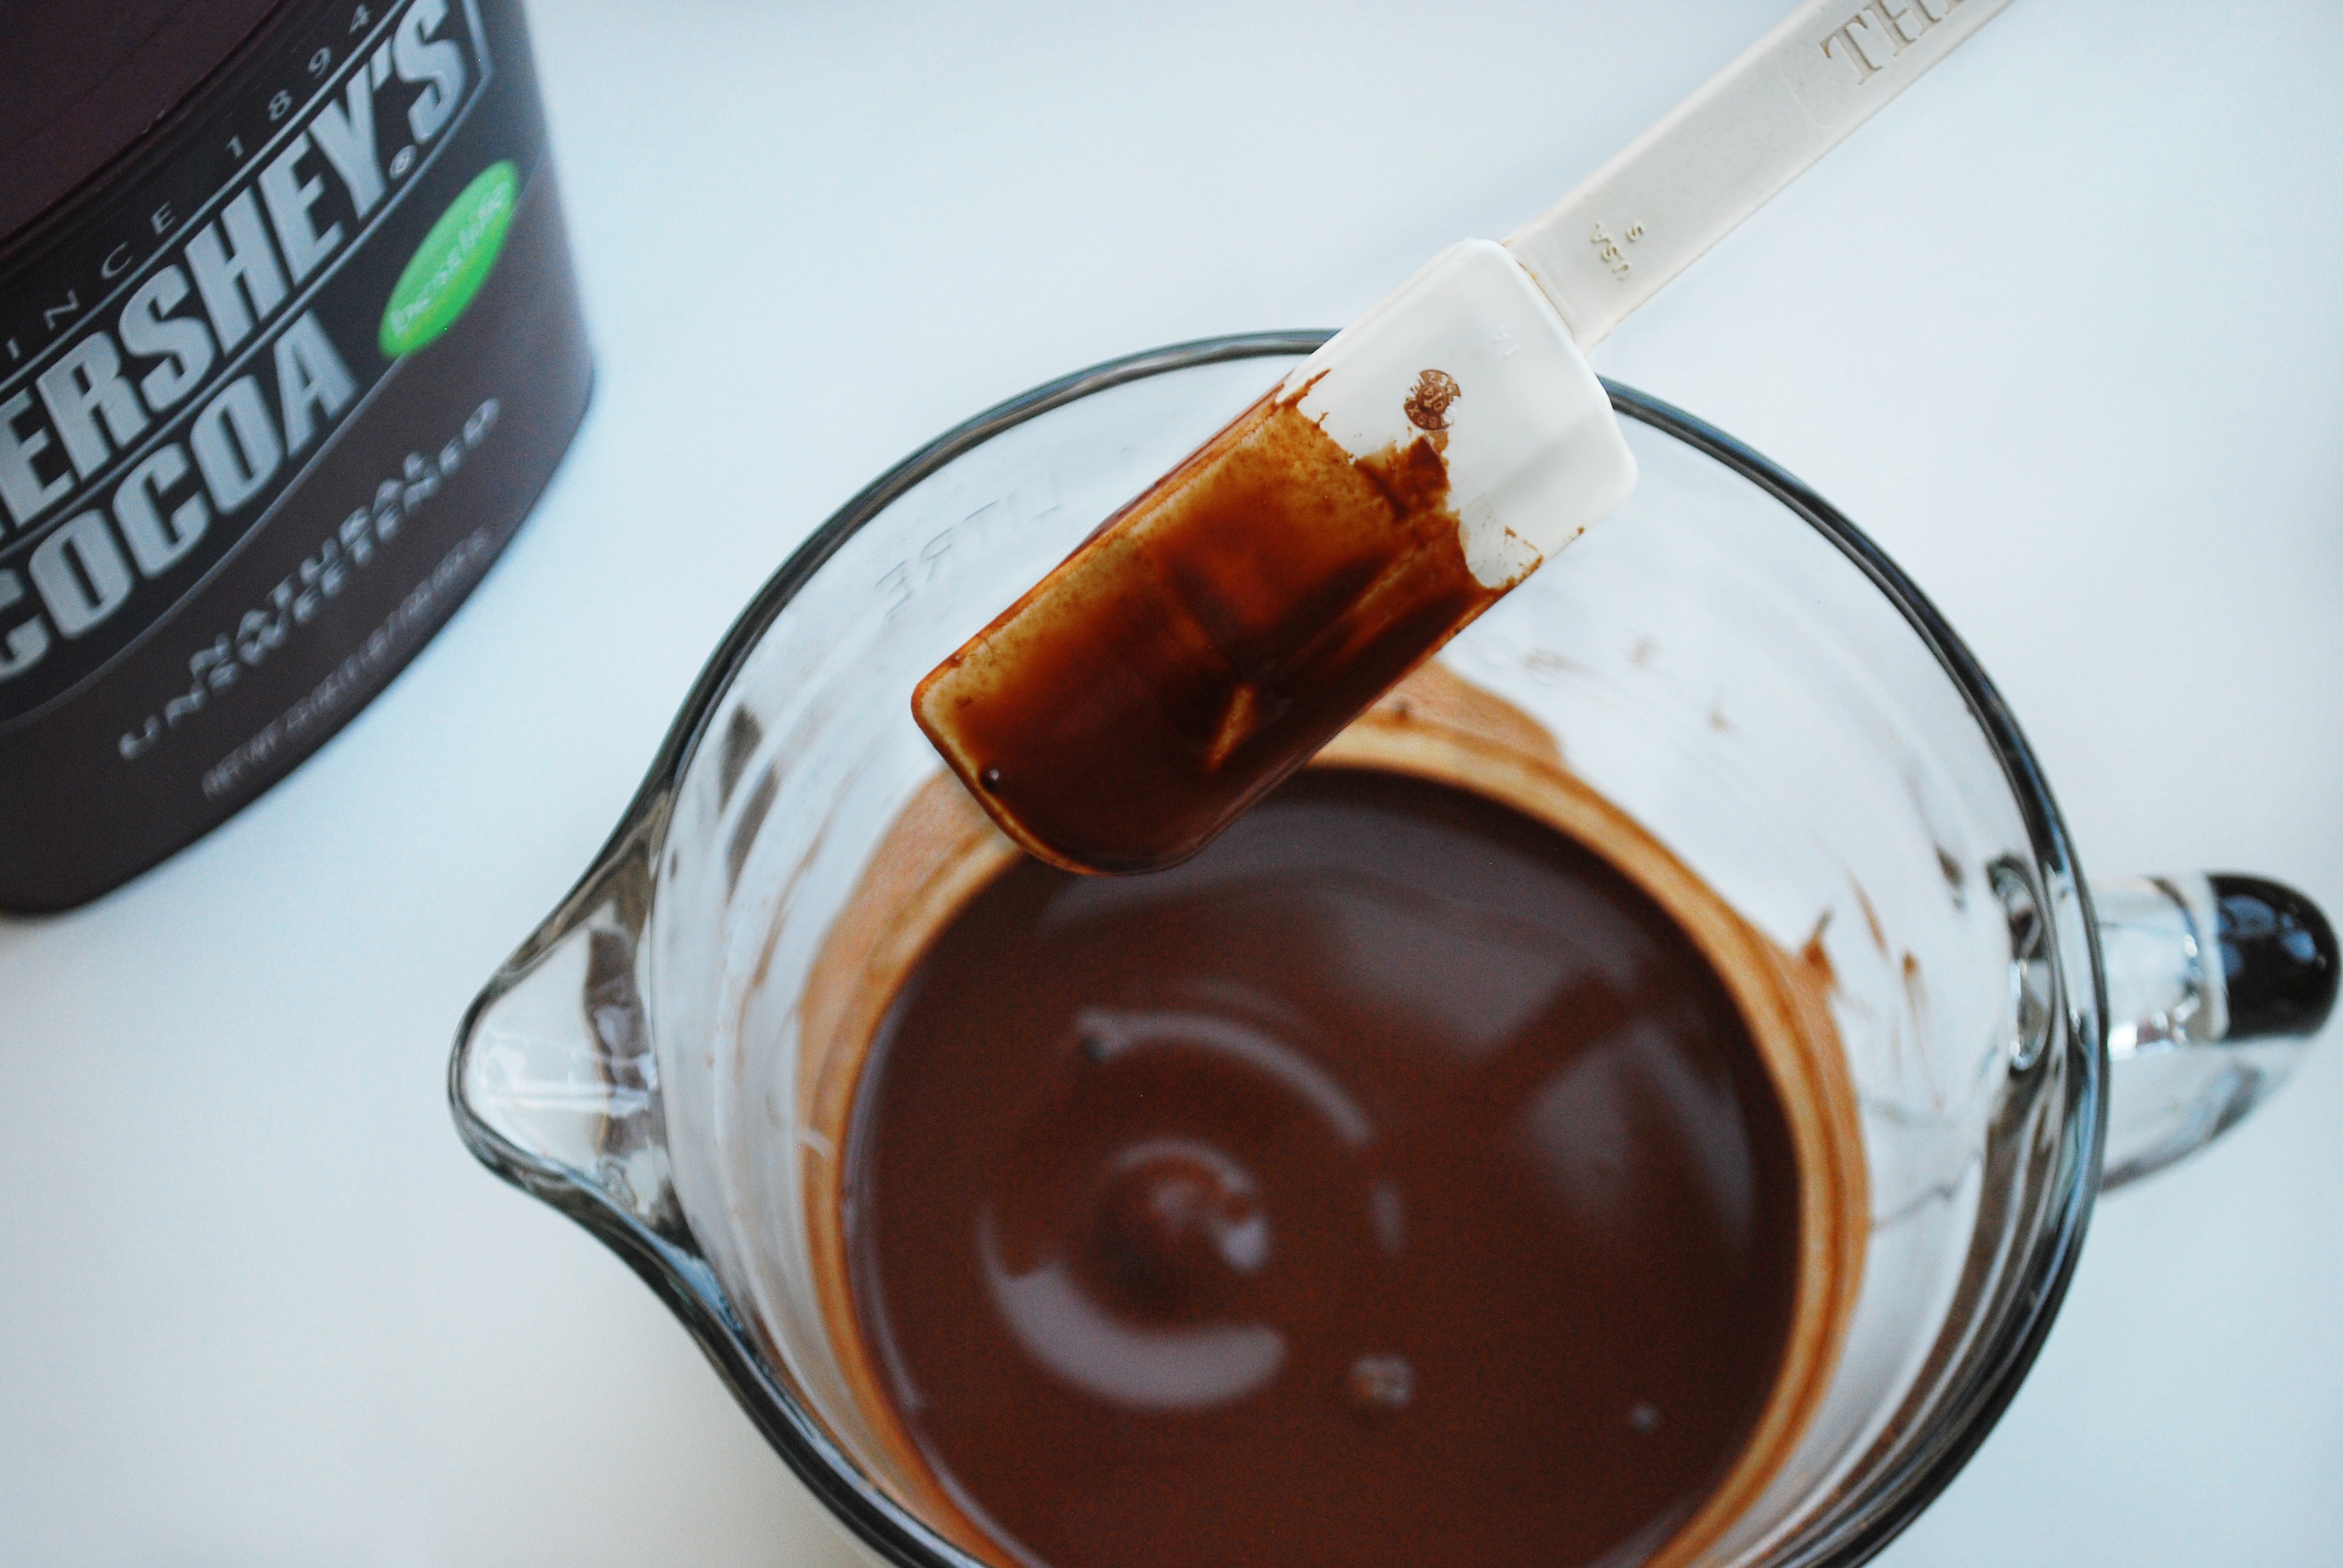
2. In a medium bowl combine the hot coffee and the coca stirring until the mixture is dissolved into a glossy, smooth mocha. Let cool to room temperature.
3. In another bowl beat eggs lightly and whisk the buttermilk and vanilla in.
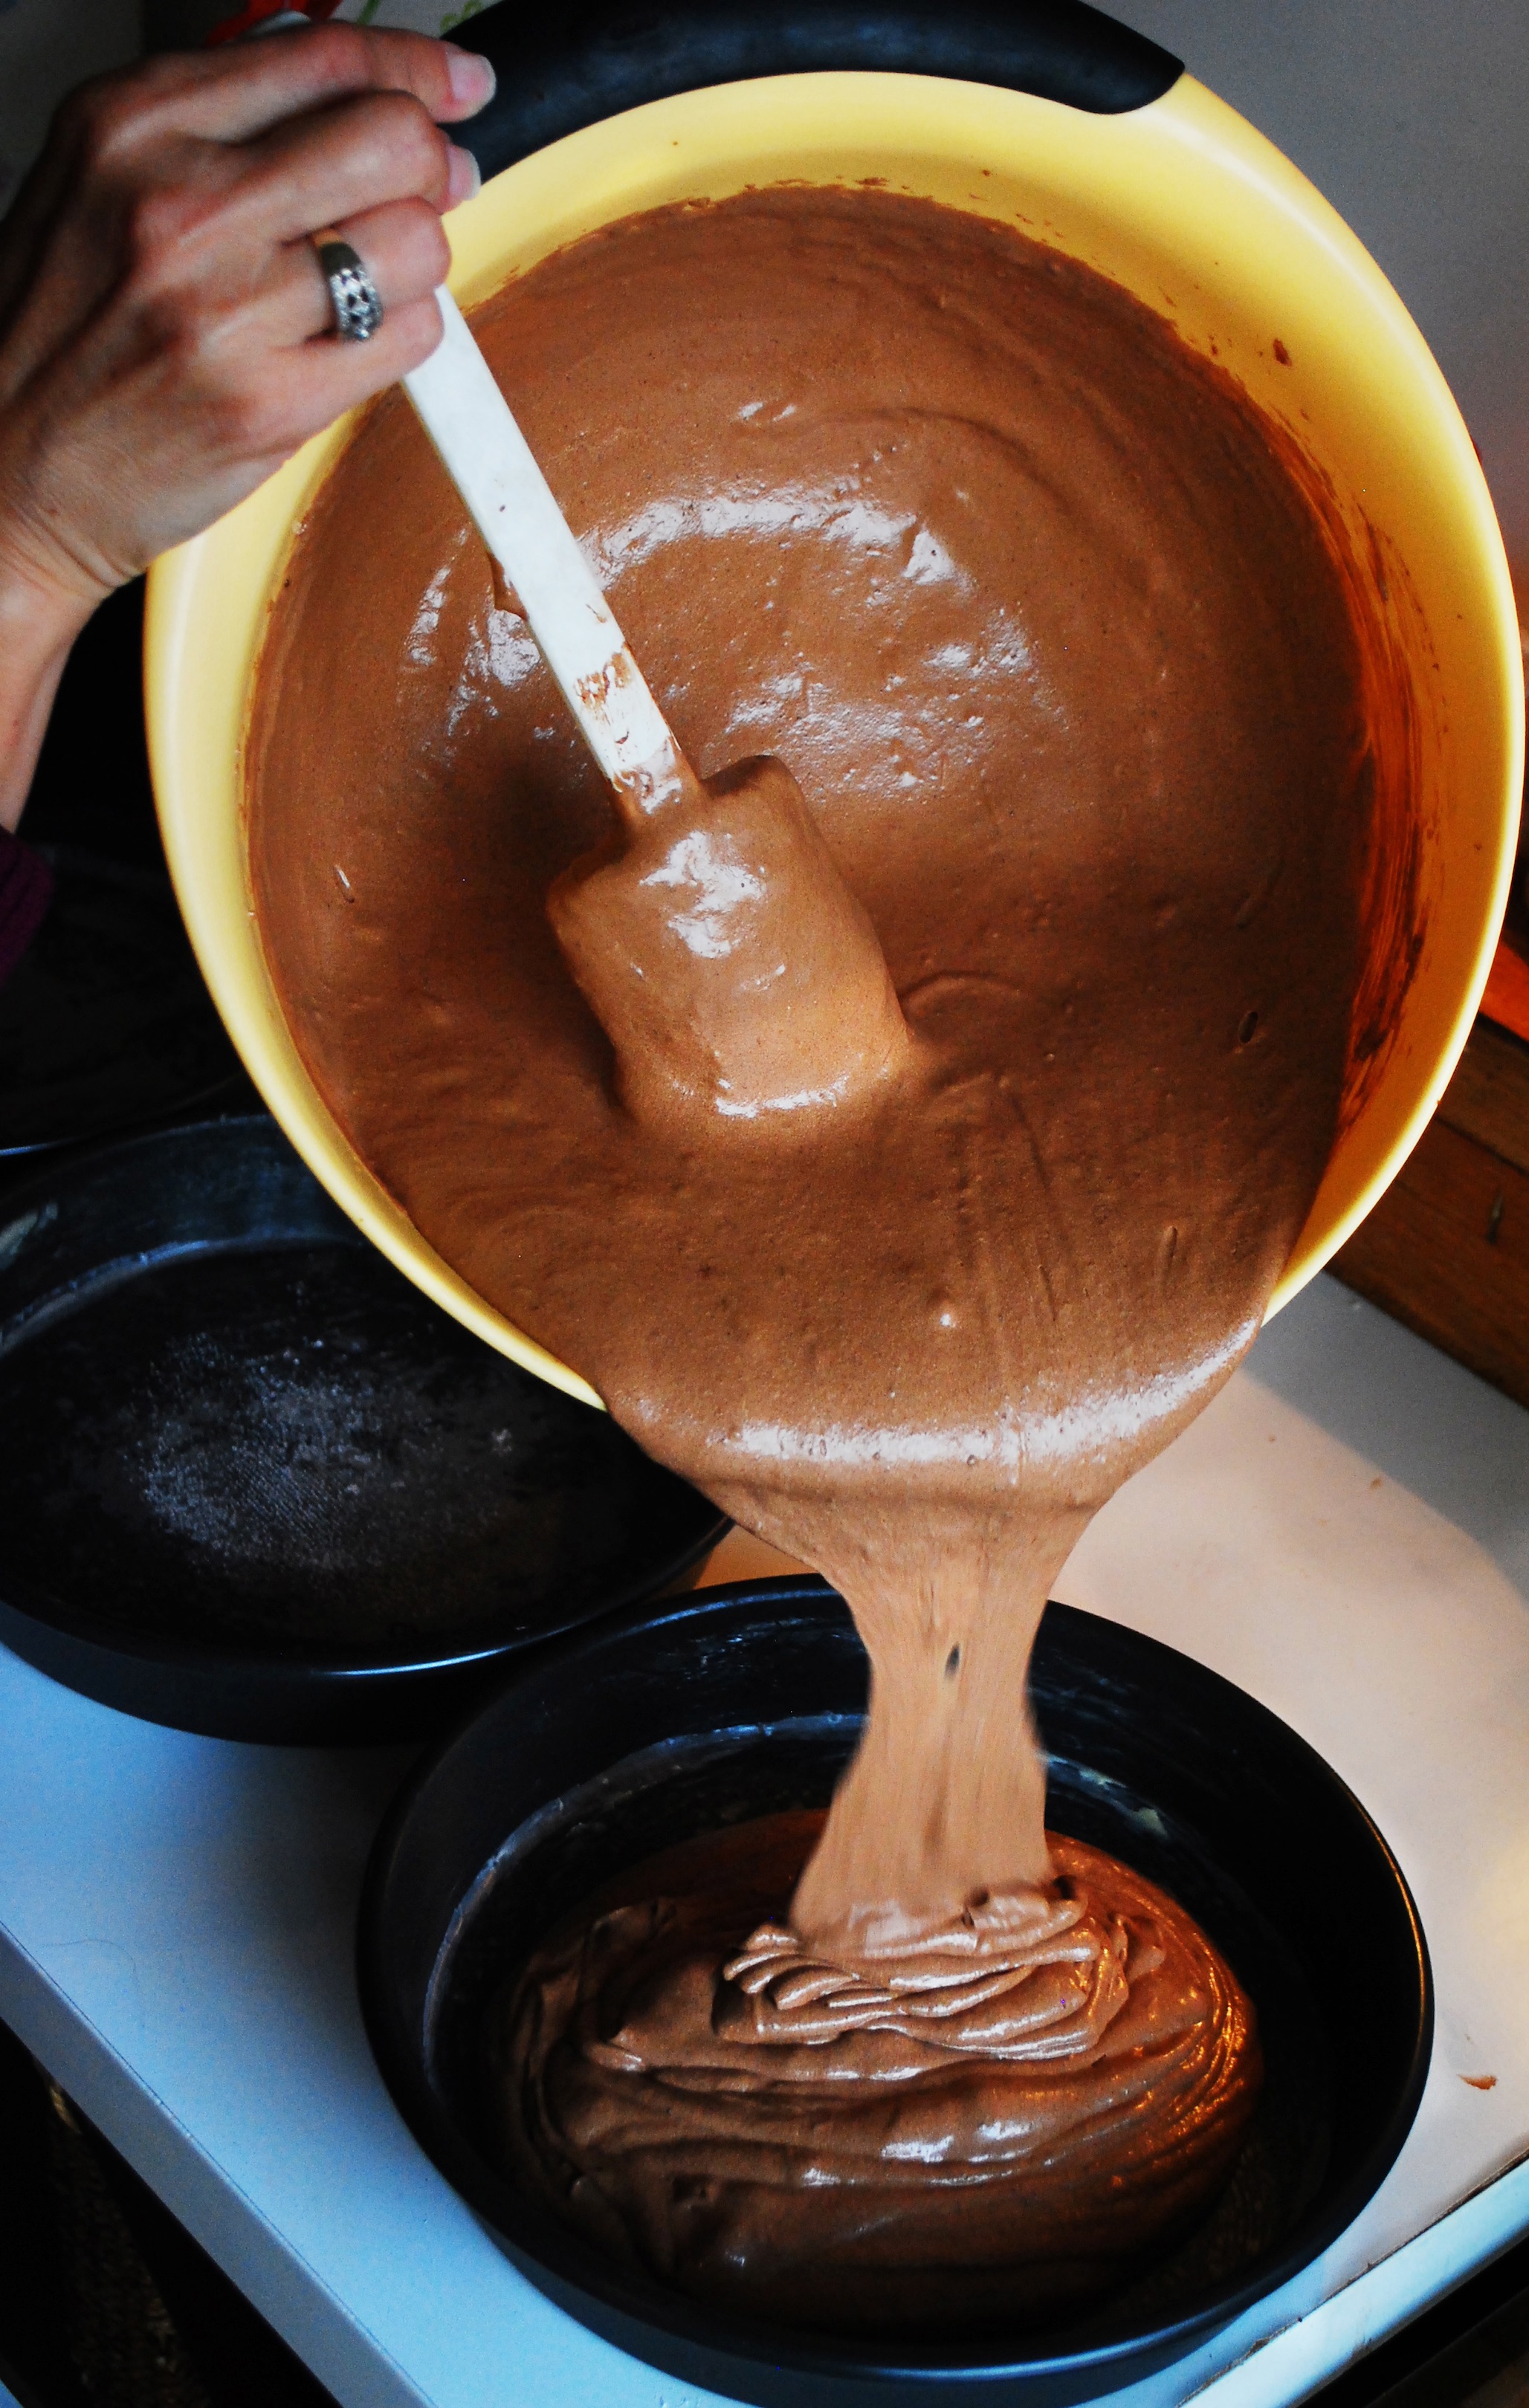
4. Place all the rest of the ingredients (dry) into a mixing bowl. With the mixer on low first add butter, followed by the mocha mixture. Beat until well incorporated. Raise the mixer speed to medium and blend until light and fluffy, at this point add the egg mixture in three additions.
5. Bake the cake layers for 35-38 minutes or until a wooden toothpick inserted in the center comes out almost clean but still moist. Let cool in pans for 10 minutes then invert onto wire racks.

Espresso Drizzle

Ingredients:
12 ounces white chocolate
3/4 cup sweetened condensed milk
6 tablespoons freshly brewed espresso OR double-strength coffee

Method:
1. Melt the white chocolate using either a double boiler (more reliable) or a microwave.
2. Whisk in the sweetened condensed milk and espresso until smooth. (If your drizzle is too thin, stick it in the fridge for an hour)

To assemble simply pout glaze in between each layer of cake, and add more on the top layer so that it will drizzle over the sides!
 

Valentines Almanac

[issuu width=550 height=287 embedBackground=%23f7c6c6 shareMenuEnabled=false showHtmlLink=false printButtonEnabled=false shareButtonEnabled=false searchButtonEnabled=false backgroundColor=%23222222 documentId=120213001125-71eadd5b2b074b8ab1b3b4425791757e name=valentine_almanac username=connectfour tag=archecture unit=px id=312d90cc-9e30-6ba2-1bb5-03433790a5a0 v=2]

Neapolitan Valentine Treat


Today I’d like to share with you a recipe I found on this blog. This is a perfect, delicious shortcake cookie for a Valentine Treat… Enjoy!

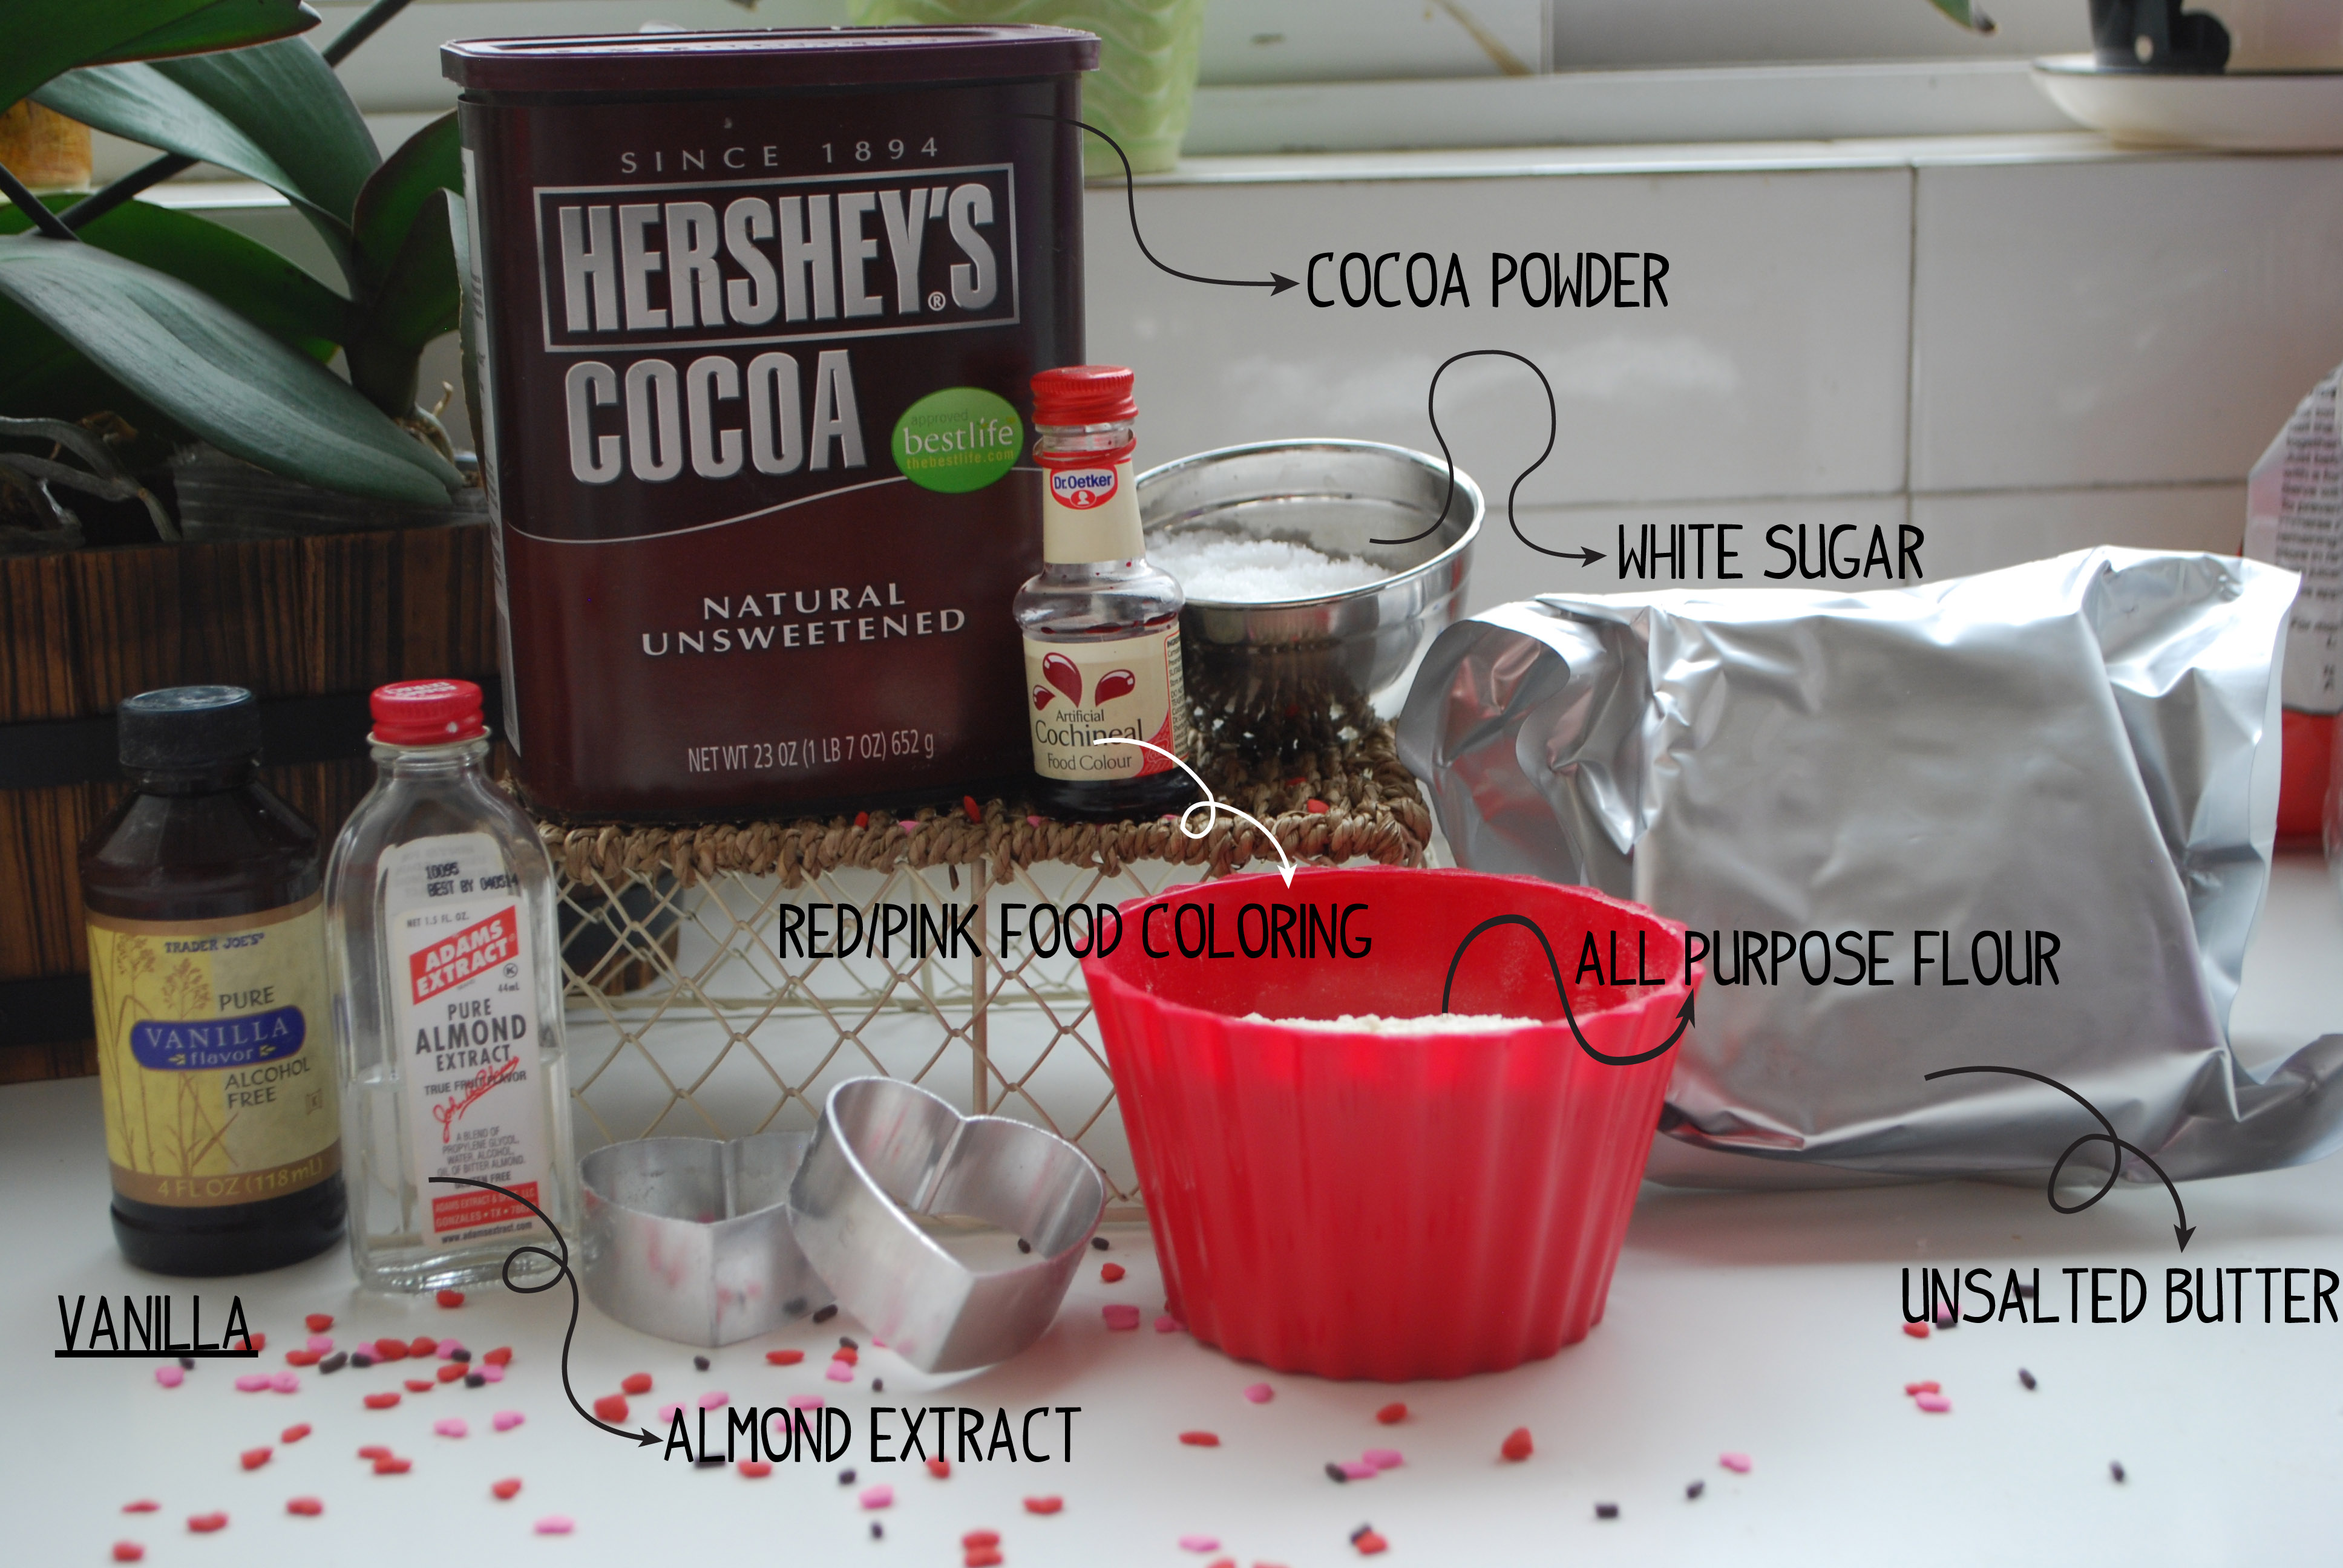
What You’ll Need:

– 1 cup of unsalted butter
– 1/2 cup of sugar
– 1 1/2 teaspoon of Vanilla Extract
– 1/2 teaspoon of Almond Extract
– 1/4 teaspoon of salt
– 2 1/2 cups of all-purpose flour
– Pink or Red food coloring
– 2 1/2 tablespoons of Cocoa Powder
– 1 large egg
– 1 tablespoon of water

Add sugar and butter to a bowl and cream well with a mixer… Then add vanilla extract and almond extract. Mix. Now add the flour and salt, mix on low.

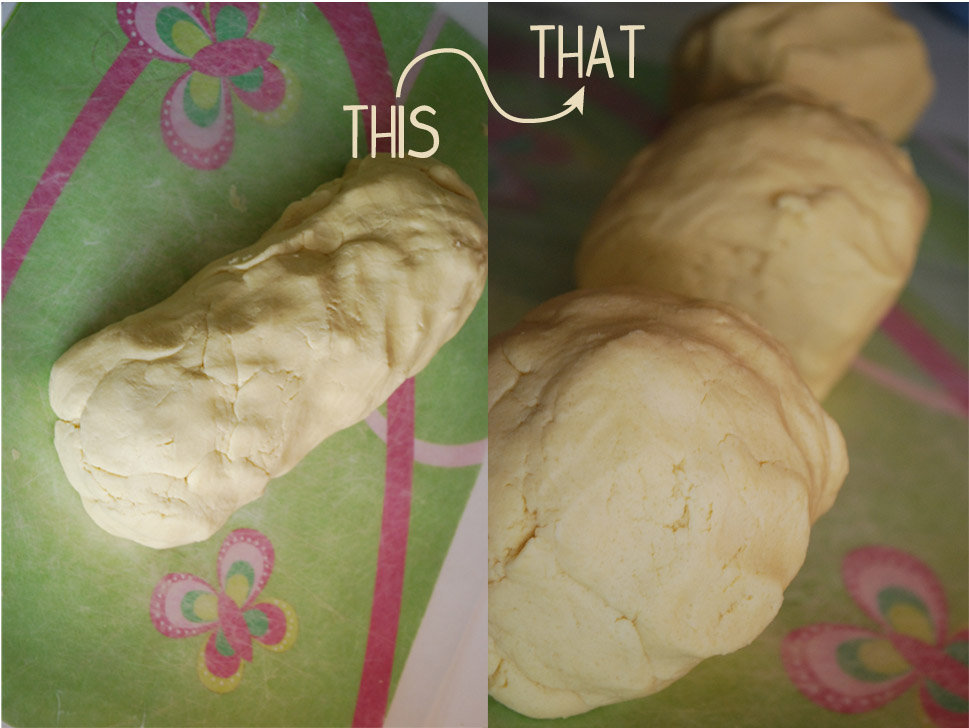
The dough should be a bit crumbly so knead it together to ensure that it doesn’t fall apart. Then separate into three equally divided balls of dough

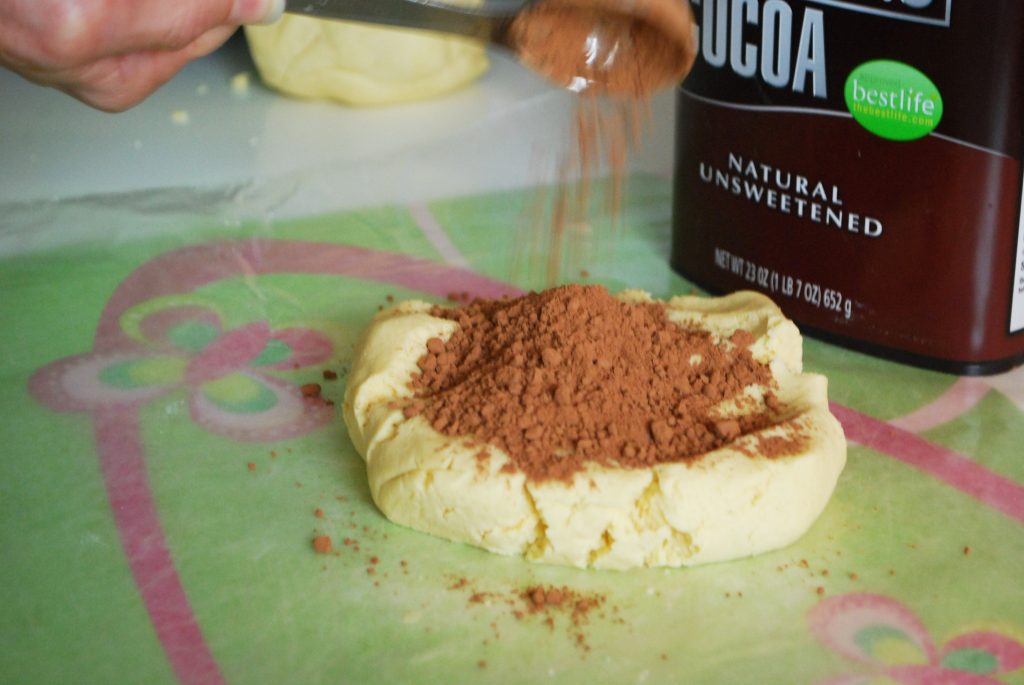
Place one of the balls of dough in a bowl and add the cocoa powder, use a mixer to blend these together to make the brown colored dough, or you can also knead the cocoa powder and dough together to make this mixture.

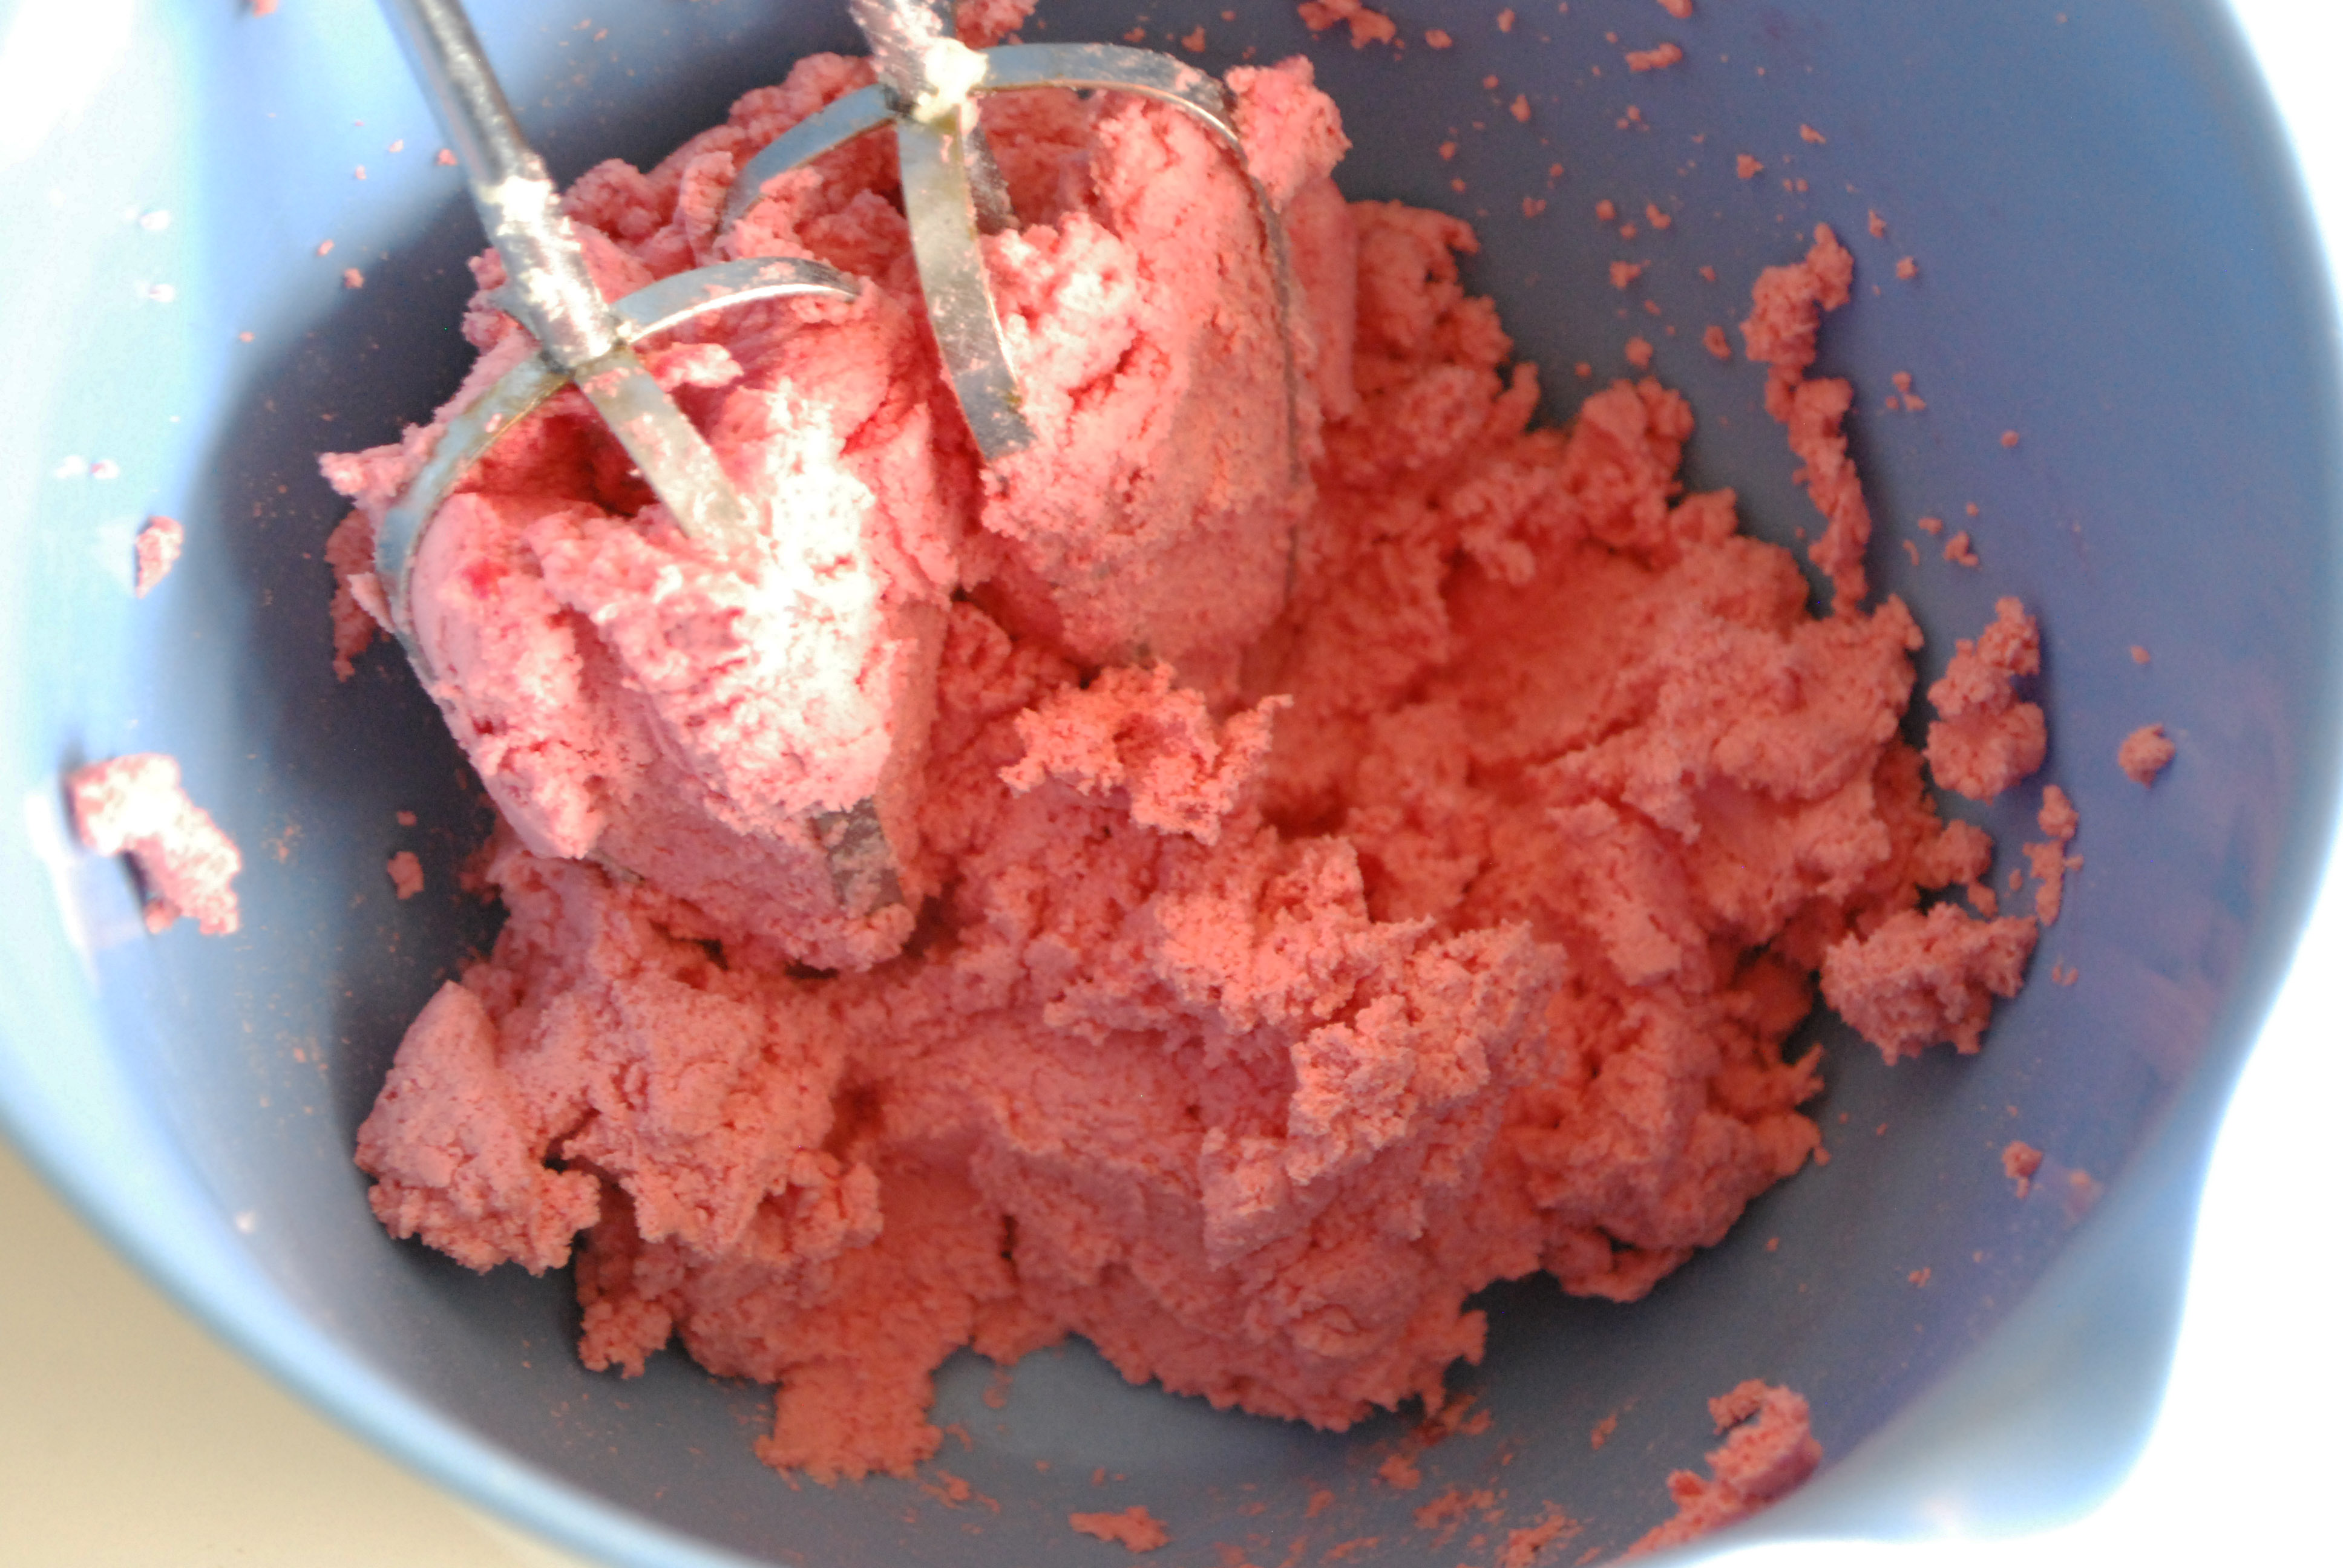
Add another portion of dough to a bowl and add a few drops of pink food coloring, blend together with a mixer and you have your pink colored dough!

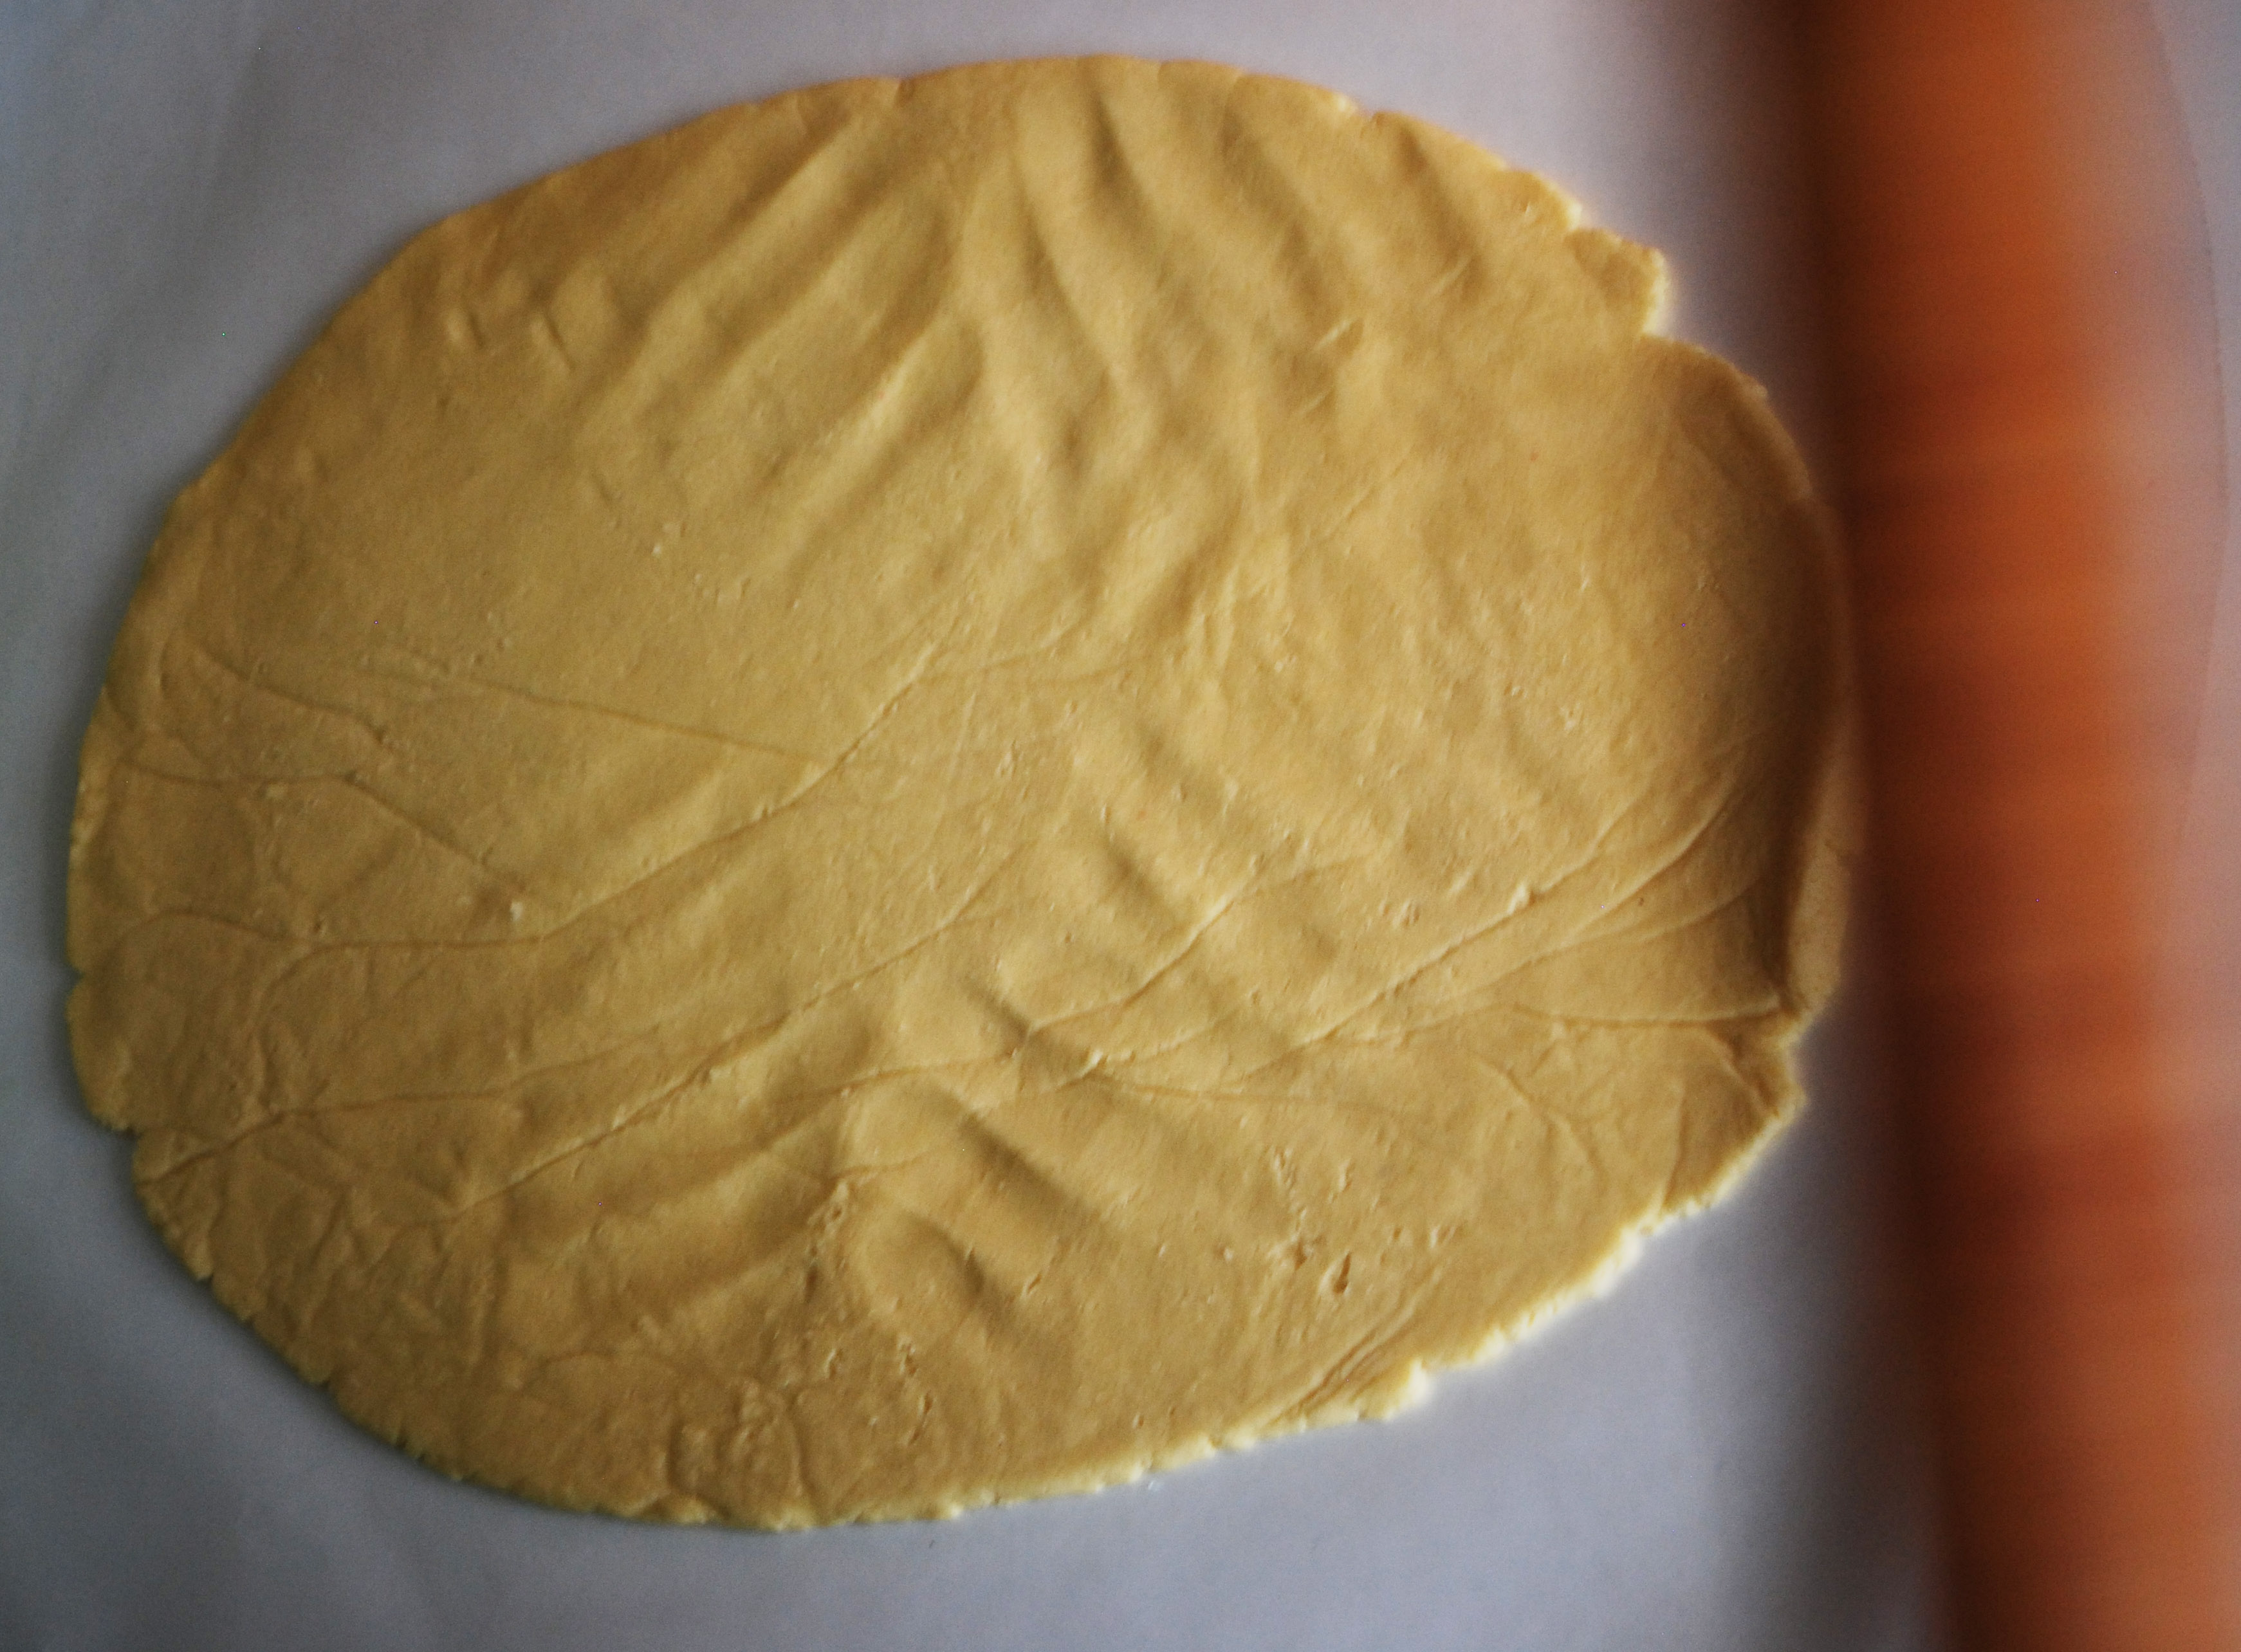
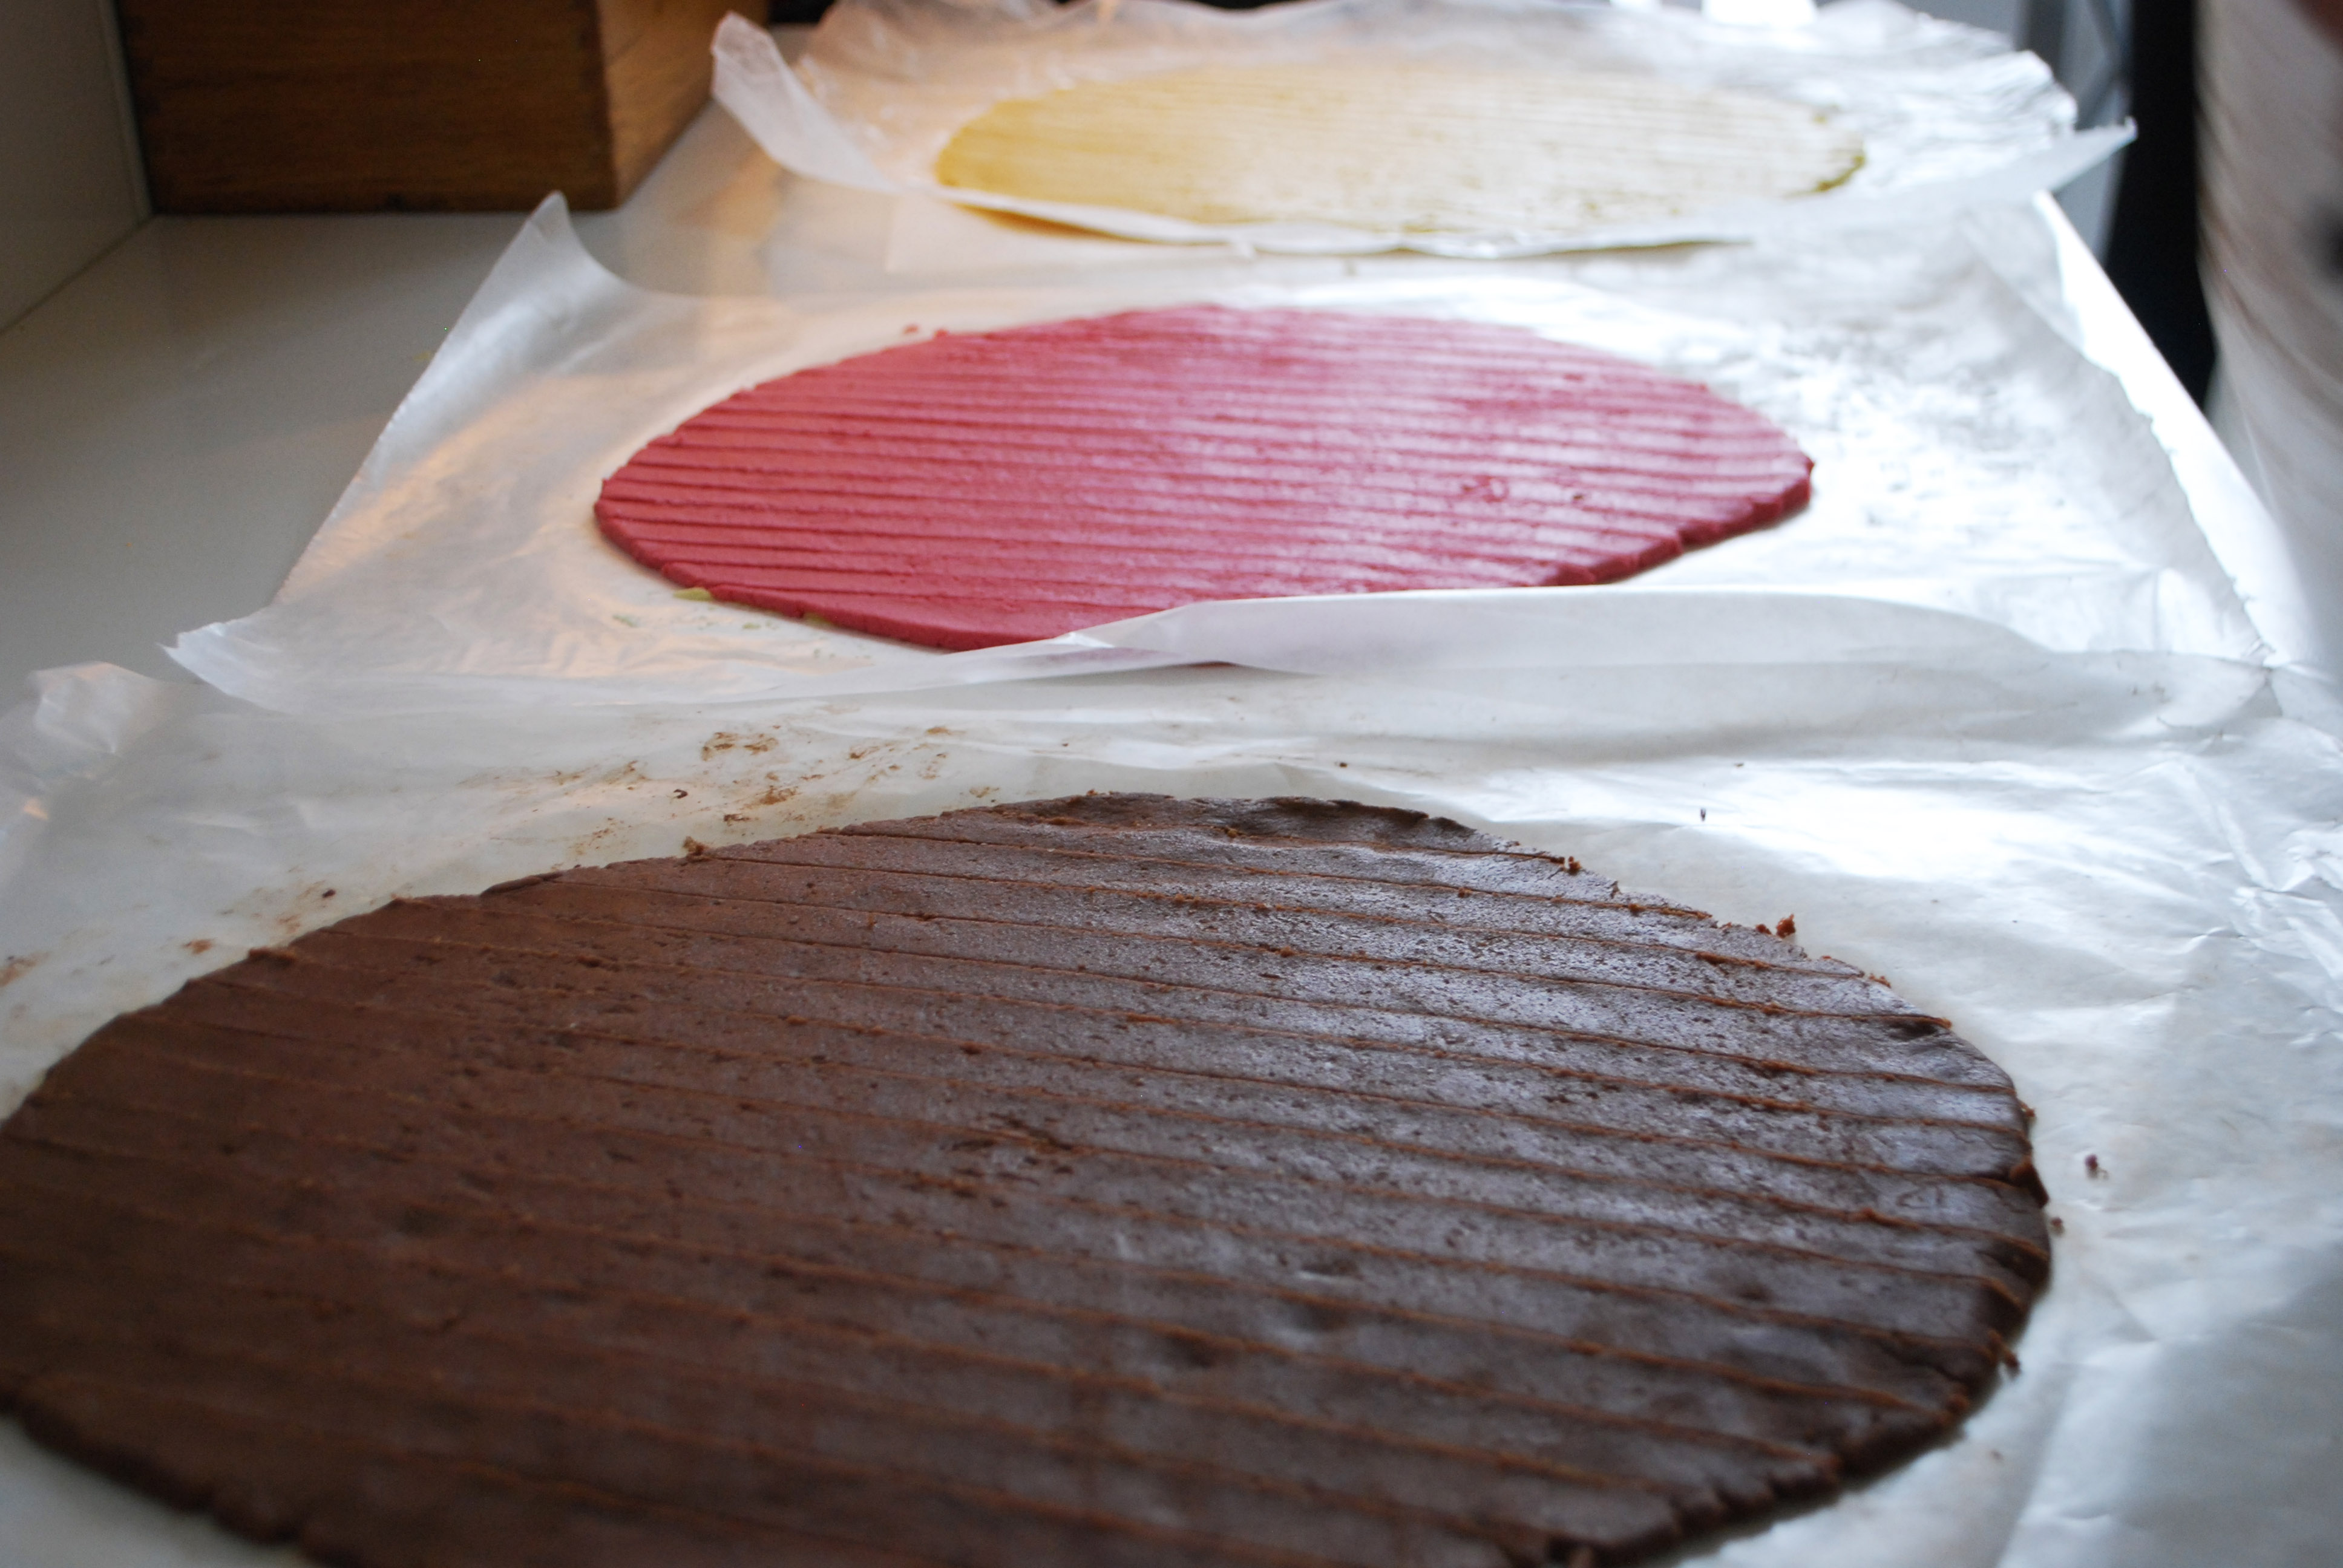
Take each color of dough and place it between two pieces of wax paper or plastic wrap and roll it to a thickness of about 3/8 inch

Use  a ruler and sharp knife to cut the dough into 3/4 inch wide strips and refrigerate for about 20 minutes. While the dough is refrigerating whisk together the egg and water .

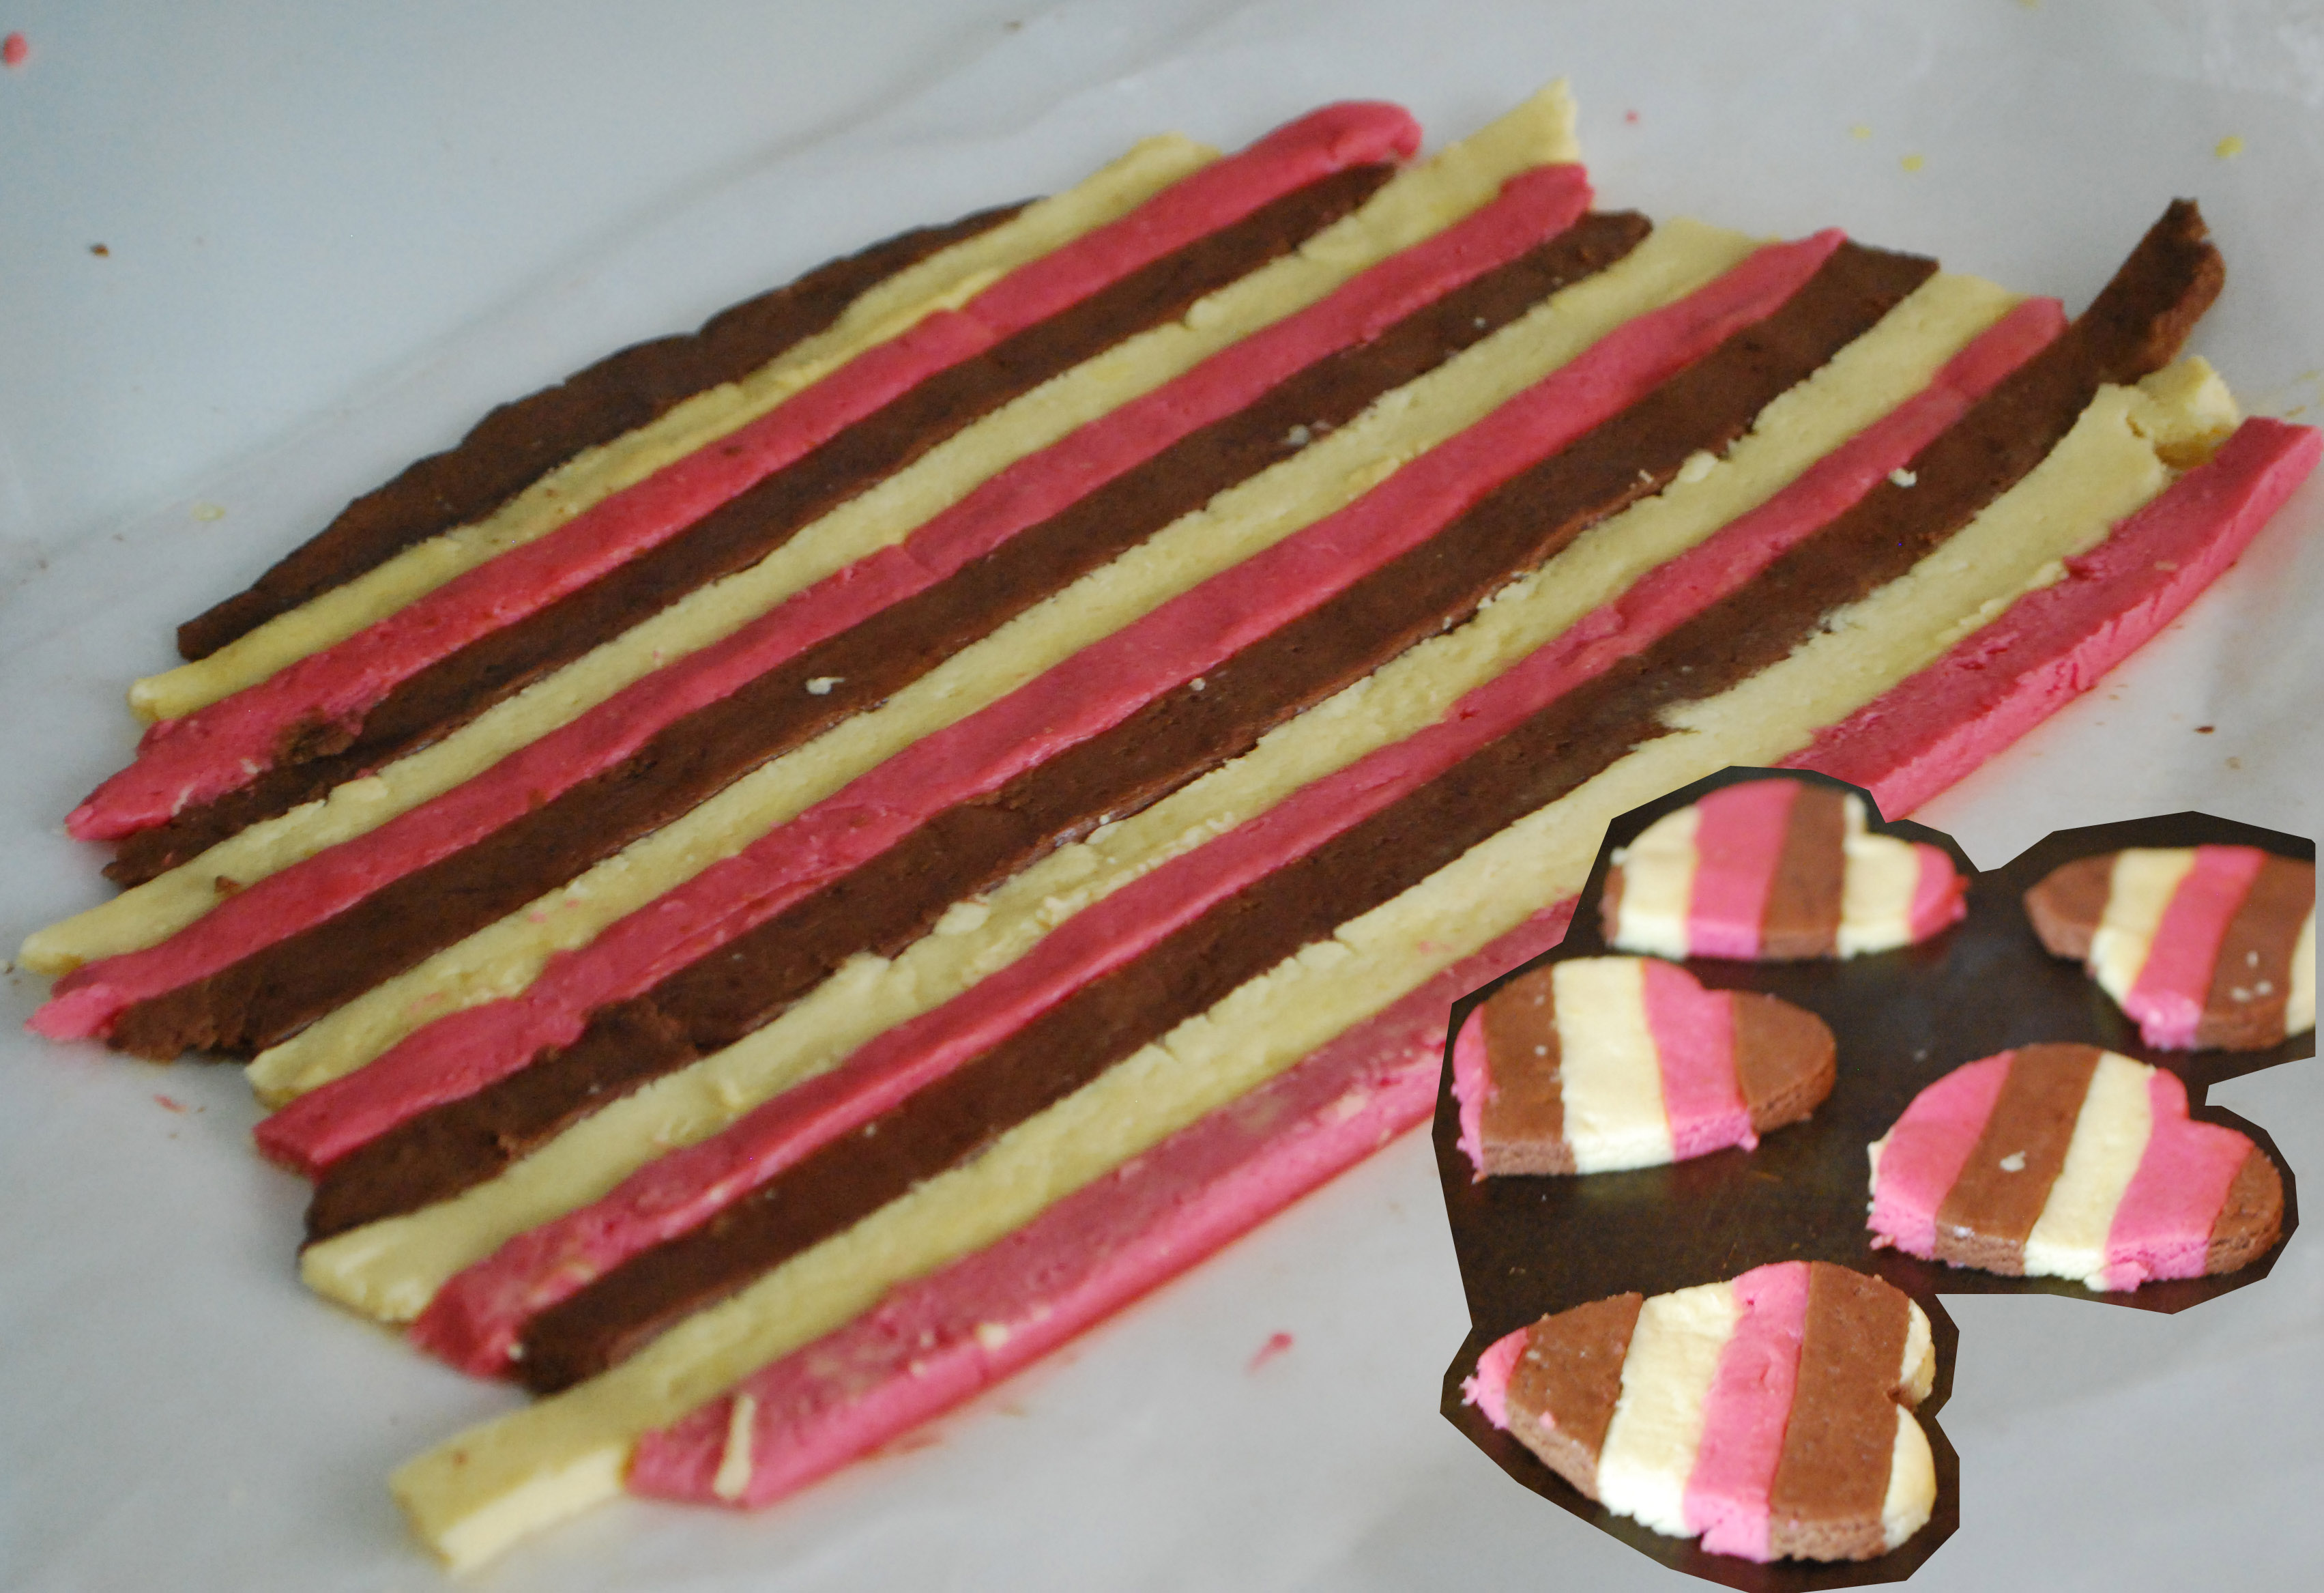
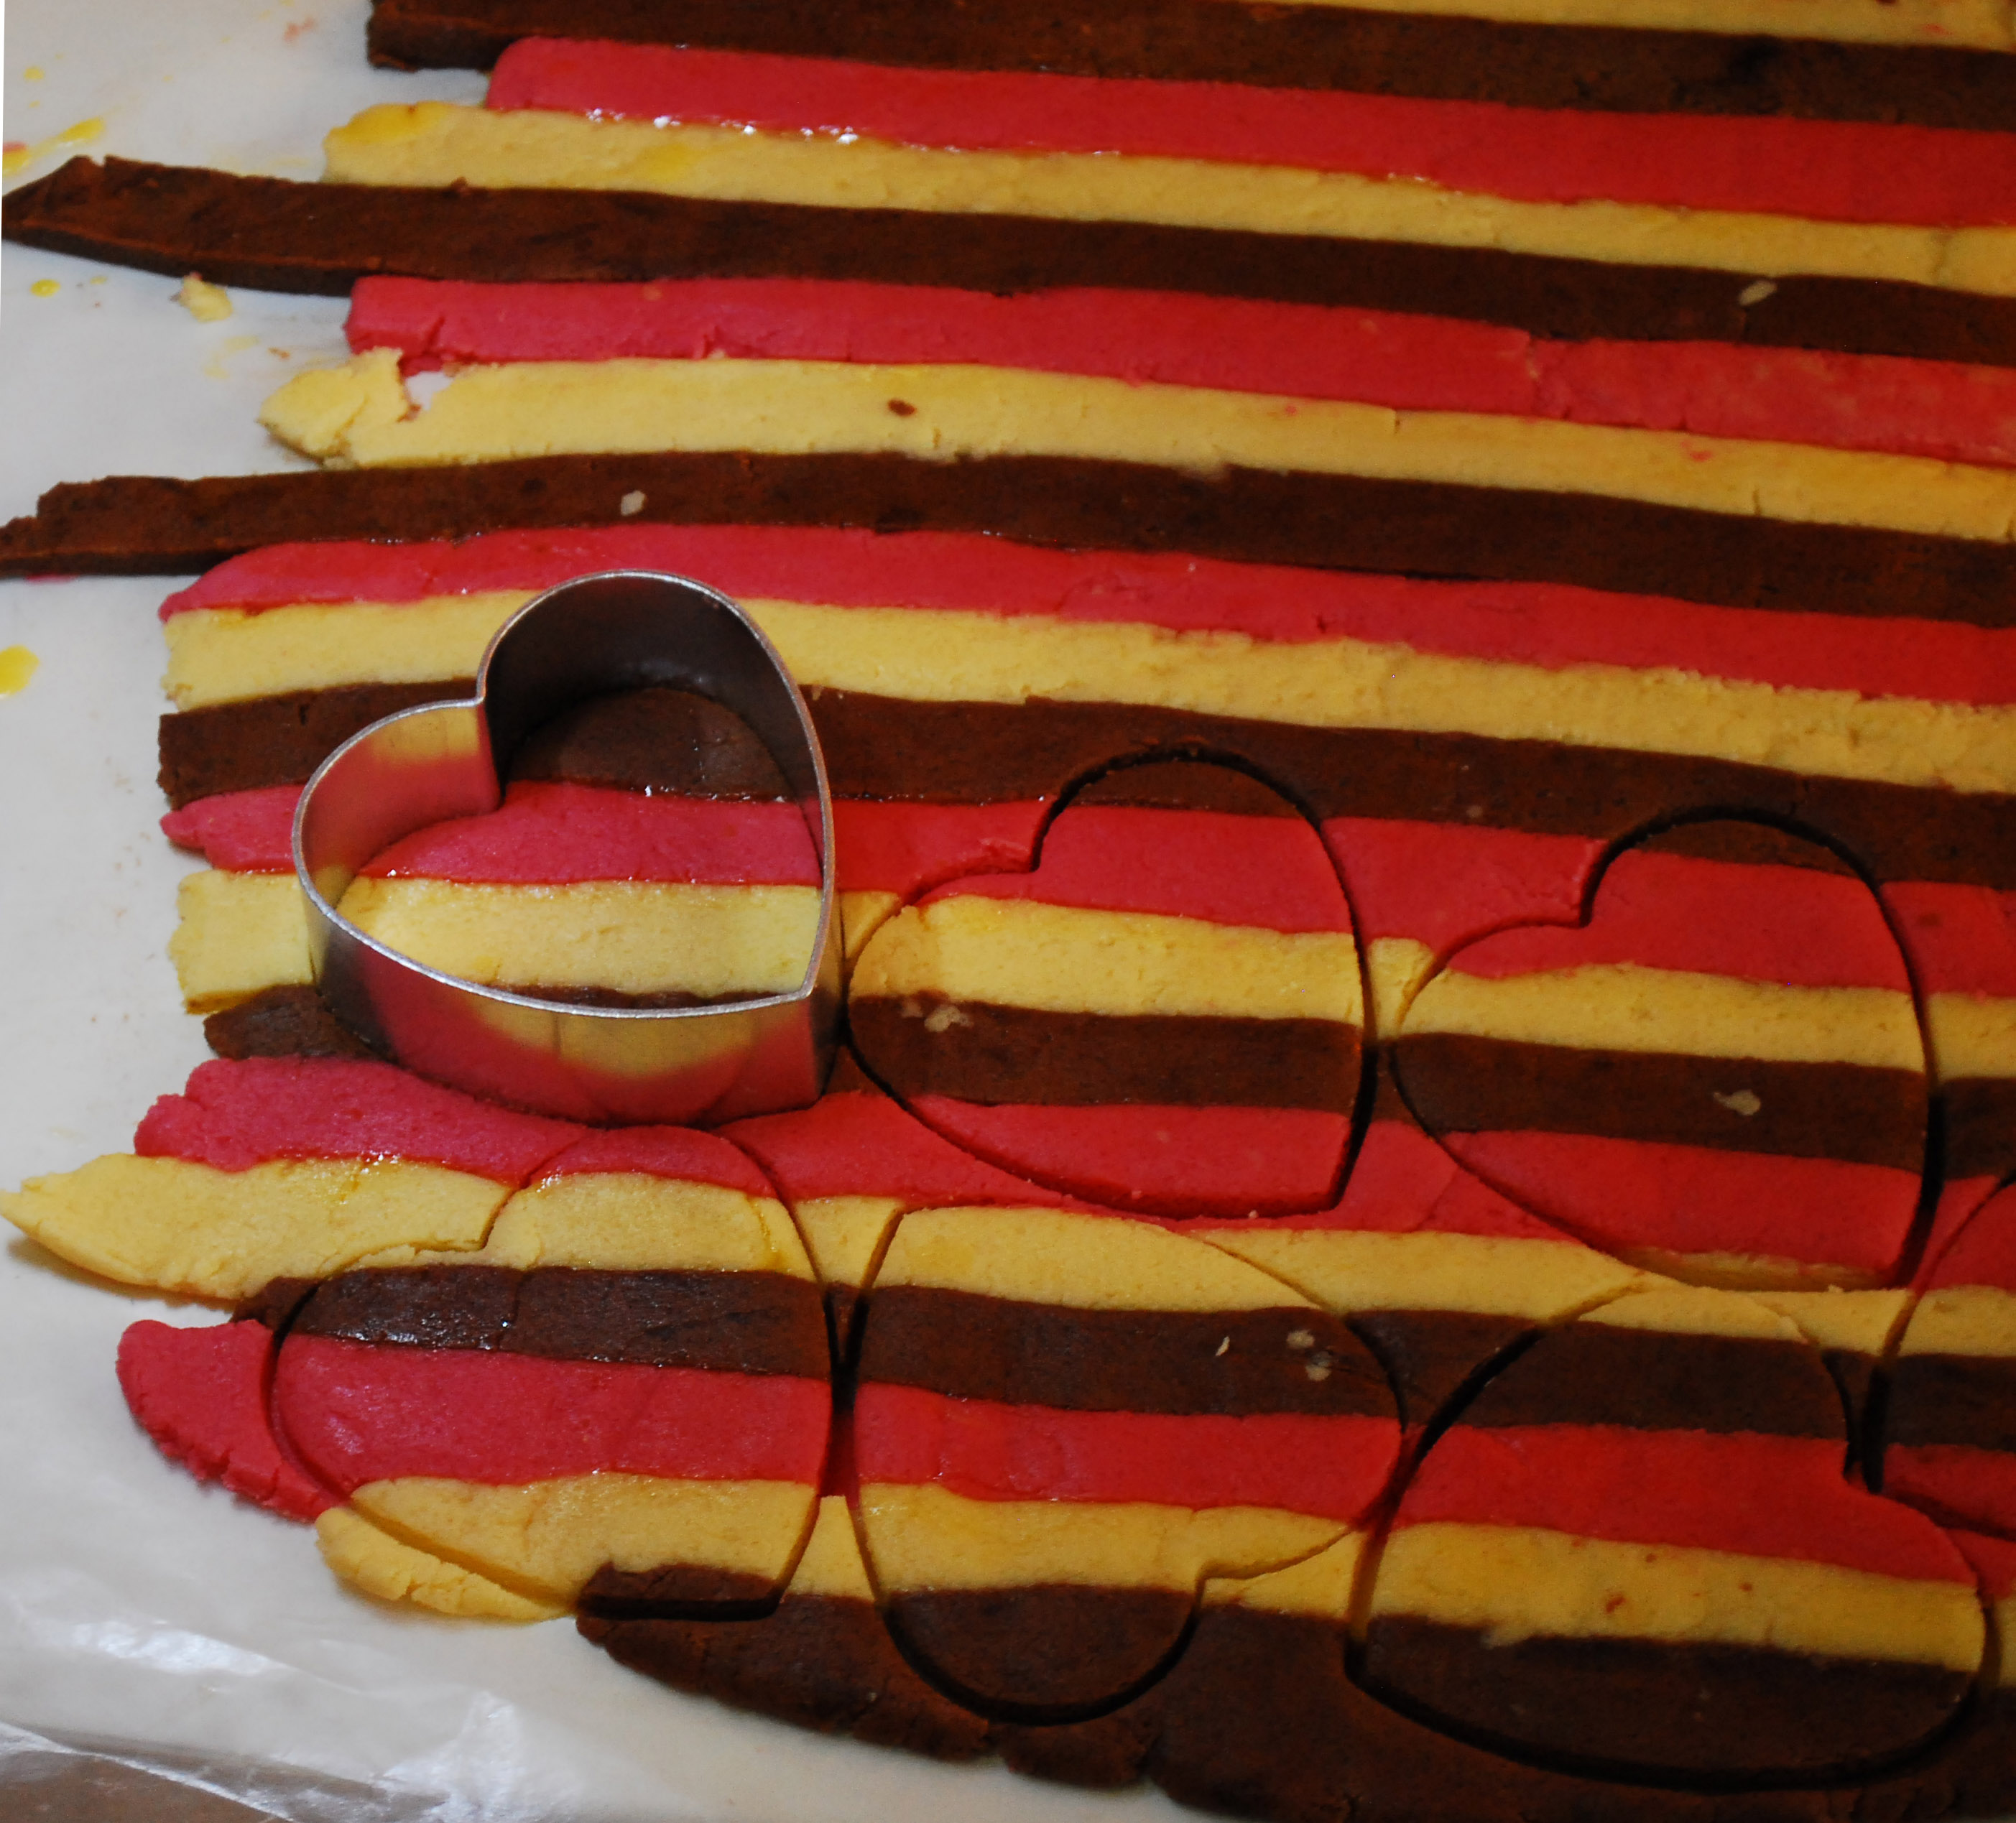
Lay a large piece of wax paper out and spread egg and water mixture on a small strip of the wax paper before placing a strip of brown dough on it. Then repeat with pink and white strips using the egg mixture as a “glue”… continue process till you have a large striped dough pattern. Finally take a heart cookie cutter and cut  hearts out of the pattern.

Pre-Heat oven to 350 degrees and cook for 8-10 minutes and you have yourself a very tasty Valentine treat!