Red-Velvet Valentine’s Day Cake

chocolatepiping

Yes, I know its been a month since Valentine’s Day but to be honest, I couldn’t pass up this post no matter how late. I am putting it out there as the best tasting cake that I’ve ever made. It couldn’t of come at a better time either, as baking is my #1 method of showing my affection (which is what V-day is all about, right?).

There were many “firsts” for me in baking this cake, it was my first try at: red velvet cake, a 6-layer cake, filling with whipped cream… my first successful piping experience, the first cake that I’ve made for a specific occasion other than a birthday, to Megan’s delight, my first time using the cake plate she bought me for Christmas, and last but not least, the first cake that I’ve properly hoarded all for myself!

actualinside

The reason I enjoyed this particular cake so much is its unique combination of flavors. As is tradition for a red-velvet cake, there is a cream cheese based filling which then alternates with a pink-colored, vanilla whipped cream. Covering the outside of this cake, is possibly the best chocolate icing I have ever tasted. However, the prize-winning factor has to do with the original nature of red-velvet cake. Unlike many cakes that I bake, this cake is “not” overwhelmingly CHOCOLATE… red-velvet cake is no more than a vanilla cake with a bit of added cocoa and a bunch of red food coloring. Hence, the ratio of vanilla to chocolate is just right.

topview

The genius behind this monstrous cake can be found over at Sweetapolita -you can find the recipe and full description here.

Cupcake Phase

For the past month my oven has experienced literal tidal waves of cupcakes entering and exiting by the dozens. Seriously, for about a week, J, M, & M could expect a fresh cupcake every afternoon awaiting their return from school. Other than spending WAY too much time researching cupcake flavor variations, gaining a quite few extra pounds (eek!), and frustrating my Mother to no end with piles of dirty dishes, I have immensely enjoyed these sugar-filled days of baking.

We are a little s’more-crazy around here, so I couldn’t resist trying the cupcake form of a traditional campfire s’more… The first time around, I piped a fluffy meringue atop chocolate cupcakes. Sadly, however, I couldn’t taste the true “marshmallowy creaminess” famous in s’mores. Hence, a few days later, I tried a completely different frosting made from cream cheese and marshmallow fluff.
take1

At this point, I am still tackling the introductory techniques of cupcakes. I have not reached the level of originality and creativity required for developing new flavors and design aesthetic. For now, I am benefiting from the experience of all the excellent bakers ahead of me… this particular recipe was developed by the very talented Rosie from Sweetapolita. She is such a sweetheart and I am constantly wowed and inspired by her work.
take202
There are actually four parts to these cupcakes. 1.) graham cracker (or digestive cookie for those of us living overseas) crumbled base. 2.) Chocolate cupcake. 3.)Dark chocolate glaze spread directly onto the surface. 4.) Marshmallow frosting piped on top. I find this combination a perfect ratio of each s’more component: cracker, marshmallow, and chocolate bar.
take201
Parts #2 and #4 are found here, and parts #1 and #3 are written below.
Graham cracker crust:

  • scant 1/2 cup butter 1-1/2
  • cup of Graham crackers crumbled

Chocolate Glaze:

  • 2/3 cup Dark Chocolate chopped
  • 2 TBL Heavy Whipping Cream
  • 4 TBL Powdered Sugar
  • 4-5 TBL warm Water

(~credit given to Bakersroyale for the above recipes)

Cake Challenge: August

Remembering what a hit January’s cake was, I decided to try it again but this time with a simple chocolate cake accompanied by smooth vanilla buttercream filling.

This particular cake was a surprise Birthday dessert for our good friends, the Gohs. A couple of weeks ago, Mr. Goh emailed my Mom about joining their family for Thai food at an eclectic restaurant in downtown Tianjin to celebrate Mrs. Goh’s Birthday. Of course Mom (the courteous mother she is) felt compelled to bring something along to the dinner. So she replied asking if we could provide the B-day cake for Mrs. Goh.  Mrs. Goh has always been a very encouraging supporter of my baking passion and she herself is a queen of creative scrapbooking so I definitely wanted to bake something special for her. This cake was the result…

our family met them at the restaurant and enjoyed a lovely dinner and (an even lovelier) cake. ~Unfortunately the Gohs arrived at the restaurant before we did and seeing 11 seats at their reserved table, Mrs. Goh soon guessed who would be joining them for dinner.

In the end, I have to say my favorite part of baking cakes are the memories I hold with those I share them with.

<Cake Challenge Series: is a collection of posts which document the cakes I bake each month. More specifically, I have a goal this year to bake at least one (hopefully spectacular) layer cake each month, and photograph/post them here. I hope you enjoy this collection as much as I enjoy baking these delicious desserts!>

Other Cake Challenge Posts:
January 
February
March 
April
May
June

 MAKE YOURSELF:

Swiss Meringue Buttercream Filling: find a thorough set of instructions here.

Espresso Drizzle: find recipe in the Cake Challenge: January post.

Click on this post to see recipe for Chocolate Cake (scroll to the bottom).

Tall Buildings

I did it! I actually created my very own Tumblr photo blog and to be completely honest I think it’s pretty successful so far…

When I first had the idea to create an account on Tumblr I thought of the name Tall Buildings because of all the tall structures around me in 天津 (TianJin). The more I discover the vast world of photo blogging, the more I realize that searching for inspirational photos will never get old for me!

I’ve always had trouble not knowing exactly what to spend my free time on (hobby-wise). You see, Rachel bakes, Jessie is obsessed with Adobe Illustrator, Michael is artistically gifted in everything but I never had anything in particular that I enjoyed. Yet, now I’m pretty sure I’ve found my passion in photography, and not only just taking pictures but sharing them as well! The inspiration you can find in photoblogging is incredible, from old timey photos to vibrant modern ones, the flow of inspiration never ends!

Cake Challenge: January

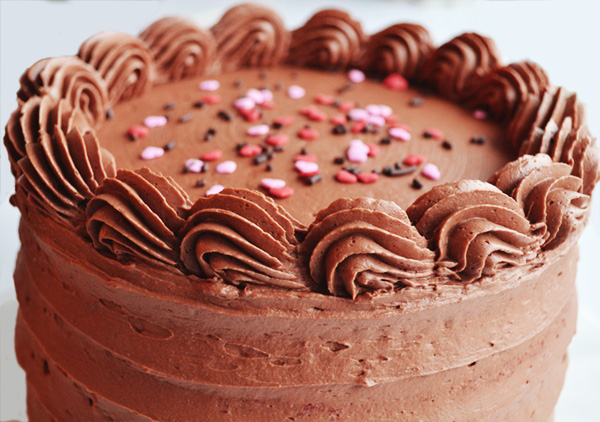
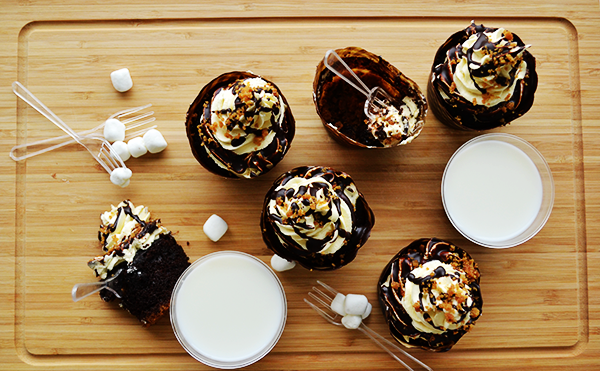
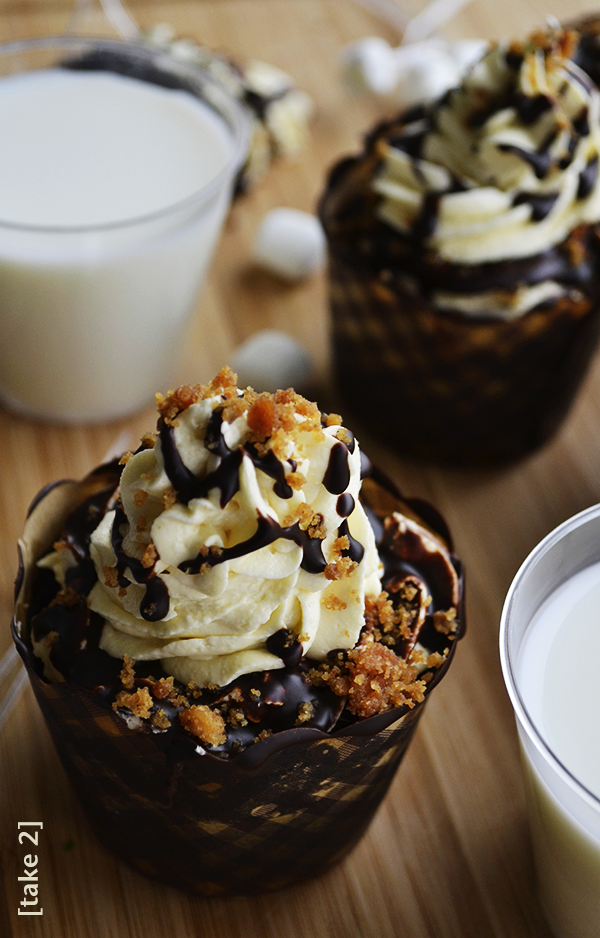
Mocha Espresso Drizzle Layer Cake:

Cake Challenge Series: is a collection of posts which document the cakes I bake each month. More specifically, I have a goal this year to bake at least one (hopefully spectacular) layer cake each month, and photograph/post them here. I hope you enjoy this collection as much as I enjoy baking these delicious desserts!

I’m happy to say that I was able to achieve my goal, for the first month at least. My first triple decker cake this year (and EVER) was from my new cookbook, Sky High. The texture of this cake is more dense than it is fluffy. Personally I enjoyed the change, I’m so used to vanilla cakes with sugar based frosting, so this coffee flavored cake with expresso glaze tasted heavenly.

As I describe this to you, I have to remember all the things that did NOT go right when making this cake. You see, I started this venture with high hopes, the ingredients were measured, the batter was spun to perfection, the oven was ready… but little did I know my “ready” was the wrong temperature. Sadly, the first two layers were slightly overcooked and a bit dry. And although the last layer was baked to delicious moistness, more problems were awaiting when I began the glaze. As you will see below, the expresso glaze calls for a bag of white chocolate chips melted. <This was when I started hitting bumps in the road.> THE CHOCOLATE WOUDLN’T MELT! My parents and their friends were coming back for dessert at our house and the glaze wasn’t even close to completion! At this point, I was quite disappointed with myself and honestly just wanted to give up. Jessie keep me going though, she never gave up hope while I on the other hand was pacing back and forth voicing “what ifs” here and there… after much stress and multiple rounds in the microwave, the chocolate finally loosened (I think something was wrong with the chocolate and that is why it wouldn’t melt).

Finally, I mixed in the the sweetened condensed milk, other ingredients and vuoila, the glaze was done. My parents were already home waiting for the cake and although the glaze was on the thin side, we quickly assembled the cake and brought it out to be served. I was definitely not eager to serve this cake; after agonizing over it for so many hours I thought that it would taste horrible for sure. But it DIDN’T! On the contrary, I quite liked it… As I happily ate this beautiful cake, I reflected on my baking experience and found that…

Baking my first layer cake taught me three things:
1.) Check the oven temperature before you start baking!
2.) Only make chocolate based icings/glazes when you are mentally, emotionally, and physically sound- and don’t start unless you have LOTS of time.
3.) If you taste bits of cake crumbs and licks of icing here and there, you won’t have any appetite left to eat the finished creation!


Mocha Cake

Ingredients:
1 cup freshly brewed espresso OR double-strength coffee
2/3 cup of unsweetened cocoa powder
4 eggs
2/3 cup buttermilk
1 1/2 teaspoon vanilla extract
2 2/3 cup cake flower
3/4 teaspoon baking powder
1/2 teaspoon salt
2 sticks (8 ounces) unsalted butter

Method:
1.Preheat the oven to 350 degrees F. Butter the bottoms and sides of your cake pans.
2. In a medium bowl combine the hot coffee and the coca stirring until the mixture is dissolved into a glossy, smooth mocha. Let cool to room temperature.
3. In another bowl beat eggs lightly and whisk the buttermilk and vanilla in.
4. Place all the rest of the ingredients (dry) into a mixing bowl. With the mixer on low first add butter, followed by the mocha mixture. Beat until well incorporated. Raise the mixer speed to medium and blend until light and fluffy, at this point add the egg mixture in three additions.
5. Bake the cake layers for 35-38 minutes or until a wooden toothpick inserted in the center comes out almost clean but still moist. Let cool in pans for 10 minutes then invert onto wire racks.

Espresso Drizzle

Ingredients:
12 ounces white chocolate
3/4 cup sweetened condensed milk
6 tablespoons freshly brewed espresso OR double-strength coffee

Method:
1. Melt the white chocolate using either a double boiler (more reliable) or a microwave.
2. Whisk in the sweetened condensed milk and espresso until smooth. (If your drizzle is too thin, stick it in the fridge for an hour)

To assemble simply pout glaze in between each layer of cake, and add more on the top layer so that it will drizzle over the sides!