Shake it Bom Bom!

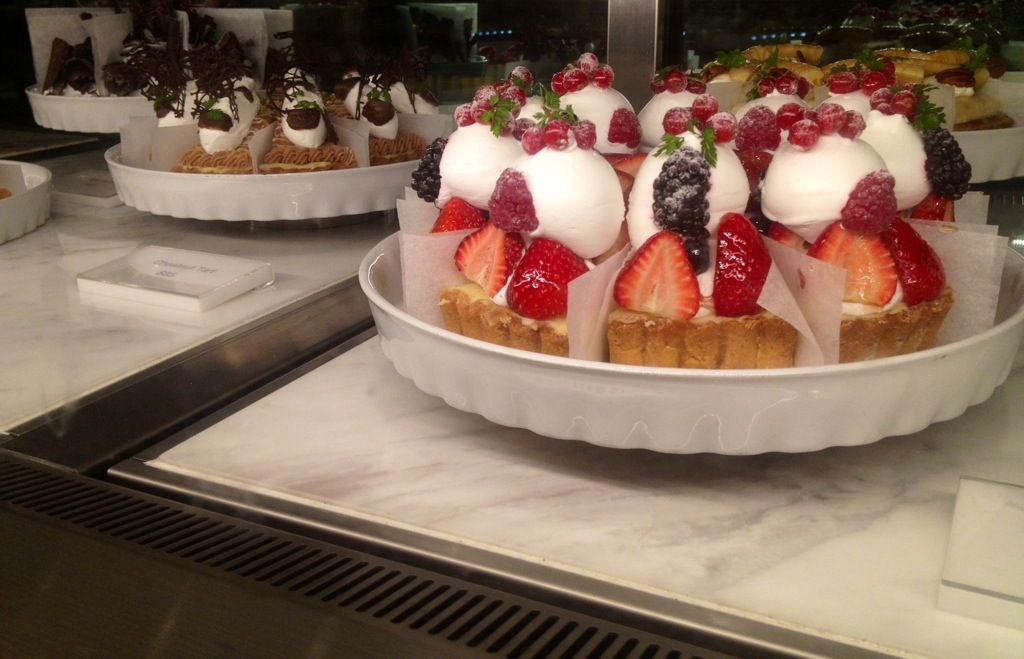
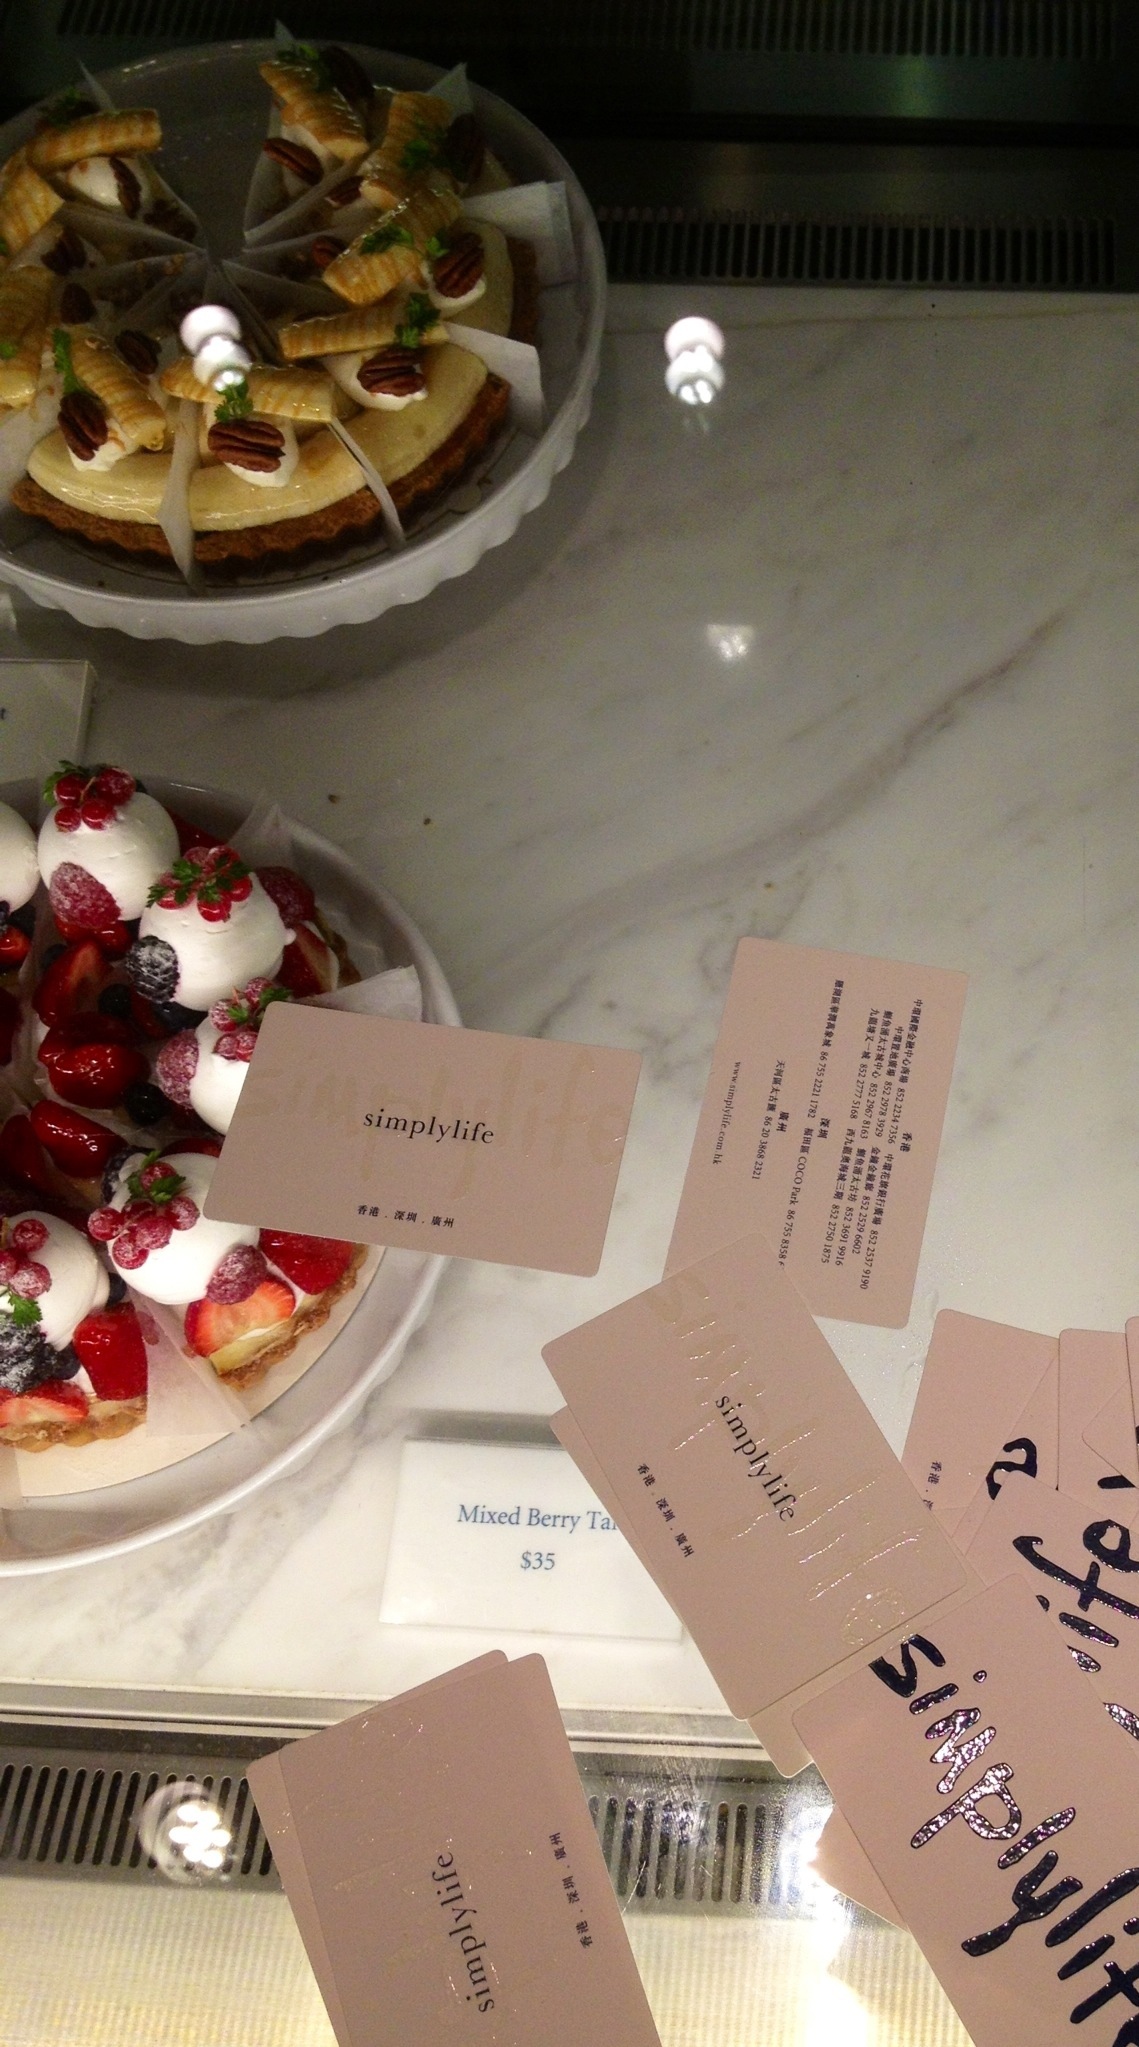
To all my food fanatic sisters: Off to meet Bianca today in Admiralty (buzzing hub of business, shopping and food, just one stop from central). I have to say, this place really provokes my weakness for all things over-designed, trendy, and ultra expensive.. On a more positive note about the outing-not only does the restaurant bring a level of nostalgia-I know Simply Life is one of Rachel’s and mom’s favorites in Hong Kong, but also meeting a dear family friend touches that soft spot for my family love.
20130402-142144.jpg

As I roamed through the racks of lace, neon pinks, and over priced hello kitty dolls, what music was playing, but the very same “Science Fair Theme Song”: Bom Bom by Sam and The Womp! Immediately, I thought of Jessie and Maddie and the crazy nights spent prepping for their third place overall at the China-wide Intel Science Fair. (Great job by the way girls!! So proud of you and ready for some detoxed micro-environments!)

Last night I was also listening to a song that reminded me of you crazy girls-Shake It Out by Florence and The Machine. I remember discussing the lyrics with Rachel and singing it all over the house last time I was in Tianjin.
20130402-142132.jpg
(Can I just have all of you girls back here in HK for some Simply Life with Bianca and me??)

So I was just thinking.. Any of you up for a challenge? What a better way to connect than singing.. And with our music addictions, I wanted to cover one of these two (or both? Mash up??).
The Sketchbooks Have Arrived!

Last summer, as Michael and I were searching around for ways to develop our personal artistic style and technique, we stumbled upon The Sketchbook Project. This organization caters to individuals wishing to showcase their creativity and artistic ability; they send out blank sketchbooks to people all around the United States, who then paint, collage, draw, or sketch in them (returning the completed books to The Sketchbook Project a few months later). All of the sketchbooks are taken on tour around America and eventually uploaded onto the computer to be personally accessed from their digital library.

Long story short, Michael and I each ordered a blank sketchbook last summer, and unsurprisingly it sat comfortably on my shelf, untouched until January. While on Christmas vacation, I received a reminder, alerting participants of the fast-approaching deadline in one month – what a shocker! Would I let my money go to waste and pass up the opportunity to participate because of my procrastination? Never!

I had essentially one week remaining to fill the sketchbook and return it to The Sketchbook Project . Hence, for the next 5 days, I woke up, bussed to and from school, put together a tea tray for myself, and sketched until bed time (my perfectionism certainly heightened the pressure). I finished it by the end of the week, and was very proud of the “rushed” outcome.

I learned several things about myself through the completion of my sketchbook… 1.) When I persevere in something that requires daily attention, and reach the definite “finish line,” I find myself missing the work that caused so much stress! 2.) In this project I had no time to second-guess my work or ask for constructive criticism… being forced to go with my gut, I learned to be confident in my ability. Indeed, I do not wish to discredit input from others, I am just glad for the opportunity to swim whichever way I please in this great ocean of creativity.

Thanks, Michael, for making me do this; I loved it!

[issuu layout=http%3A%2F%2Fskin.issuu.com%2Fv%2Flight%2Flayout.xml showflipbtn=true documentid=130326070247-a48ddb7cc5364e2fa51994ad9a64e939 docname=black_pen_brown_paper username=connectfour loadinginfotext=Black%20Pen%2C%20Brown%20Paper showhtmllink=true tag=art%20house width=420 height=360 unit=px]

Reaching Out on Valentine’s Day

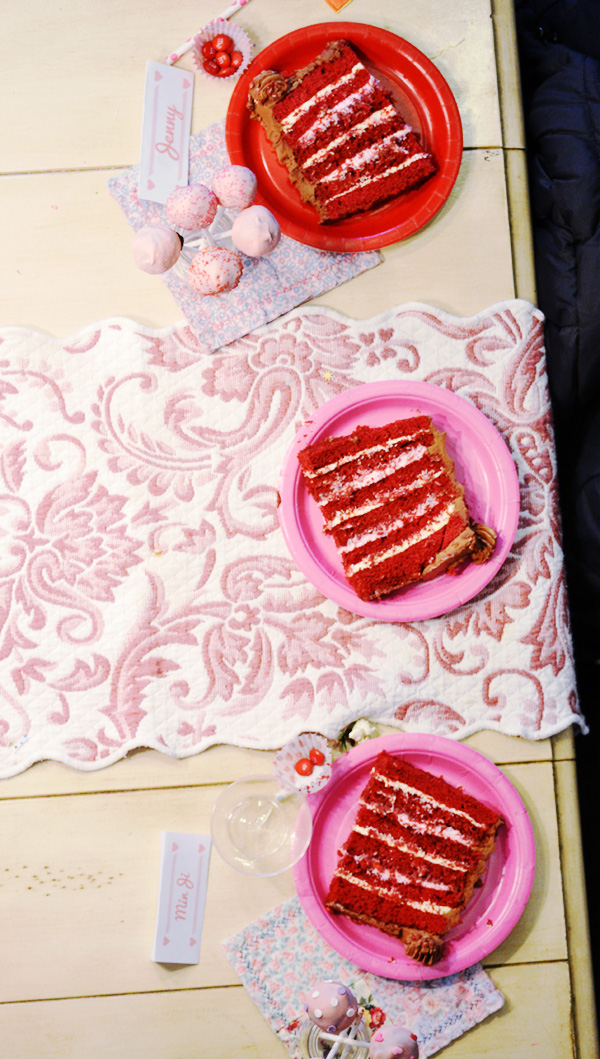
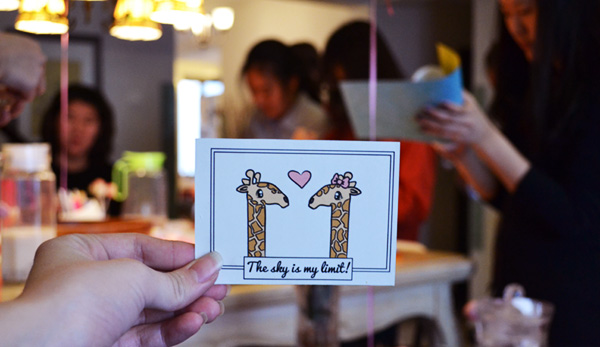
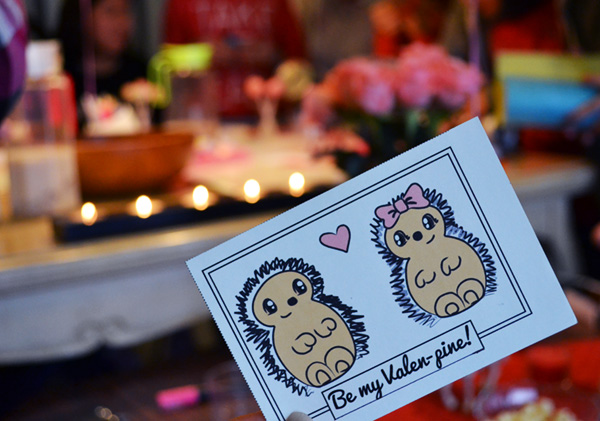
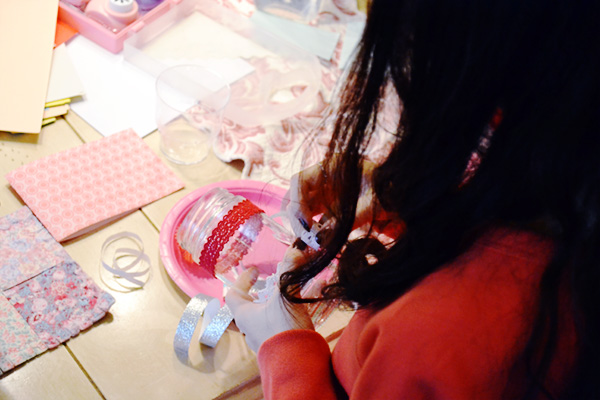
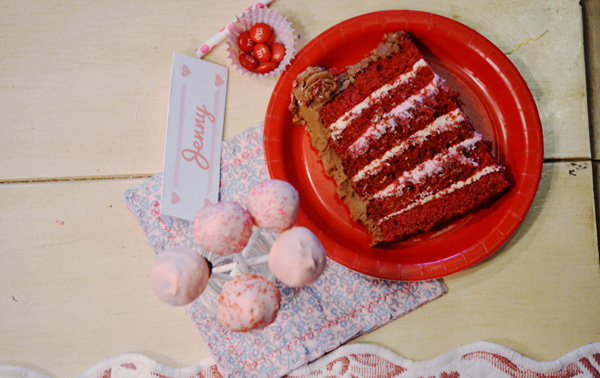
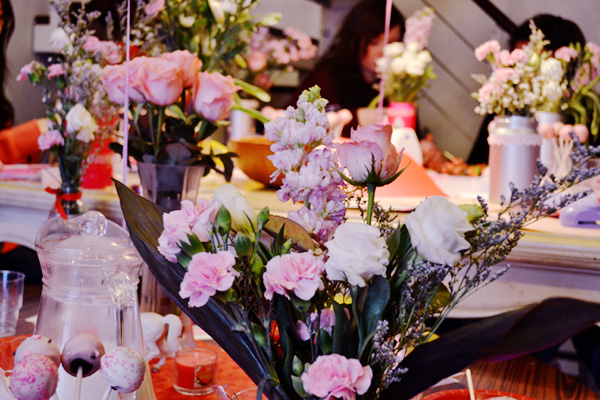
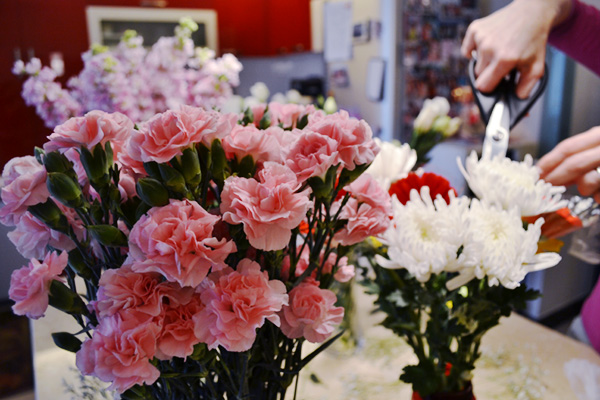
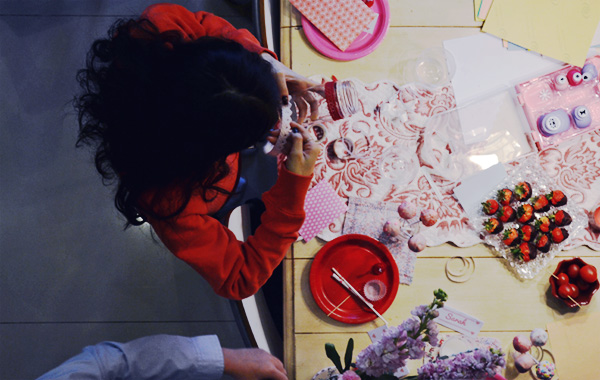
For Valentine’s Day this year, Jessie, Maddie, and I, invited some friends over for flower arranging and some much needed spring-time festivities. It took a full two days to prepare for this get-together. The first day was spent traveling around 天津 looking for materials, buying flowers, and finalizing snack menu ideas. We then spent the actual morning of the party; cleaning a very cluttered house, assembling a cake (most of the hard work was done the night before), and arranging table settings. Of course my favorite part of the preparations, was to bake the Valentine’s cake…  second to that, I enjoyed setting out flowers (in preparation for the bouquets), as well as decorating the table with candy and anything rosie&pink.  

carnation

jennyabove

I loved watching the creativity flow throughout this flowery project. Watching the unique style of each individual was so enchanting- their personalities were expressed through such distinct and beautiful technique.

threecakeThe lesson I learned through this, was to host more than just one or two gatherings a year! Its not until I am in the midst of something like this, that I realize how much fun I am having. Spending time in fellowship with friends (outside of school and mandatory events) is more important than I often give credit.  Ask Jessie, Maddie, or Michael and you will know that I am terrible at hosting events and am often not willing to get out and socialize much. SeriouslyI am such a home-body.

giraffe

pine

jennyside

onecake

singlevase

and let me just say that Jessie and Maddie are such pleasant people to collaborate with on these type of things…

I so didn’t deserve to be blessed with such precious sisters. Jessie inspires me to forget myself and dive into adventures with hard work and lots of prayer! She is honestly the hardest working person I have ever met… she will be a treasure to her future boss 😉 Maddie is completely un-phased by life’s troubles, she lets go and enjoys life… free to be herself. I wish I had her confidence and spirit! Hosting this party with these two was delightful.

group

Irresistibly adorable group photo, I know.

flowers

Cheers to friendships and creeping out of that ever clinging comfort zone.

Red-Velvet Valentine’s Day Cake

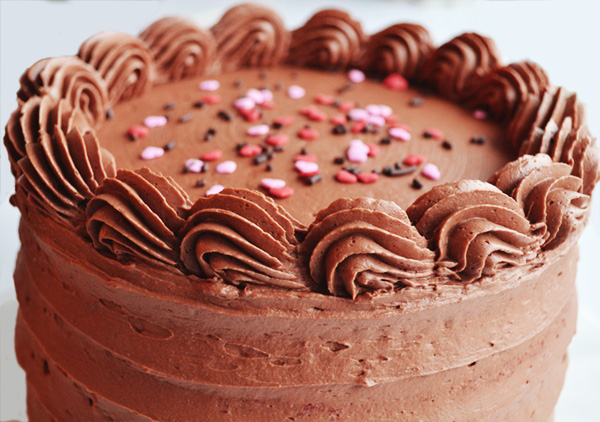
chocolatepiping

Yes, I know its been a month since Valentine’s Day but to be honest, I couldn’t pass up this post no matter how late. I am putting it out there as the best tasting cake that I’ve ever made. It couldn’t of come at a better time either, as baking is my #1 method of showing my affection (which is what V-day is all about, right?).

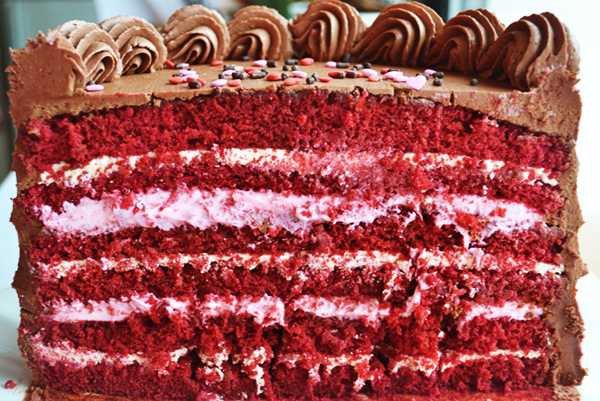
There were many “firsts” for me in baking this cake, it was my first try at: red velvet cake, a 6-layer cake, filling with whipped cream… my first successful piping experience, the first cake that I’ve made for a specific occasion other than a birthday, to Megan’s delight, my first time using the cake plate she bought me for Christmas, and last but not least, the first cake that I’ve properly hoarded all for myself!

actualinside

The reason I enjoyed this particular cake so much is its unique combination of flavors. As is tradition for a red-velvet cake, there is a cream cheese based filling which then alternates with a pink-colored, vanilla whipped cream. Covering the outside of this cake, is possibly the best chocolate icing I have ever tasted. However, the prize-winning factor has to do with the original nature of red-velvet cake. Unlike many cakes that I bake, this cake is “not” overwhelmingly CHOCOLATE… red-velvet cake is no more than a vanilla cake with a bit of added cocoa and a bunch of red food coloring. Hence, the ratio of vanilla to chocolate is just right.

topview

The genius behind this monstrous cake can be found over at Sweetapolita -you can find the recipe and full description here.

A Little Coffee, A Little Chat

In Chinese you would say “一边喝咖啡,一边聊天”, which quite literally means “A Little Coffee, A Little Chat”. Sometimes (okay – most of the time) coffee and good, long conversations can do wonders for one’s mood. Thankfully, Rachel was up for just such an outing. We dressed up for the occasion and were off to a cozy coffee shop.

Unfortunately, choosing the day of China’s Lunar New Year (their biggest holiday of the year), most of the cafes we moseyed over to were closed! In a final attempt to follow through with our plan, we spotted the Korean owned, “Alice Cafe,” with doors open and ready to serve us some Joe.

coffee

The great thing about going out with Rachel is that I never feel strained to carry on conversation. We both worked on separate projects until either her or I sparked an interesting topic, which was then talked through to completion…

feet

As we ended our stay (which had lasted three hours +), we took advantage of Cafe Alice’s adorable store front by shooting a few photos, (this didn’t last long because it was freezing outside!)

rachel

jessie

Cupcake Phase

For the past month my oven has experienced literal tidal waves of cupcakes entering and exiting by the dozens. Seriously, for about a week, J, M, & M could expect a fresh cupcake every afternoon awaiting their return from school. Other than spending WAY too much time researching cupcake flavor variations, gaining a quite few extra pounds (eek!), and frustrating my Mother to no end with piles of dirty dishes, I have immensely enjoyed these sugar-filled days of baking.

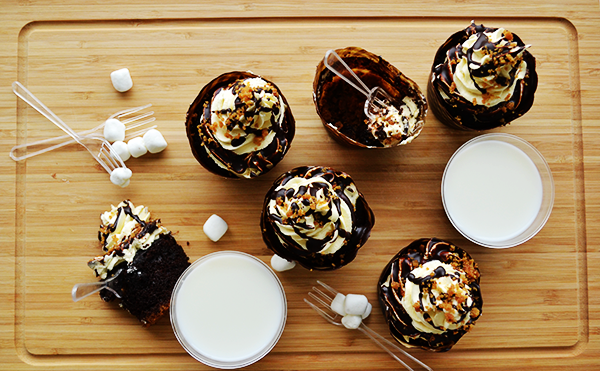
We are a little s’more-crazy around here, so I couldn’t resist trying the cupcake form of a traditional campfire s’more… The first time around, I piped a fluffy meringue atop chocolate cupcakes. Sadly, however, I couldn’t taste the true “marshmallowy creaminess” famous in s’mores. Hence, a few days later, I tried a completely different frosting made from cream cheese and marshmallow fluff.
take1

At this point, I am still tackling the introductory techniques of cupcakes. I have not reached the level of originality and creativity required for developing new flavors and design aesthetic. For now, I am benefiting from the experience of all the excellent bakers ahead of me… this particular recipe was developed by the very talented Rosie from Sweetapolita. She is such a sweetheart and I am constantly wowed and inspired by her work.
take202
There are actually four parts to these cupcakes. 1.) graham cracker (or digestive cookie for those of us living overseas) crumbled base. 2.) Chocolate cupcake. 3.)Dark chocolate glaze spread directly onto the surface. 4.) Marshmallow frosting piped on top. I find this combination a perfect ratio of each s’more component: cracker, marshmallow, and chocolate bar.
take201
Parts #2 and #4 are found here, and parts #1 and #3 are written below.
Graham cracker crust:

  • scant 1/2 cup butter 1-1/2
  • cup of Graham crackers crumbled

Chocolate Glaze:

  • 2/3 cup Dark Chocolate chopped
  • 2 TBL Heavy Whipping Cream
  • 4 TBL Powdered Sugar
  • 4-5 TBL warm Water

(~credit given to Bakersroyale for the above recipes)

Remembering Winter.

I appreciate the slowness of wintertime, long days cozied up inside provide time to think, rest with family, and pray. Thinking back on the past few months, I fondly remember…

quiet snowfalls. hot showers. pijama tea times.

Untitled-1

drinking lattes. Christmas decorating. cakes, cookies, and pies constantly filling our oven. reuniting with old friends. animal onesies! breakfast time with Mom. encouraging notes. Skype dates with Michael. freezing motor bike rides. late night movies. new kitchen countertops. Malaysian food. Sunday afternoons with friends.

Untitled-13

visiting Michael in HK. Asian desserts. training for a 1/2 marathon (still a long way to go!). Barbie movies with Megan. mittens and ear muffs. black coffee. Dad’s B-day. reading. spending time with Jesus. 

Untitled-12

Its been a long, cold, magical winter and I will surely miss it.

The month of March is now upon us…

While that means fickle weather patters for the present, springtime will soon sprout up spreading freshness wherever it goes.  A new chapter filled with pastel-tinted flowers, warm sunshine, and Easter-morning dresses is now beginning.  How thankful I am for season changes 🙂 I fully expect spring to be as blessed as winter was.

(most of the pictures shown above were used on connecting4’s instagram feed: connectingfour)

From the Studio: Analysing Yau Tong

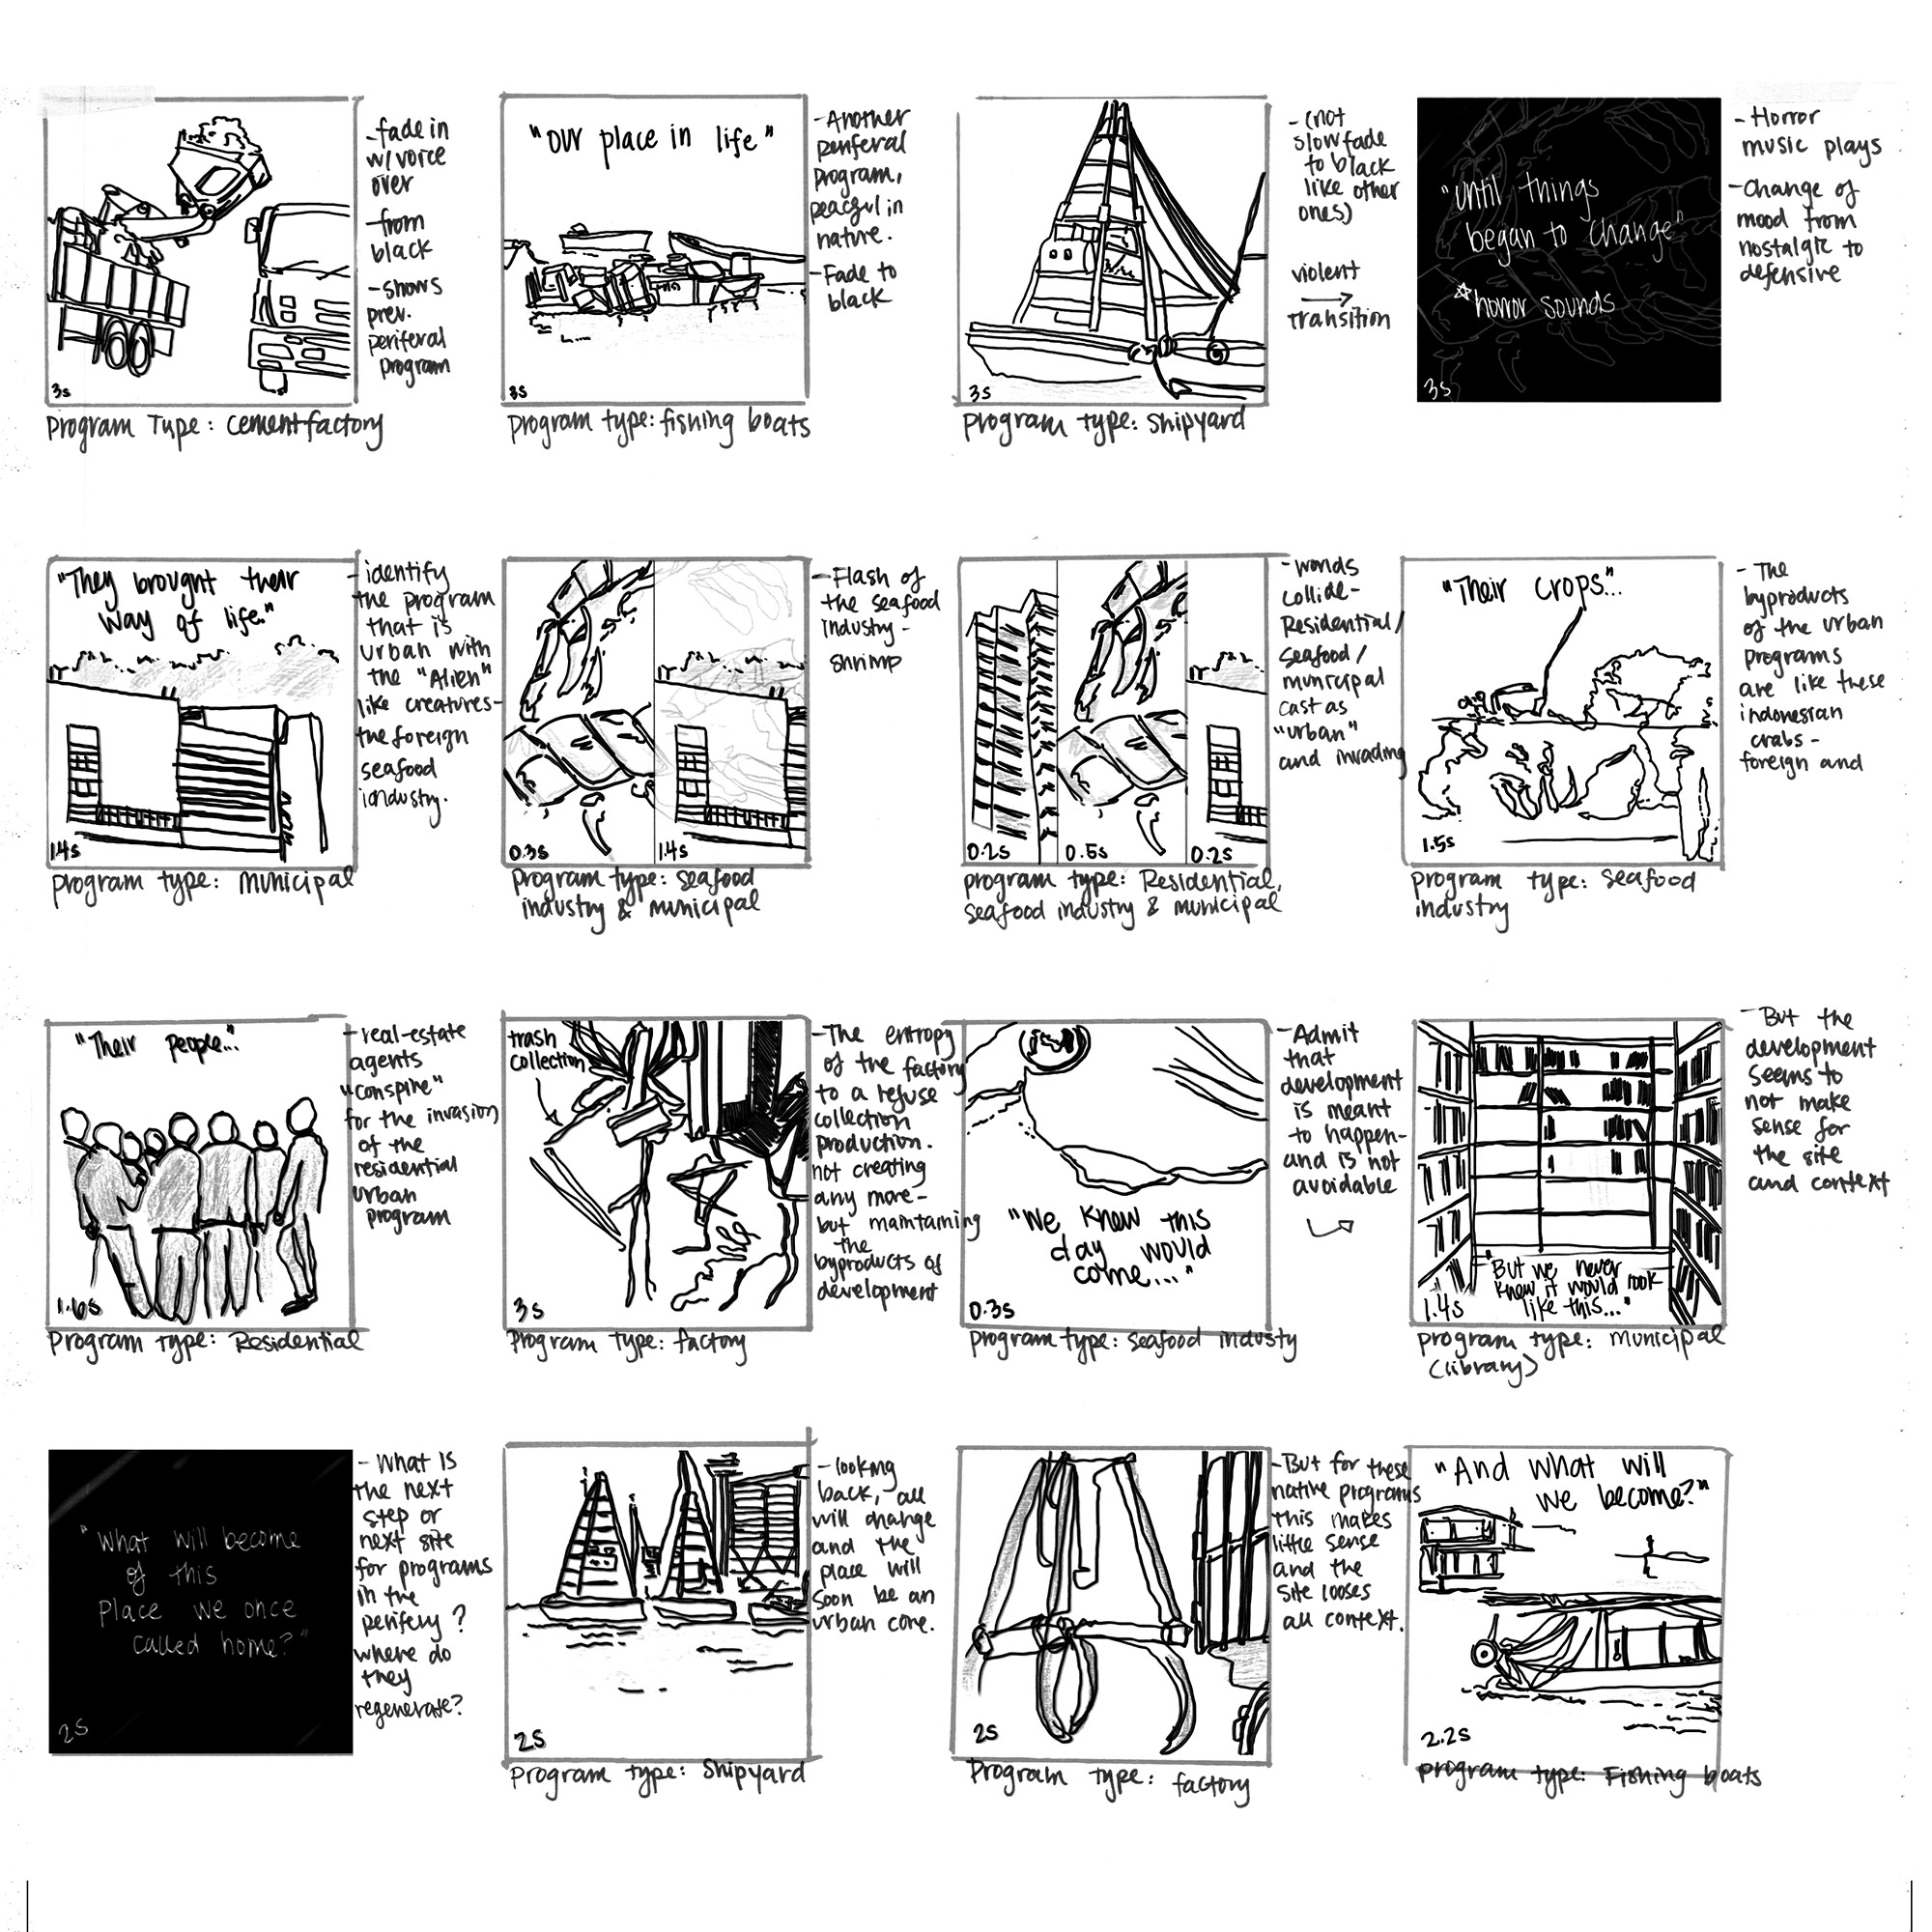
Our first project of the semester involved analysing the peripheral site, Yau Tong.

IMG_3824

StoryBoardFinal1

DSC_0081

I loved getting around the site and exploring the area. We produced this drawing throughout the first few weeks- looking at how specific areas of the site effect each other and how we can draw conclusions from those findings.. (click the image for a closer look)

PannelProject1

DSC_00722

How To : Adobe Illustrator Geometric Art

You may remeber my  preview posts of geometric renditions of Audrey Hepburn, The Girl with the Pearl Earring, and Twiggy; well today we are going to learn how to create a geometric-art-form of any picture!   The process is quite simple if you’re willing to invest time in creativity. I practice Adobe Illustrator concepts (such as this one) while watching movies with Rachel and Maddie (just to keep my hands productively busy!).

You will need Adobe Illustrator (CS3-CS6 will do) and a favorite image of yours.  As you can see, the picture I chose was one of Wall-E.

1. First step: place your picture into Adobe illustrator.  File > Place > (choose picture).

20130510-Betty-8

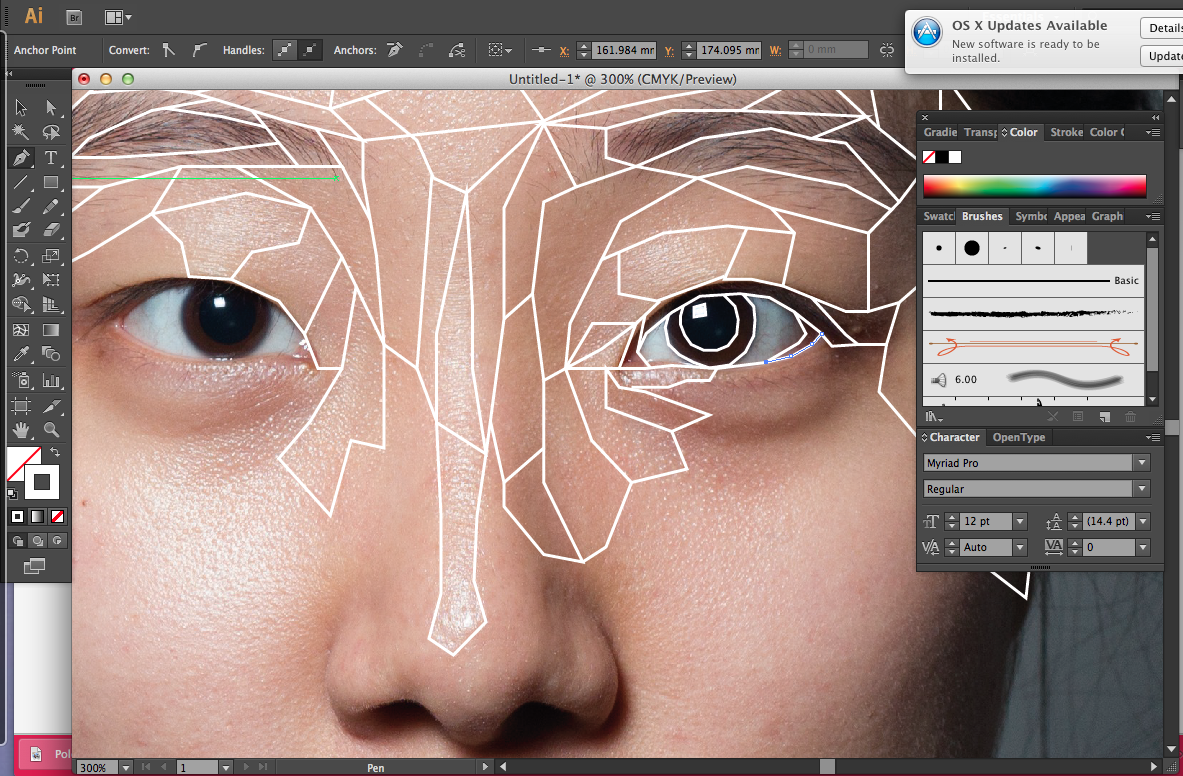
2. Once you have your picture into Illustrator, zoom into the spot that you will be starting with.
-Choose the pen tool and make the stroke color white with a weight of 1.
-Start creating a “jigsaw” of geometric shapes on top of the picture (these shapes should surround an area of the picture where the pixel color is generally the same).
If you would like this to be a very detailed and precise rendition of the picture, then create smaller geometric shapes in order to get more clarity.  If you would like your picture to be more rustic/abstract,  feel free to make your shapes larger and cover more shades of color.

~I went for the more detailed geometric look for this particular picture.
Screen Shot 2013-05-15 at 10.46.32 PM

3. Whew!  took longer than you expected right?  Well this next part is fun!
-Now that you have all your geometric lines drawn, use the arrow to select all the shapes (make sure you do NOT include your background picture).
-(with the shapes selected) > Live Paint > Make.  Now that they are “live paint” you may fill each shape according to the instructions below…

Screen Shot 2013-05-15 at 11.40.21 PM

4. Now you need to use the Eyedropper tool and the Paint Bucket tool interchangeably to get the general shade of color from the shape’s picture underneath.
-To be more specific: For each shape use the eyedropper to collect the color (from the picture underneath). Once you’ve collected the correct shade, use the Paint Bucket to fill the shape.  Repeat this step until you have filled every shape. ( Doesn’t this just bring you back to your “coloring book” days?)
– Now delete the background image to check if you have filled every space- if not, click ‘edit undo’ and complete filling the geometric spaces.

Screen Shot 2013-05-16 at 12.08.02 AM

Screen Shot 2013-05-16 at 12.07.50 AM

5. Now selet the whole picture, click Expand on the top tool bar (so it is no longer a Live Paint Object) and make the stroke color transparent (the white lines should now disappear). You have now competed you’re very own geometric design!  <Add a background and some text to “spruce it up” if you’d like>.

As you can see from my previous geometric creations I usually create the whole picture, including the background.  However in this example I only rendered the face to highlight message.  Enjoy!

Screen Shot 2013-05-16 at 12.19.12 AM