Feels Like Summer

With only a few hours left in Tianjin, it is finally starting to feel like summer. Flowers are blooming, we’ve had blue skies for three days straight and the days are blending together with summer BBQs and dinners on the porch.

Needless to say, I am going to miss this a lot.

Flowers at a botanical garden in down town Tianjin.

My beautiful sister, Rachel.

Farewell Tianjin, the place where I spent one of the best summers of my life.

From the Studio: DIY Chevron Clutch

Cliche as it may be, I had to do something with this old pencil case. The Fidelity Federal Credit Union pouch was used for money, chequebooks or other documents (from my Dad’s first job at 16 years old!), but we now use it to store pens and markers. Some of the markers had discoloured the zip-up bag, and I knew the leather case could be transformed with just a bit of masking tape and some spray paint.

Time to make this into a chic clutch!

Use Masking tape to cover the area where you want to keep the original color, in my case this cool electric blue.

I painted some pink on the zipper, and lastly covered the whole clutch with silver. (Sorry for the image quality-iPhone pics!)

I really love how it turned out! The right-angled zig-zag is not quite a chevron, but it really gives a cool twist to the old chequebook carrier.

Pair this with a cocktail dress or keep using it for writing utensils.
Put it with this navy blue look, or these cute mint pants!

Cake Challenge: April

This is the cake I made for Jessie’s Birthday this year. I will just admit straight out that these pictures look like they could be used in a post titled “What Not To Do When Photographing Cake.”

1. Do not take pictures in direct sunlight.

2. Avoid late-evening-lighting because its likely your image will be dark and blurred.
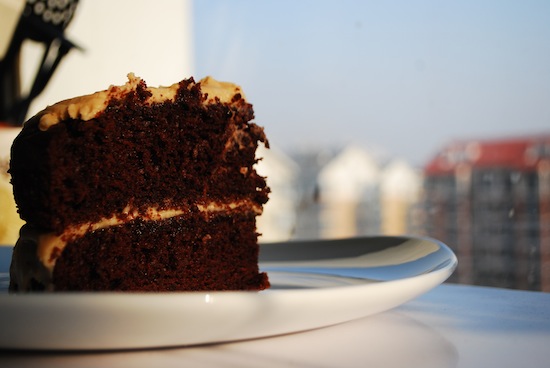

3. Take pictures of your cake “before” you dig in, blow out the candles, and remove candles (leaving horrible little holes in the icing!)
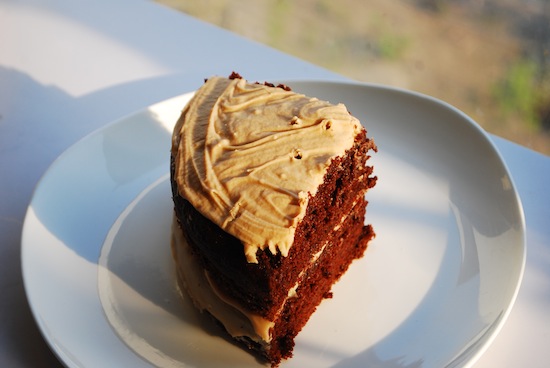
On the other hand, however, the actual cake was deliciously moist and chocolatey. I used the same espresson glaze in January’s cake for the icing, with a white chocolate mousse on the side. Again, I apologize for not showing this cake in its full glory, you’ll just have to experiment with the recipe below and make a beautifully decorated cake to redeem this one 🙂

<Cake Challenge Series: is a collection of posts which document the cakes I bake each month. More specifically, I have a goal this year to bake at least one (hopefully spectacular) layer cake each month, and photograph/post them here. I hope you enjoy this collection as much as I enjoy baking these delicious desserts!>

Other Cake Challenge Posts:
January 
February
March 
May

Chocolate Cake
2 1/4 cup flour
1 cup unsweetened coacoa powder
2 1/4 tsp baking soda
1 1/4 tsp baking powder
1 tsp salt
1/2 tsp cinnamon
2 1/2 ounces unsweetened chocolate, chopped
1 cup milk
1 1/4 cup hot coffee (strongly brewed)
2 eggs
1 cup mayonnaise (sounds weird I know, but this is the secret ingredient to SUPER moist cakes!)
1 1/2 tsp vanilla extract
2 1/4 cup sugar

1. Preheat oven to 350 degrees. Butter 3, 9-inch round cake pans, line each with parchment paper (cut to fit the bottom of each pan).
2. Sift together all dry ingredients (first 6 ingredients listed)
3. Put chocolate in a heatproof bowl. Bring milk to a simmer by heating it in a small saucepan over the stove. Pour hot coffee and milk over the chocolate creating a mocha mixture. Let sit for one minute then whisk to combine.
4. In a mixing bowl beat eggs, mayonnaise,and vanilla together until smooth then add sugar to the mixture. Alternate mixing the dry ingredients and mocha into the egg mixture until smooth. Divide batter into cake pans.
5. Bake for 25-28 minutes. Once cake pans are withdrawn from the oven, let cool 10-15 minutes before removing cakes.

White Chocolate Mousse:
4 ounces white chocolate, chopped
1 cup heavy cream
1 egg white
1 tbl sugar

1. Melt white chocolate and 1/4 cup of the heavy cream in a double boiler. Be careful to avoid overheating the chocolate or it will seize. Whisk and set out to cool.
2. In a mixing bowl beat the remaining 3/4 cup of cream until soft peaks form. In a separate bowl whip egg whites with sugar until stiff peaks form.
3. Fold the egg whites into melted white chocolate (make sure the chocolate is cooled). Finally fold the whipped cream in, as well until just combined (err on the side of under-mixing)

~enjoy 🙂

Office Project 02


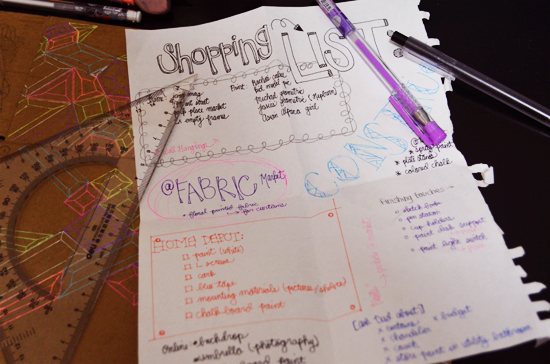
Today was step two of our shopping experience- FABRIC MARKET! Maddie joined me on the trip, which transformed the errand from a chore into a delightful outing 🙂 After 8 hours of searching through rolls of fabric, I pulled the prettiest yellow-gold fabric topped with a sea-breeze-blue pattern. It brightens the office significantly, and adds a bit of color to contrast the simplicity of the furniture and wall color.
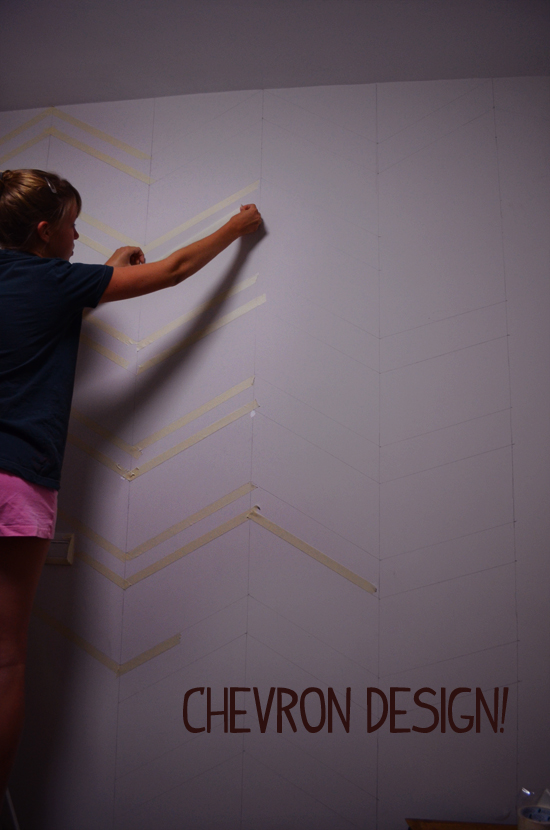
We’ve also begun measuring, sketching, and taping the soon-to-be chevron designed wall.  I’m thrilled with the way its looking so far 😉 According to the pictures below we will be painting the thicker stripe white, that way the colors (taupe&white) will not contrast each other too dramatically creating a harsh feeling in the room.


Check out all the new update of our Blog Office here! or see all the planning that went into it at Office Project 01.

Office Project 01

Michael and I “broke ground” today for the blog office reconstruction!

The morning hours were spent making donuts for Jessie and Maddie (before they left for school), office hours working on the blog, and brain stroming sessions with Michael. Then, at around 11:00 a.m. we embarked on our shopping adventures; searching for paint, mounting materials, fabric etc.

Later tonight we will begin the mounting and spray painting process, keep a look out for updates on our progress!

(below are some interesting marbles we discovered on our walk 🙂

Check out how far our Blog Office has come at Office Project 02 and Office Project 03!

The Barn

I remember going down to my grandparent’s barn to clean out the horse’s stalls and although it was a dirty job I loved being around the horses and the country feeling. Everywhere you look is a story, from the Exxon sign to the hanging horse shoes. As the years have gone by the barn has grown older and dirtier but I will never grow tired of this beautiful place. I hope the memories of this place never fade away!

Thai Memories

In my room I have a piece of coral from Thailand, and yesterday I was looking at it, remembering the beach where I found it two years ago in Thailand.

As I look back on my high school years, our family vacations were some of the best days. Connecting Four was actually started on a family vacation in Malaysia (Our look book from the trip here).

I am so excited for my sisters to get back tomorrow and can’t wait for the fun times ahead–vacations are times to reconnect and invest in each other.

My piece of coral will serve a great decor accent in the new office.

In the tropics it rains a LOT, but the water droplets left behind are great inspiration.

Any fun memories from family vacations? Not-so-fun memories?

If you are in Koh Samui, Thailand, stay at Impiana. Quiet beach, rooms overlooking the water and great attendants.

This post is part of my Memories Collection-revisiting places where Connecting Four really connected and explored the world together. See my Guilin Memories post here. See my Tianjin Memories here.

Blog Office/Studio: Redecoration

Today is my last day of work, and I have only two weeks left in China. One project I want to complete before I leave is our current office. It was a place for me to set up my studio when I come to visit, and also a place for my sisters to work on art.

Now that we are focusing a bit more effort and time on the blog, I want to inject some crazy colors, patterns and inspirations into the room to get those creative juices flowing and provide a fun place to blog and create.

I’ve been inspired by a few people, namely: Katie from Paperfashion, Bri from Designlovefest and Joy from Oh Joy!.

Here is Katie’s office:

Inspiration from Bri:

Got some ideas from Joy for throw pillows (This&That):
Pillows below from

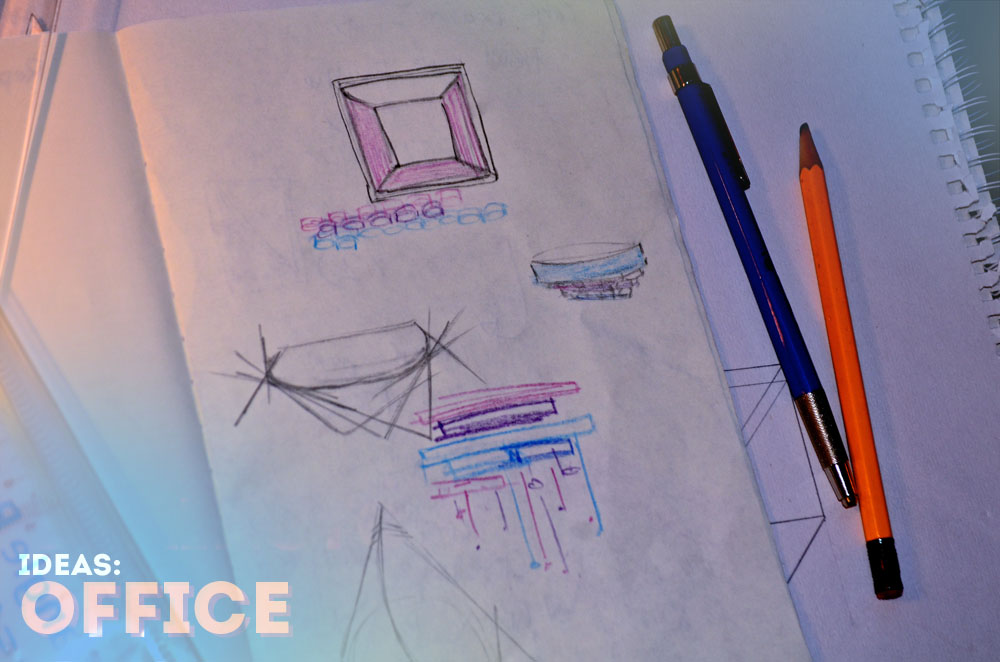
I’ve started a pinterest board-and started sketching:

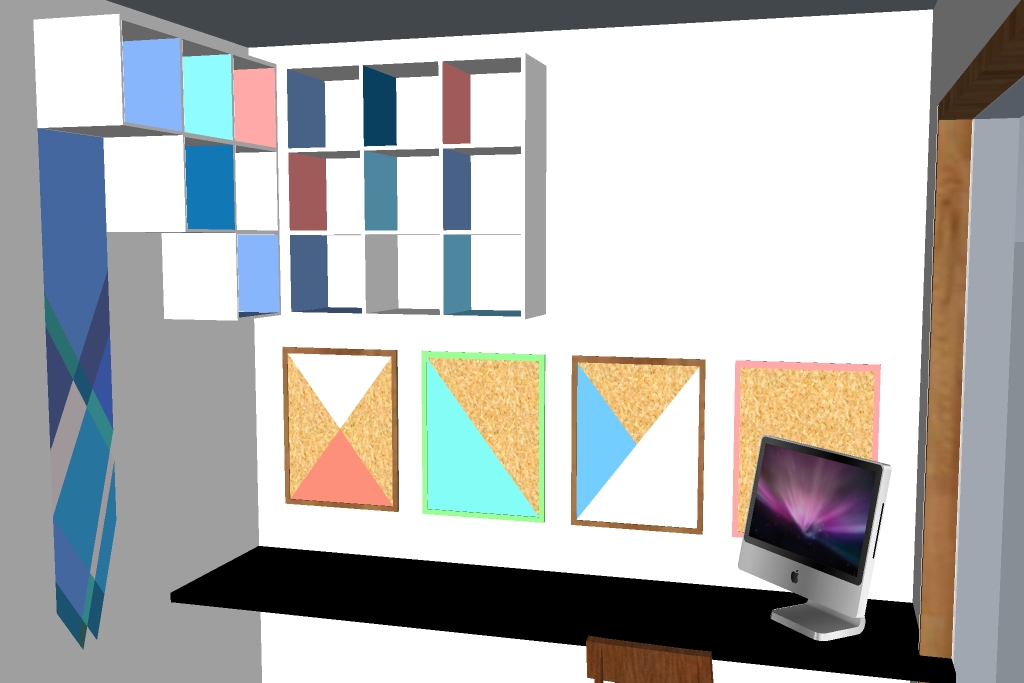
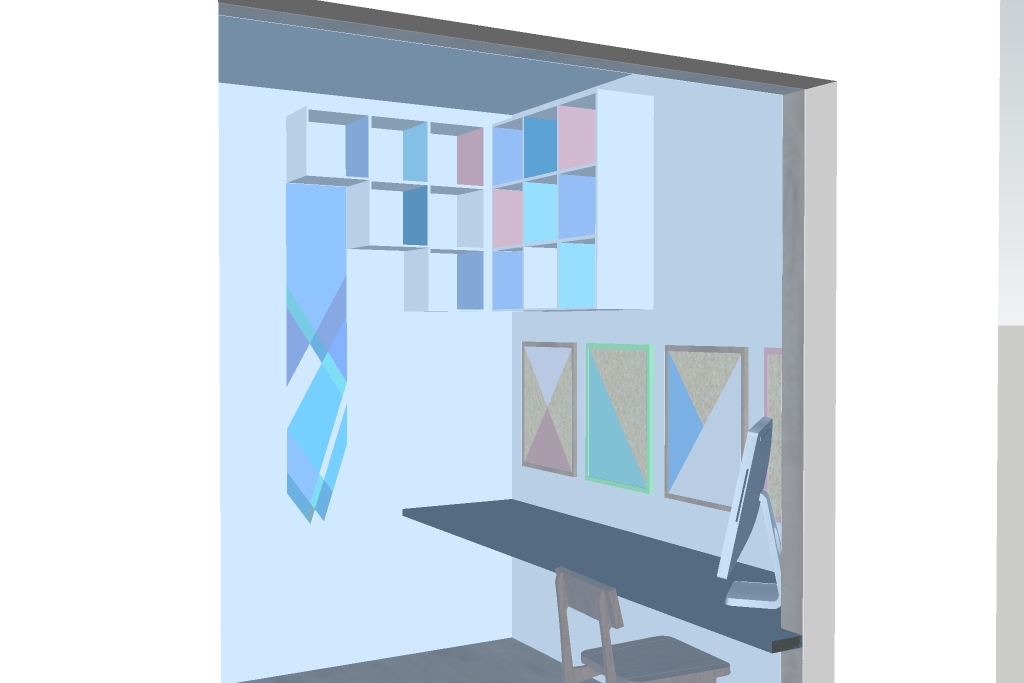
I even tried to see if I could render the space with sketch-up:

We are well on our way for the re-decoration project! So excited to get rid of this:

Style: Tribal/Aztec

The style and design world has been taken by storm this summer by tribal and aztec inspired prints, fabrics, and accessories. I have really enjoyed following the trend and have really enjoyed a few in particular. Bri from Designlovefest had a ‘color fest’ post including a tribal tank a few months ago; and Lookbook.nu seems to be all about tribal prints:

From Shoes: (By CHEYSER P.)

To Shorts: (By LUA P.)

To Shirts: (By MOHCINE A.)

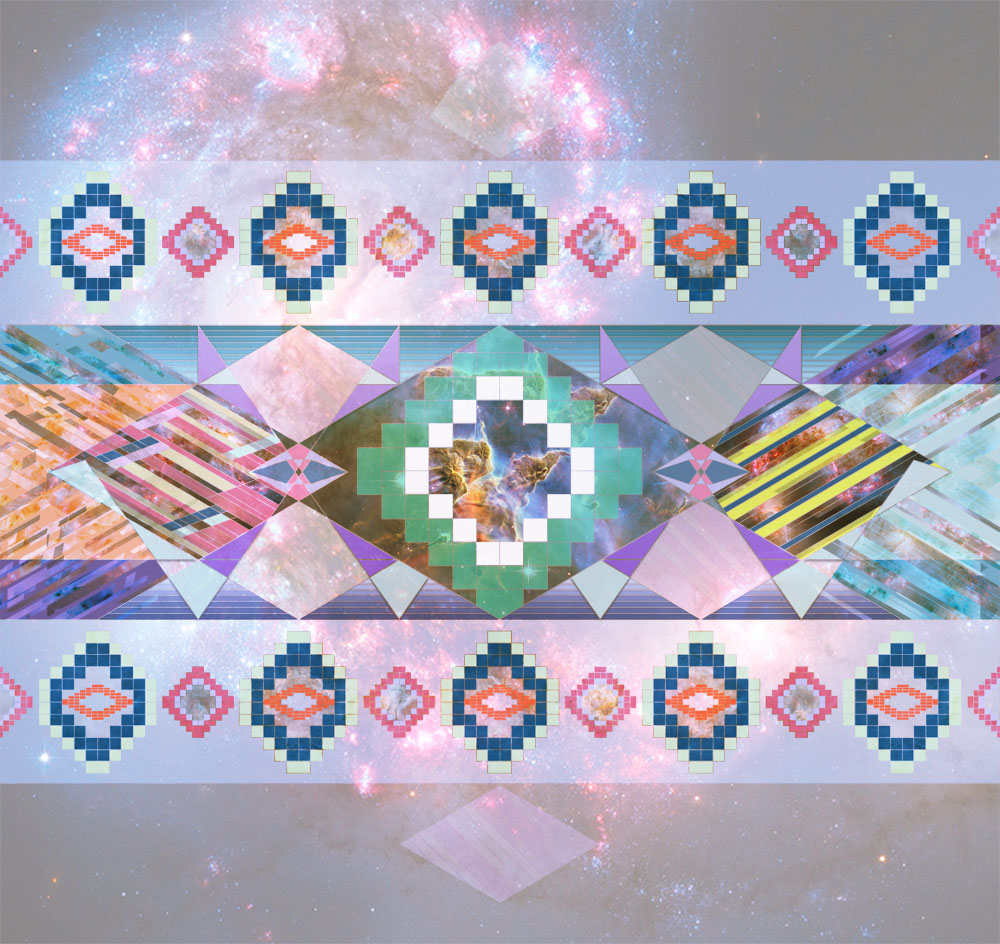
So I decided I had to get in on the action, and I designed a tribal/galaxy inspired pattern.

I also gained inspiration from our Geometric board on Pinterest. The tribal patterns that are popular right now are very geometric focused and use various shapes to create the effect.

I loved working on it and actually used AutoCAD for the vector work, then coloured it in using Photoshop.

Tips: Use galaxy images for filling and overlay-creates a great look and enriches the color. Use shadows and layering to help give depth and complexity to the design.

Aquatic Sketches

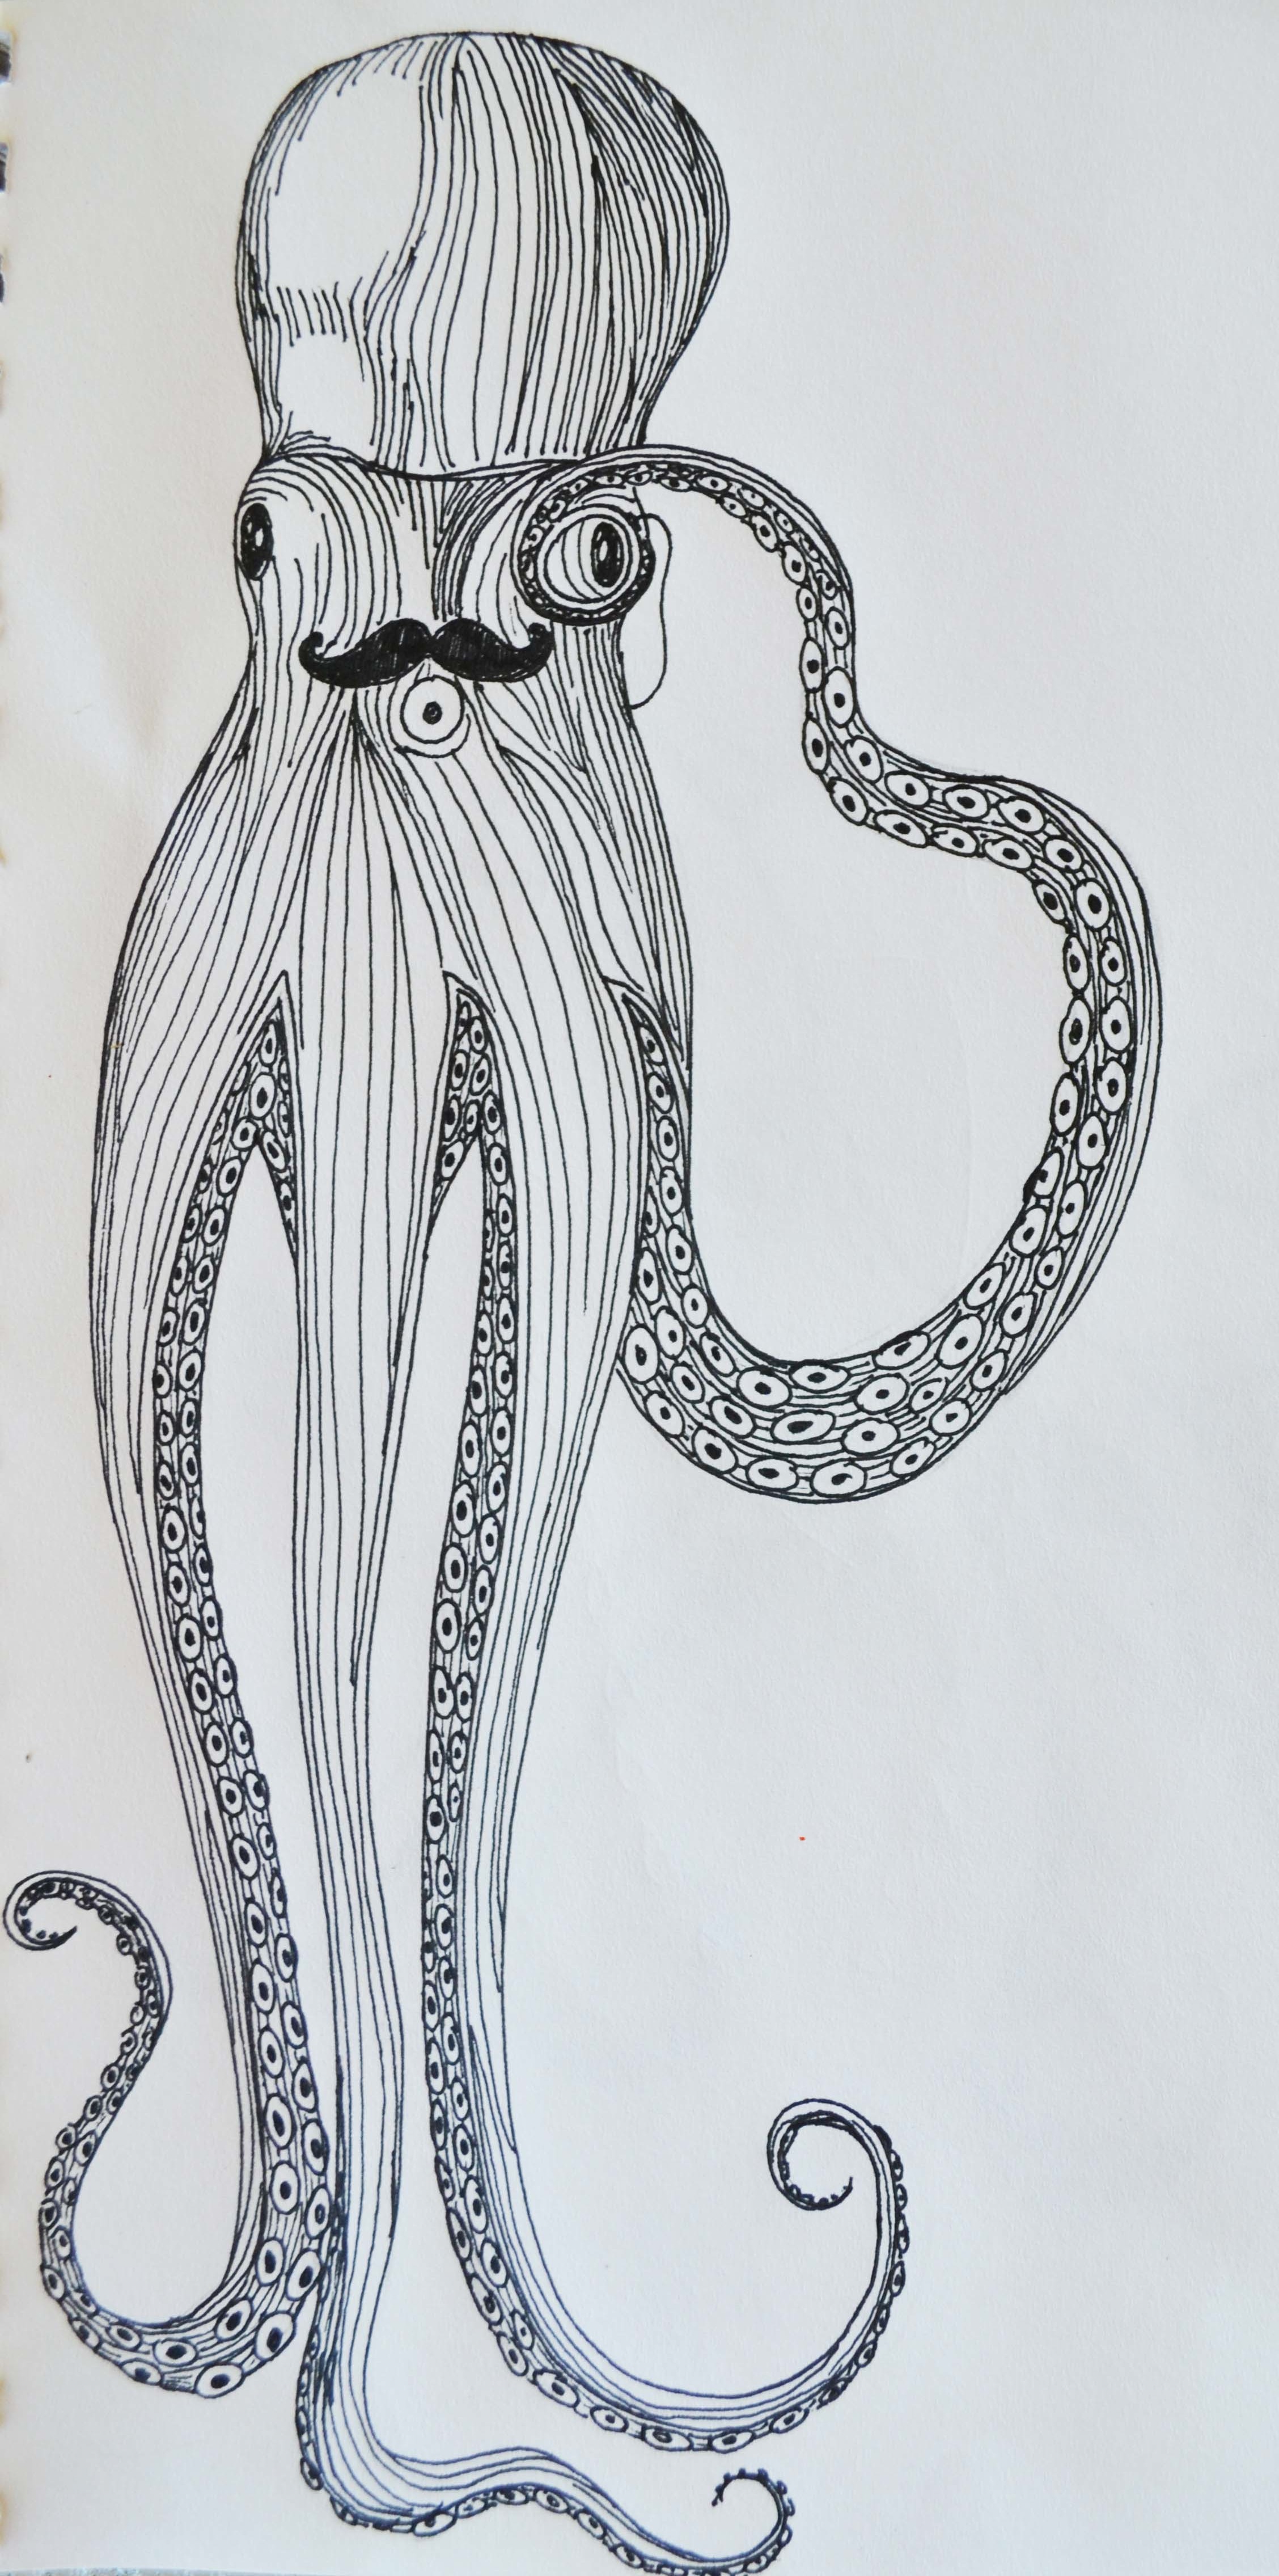
One of my goals for this summer – I say “one of” because there were many – was to begin sketching ideas for the art class I am planning to take next semester. For some reason I keep sketching aquatic animals; I guess I just like the movement of these deep sea creatures.

Here are a few tips for those who are sketching with pen. (Pen is one of my favorite mediums because of its clean crisp look.)

1. When shading with pen you obviously can’t just smear it around like graphite. Instead use lines to shade; the closer the lines the darker the shading and vise verse.

2. Don’t be afraid to try out colored pens. This was my first attempt at a colored pen sketch and the color really brings this picture to life. Though it may not be apparent at first glance I also added some peach undertones.

3. Another shading technique in pen drawing is dotting. Speckling your sketch to achieve more depth may take a bit longer, but it definitely pays off in the end!