Cake Challenge: June

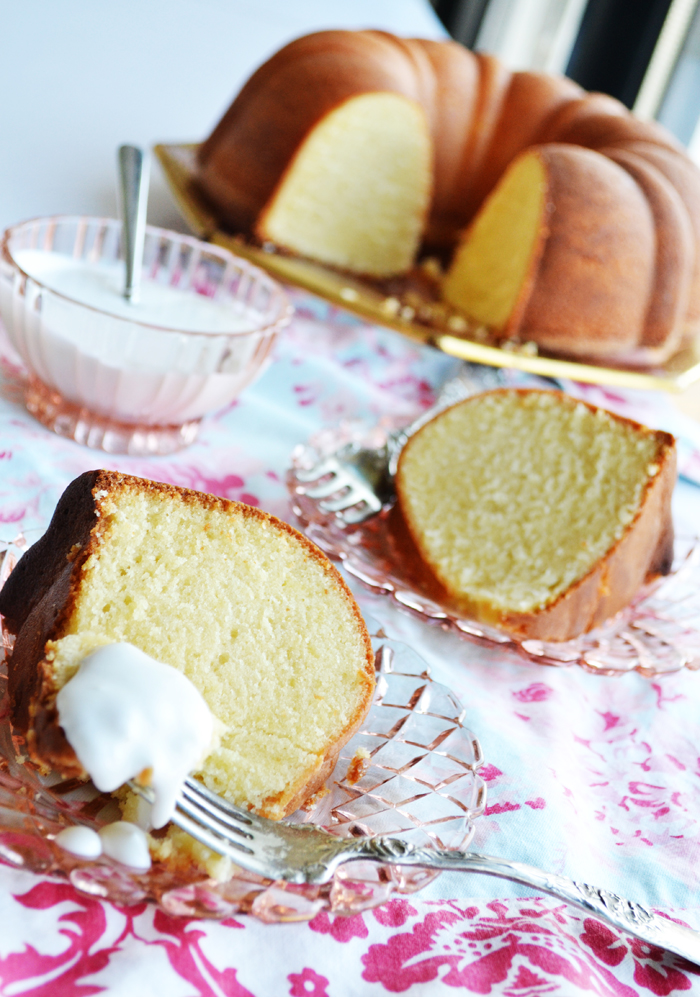
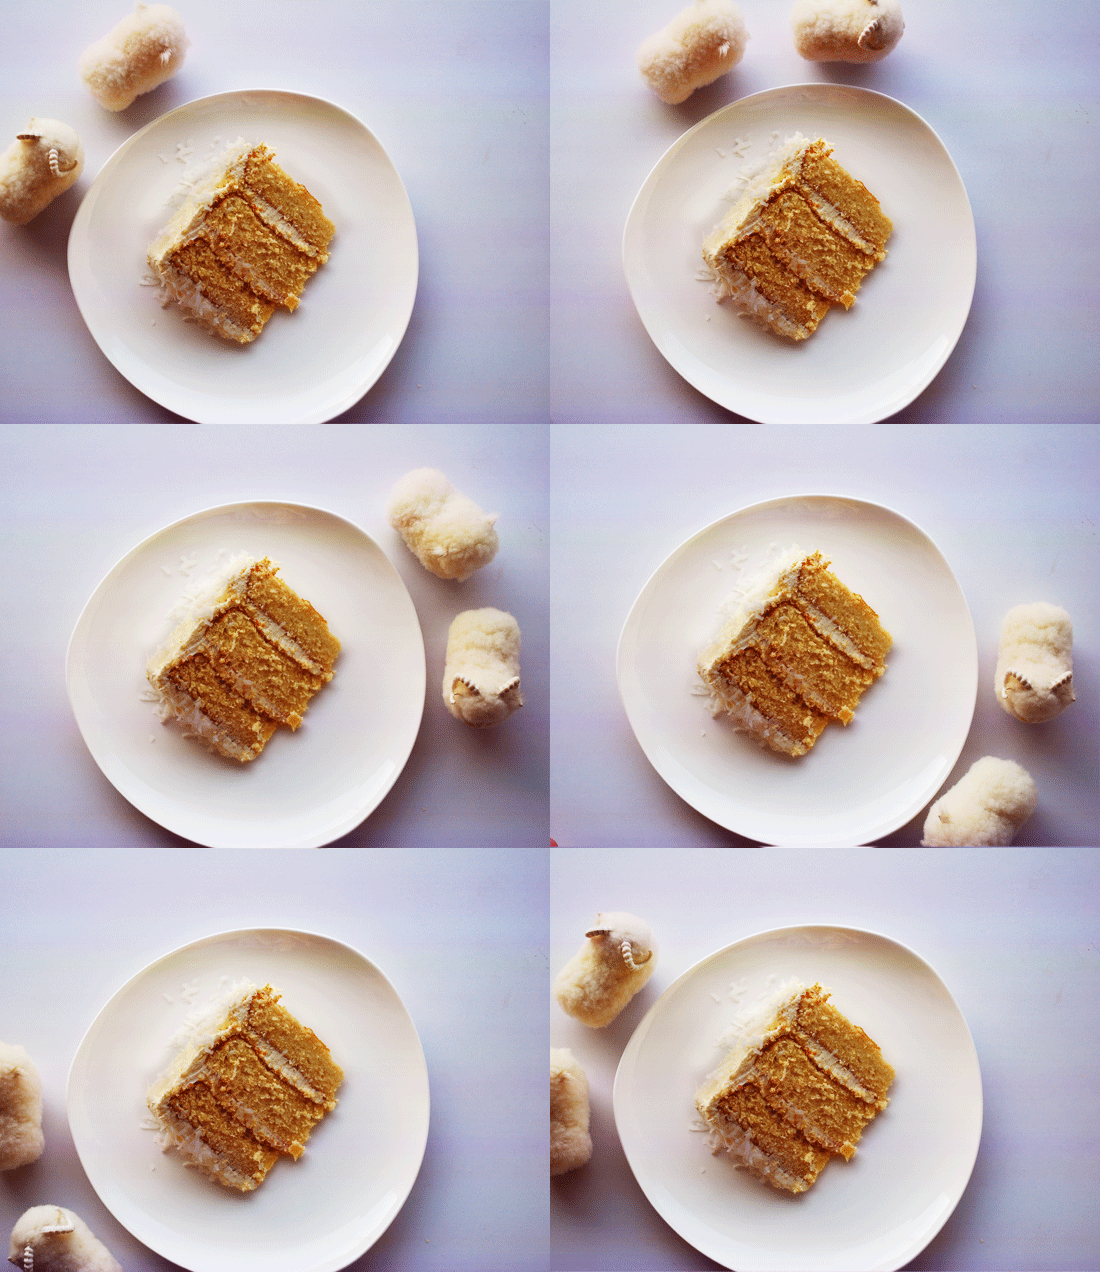
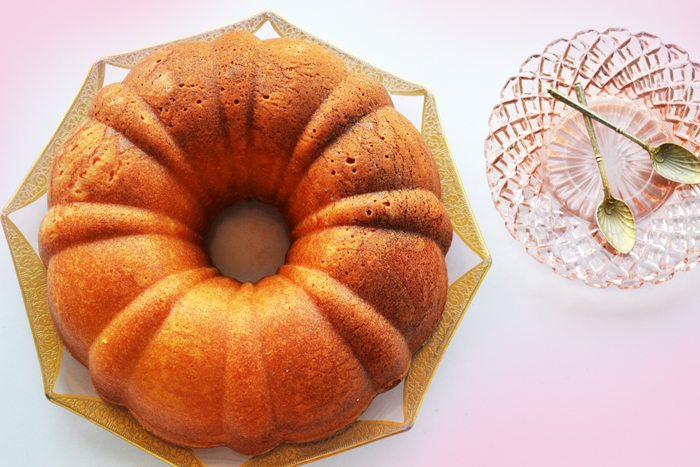
This is the first pound cake I’ve ever made and my first “successful” attempt at the bundt cake-shape. The dense texture of this cake was a much needed change from my usual 3-layer butter cakes. I think the best part of this baking experience was taking photos… finally, a cake that is both delicious and effortlessly beautiful. Bundt cakes are so pretty on their own without much fuss about icing colors, decoration ideas, or touch ups. I totally recommend this recipe if you’re looking for something quick and relatively simple.

<Cake Challenge Series: is a collection of posts which document the cakes I bake each month. More specifically, I have a goal this year to bake at least one (hopefully spectacular) layer cake each month, and photograph/post them here. I hope you enjoy this collection as much as I enjoy baking these delicious desserts!>

Other Cake Challenge Posts:
January 
February
March 
April
May

I’m Lovin’… Baked Bree

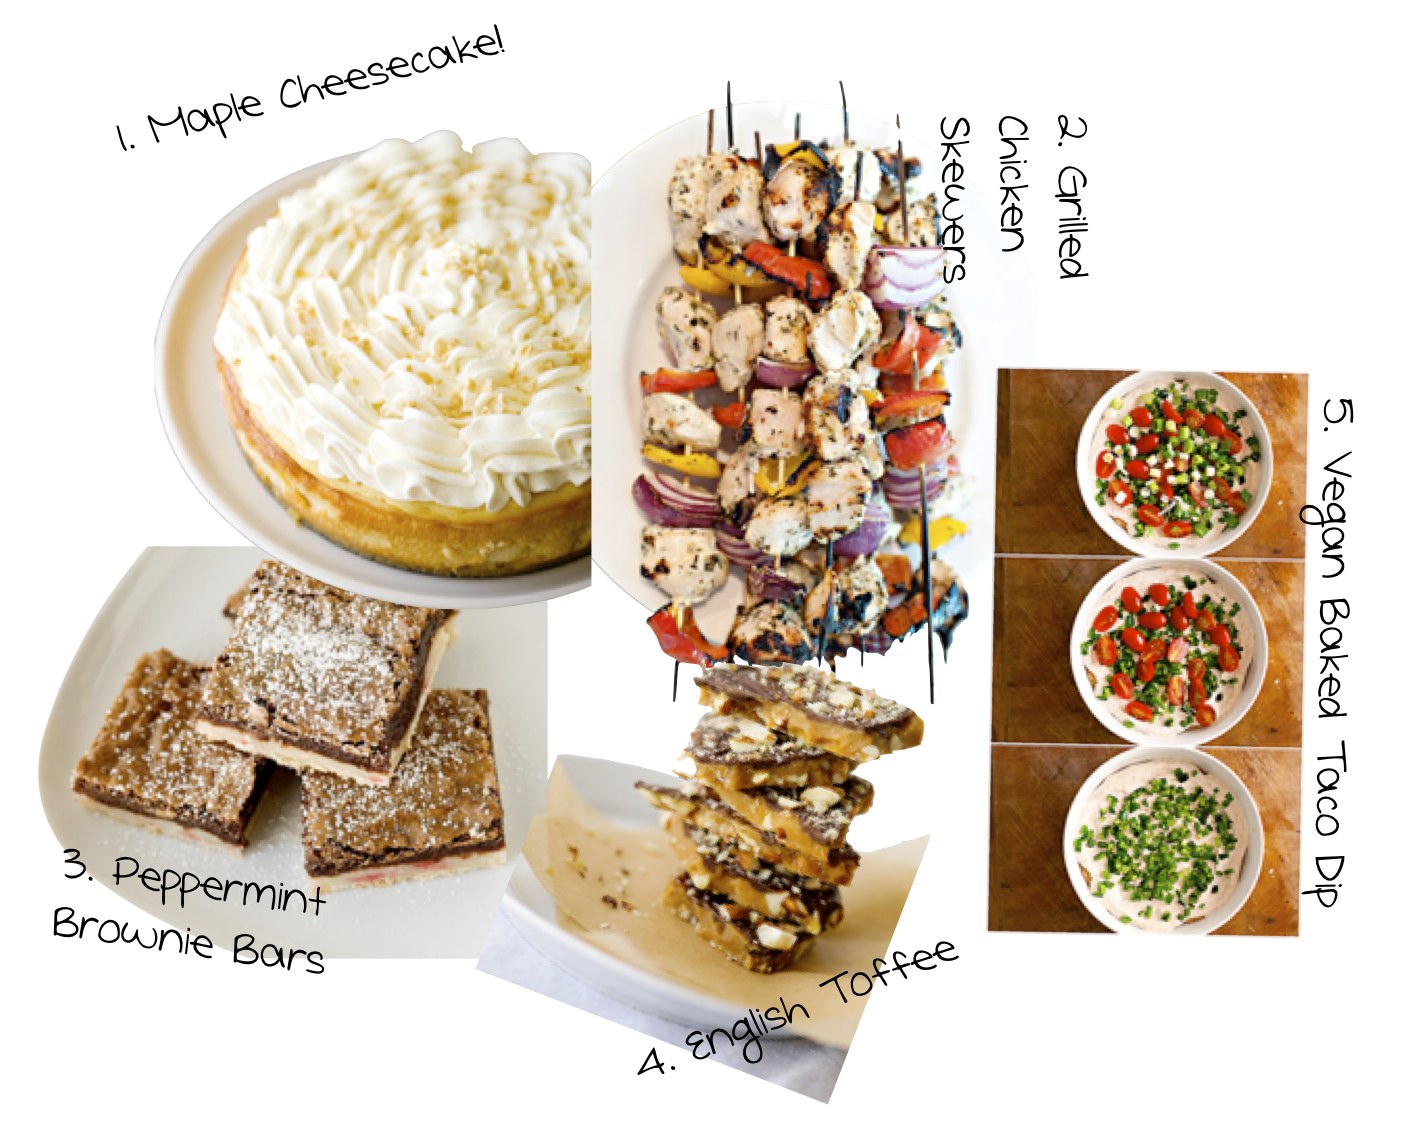
As I began to write this post on Baked Bree, a cooking blog, I discovered so much more about the author and her personal blog Bree Hester. I also found out that she has created her very own cookbook. As I learned more and more about this blog I believe that Baked Bree is one of my favorite sources to find new recipes. She explains things so well and her layout is super helpful for anyone who needs some helpful steps along the way. One of my personal favorite dishes from this particular blog are the chicken skewers, I’ve made them about 3 or 4 times and they have always turned out delicious! I definitely recommend this blog for any of you cookers out there needing a fresh recipe to try out. From the whole experience of  searching out this blog I learned a lesson, I need to research more about the backgrounds of blogs the author, their life, type of blog, etc.


Sources: Bakedbree.com

Cake Challenge: June

I’m still trying to catch up on all of these “terribly late” cake challenge posts. Today we’re revisiting the fresh start of summer, June. I made this cake at my grandparents house in South Dakota while enjoying cool whether and great company 🙂

You can find this cake recipe here!

If you recall, in my January edition I vented about some of the mistakes I made while baking my first 3-layer cake. Well, to tell you the truth the rest of this year hasn’t gone much better. Once I feel confident that I’ve mastered a certain skill, another mishap awaits me around the corner. I never expected baking to be quite so… difficult. For example…

If I heat egg whites and sugar together with no mistakes (for meringue per say), the butter I add to make a buttercream is mysteriously the wrong kind (salted instead of unsalted.) If I do a wonderful job of melting my dark chocolate (brought all the way from America)- making sure it doesn’t scorch- the Korean corn starch I add to the mixture causes the whole shebang to seize immediately.  Getting the picture?! If my skills are good, my ingredients don’t work; if my ingredients are perfect (-ly expensive!), my skills ruin them. Each new cake brings new frustrations, and sometimes disappointment. However, the more mistakes I make, the more knowledge I gain, I have to admit, its been a completely enlightening experience! And the more I learn, the more I crave to be in the kitchen watching mousses and meringues fluff up to form mountainous peaks in my little mixing bowls, smelling moistly baked cakes ready to be cooled, and arranging the end products for photographs! I am so blessed to have the time and resources to bake with, and more than that, to have such an incredible family who will graciously eat whatever I make (no matter how it tastes!).

<Cake Challenge Series: is a collection of posts which document the cakes I bake each month. More specifically, I have a goal this year to bake at least one (hopefully spectacular) layer cake each month, and photograph/post them here. I hope you enjoy this collection as much as I enjoy baking these delicious desserts!>

Other Cake Challenge Posts:
January 
February
March 
April
May


India is Served

This break has given me the chance to cook in our new house’s kitchen (at University I don’t really have a great space to work), and I’ve been exploring a bit in terms of drinks and food (Lemonade & Dumplings).

I decided to try out something I first tried four years ago (and have LOVED ever since!): Masala Chai Tea-thank you Ruth Bevis for introducing me to this incredible drink.

For a great recipe, you can reference Simply Recipes for their amazing Chai Tea– I make a few variations as compared to theirs.

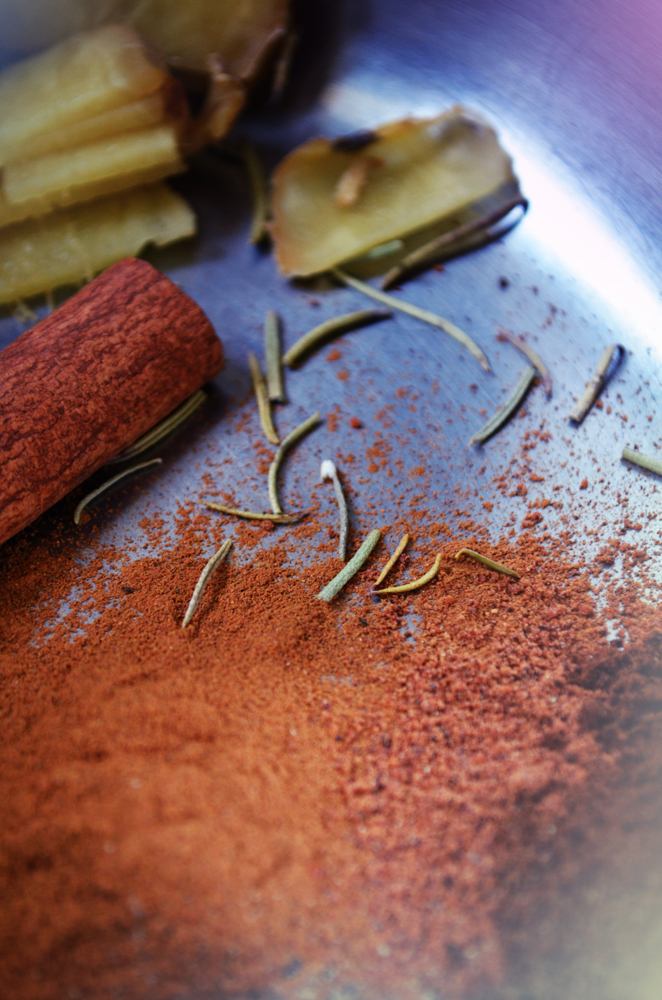
I add chilli powder to my chai tea, it gives it a great spicy kick!

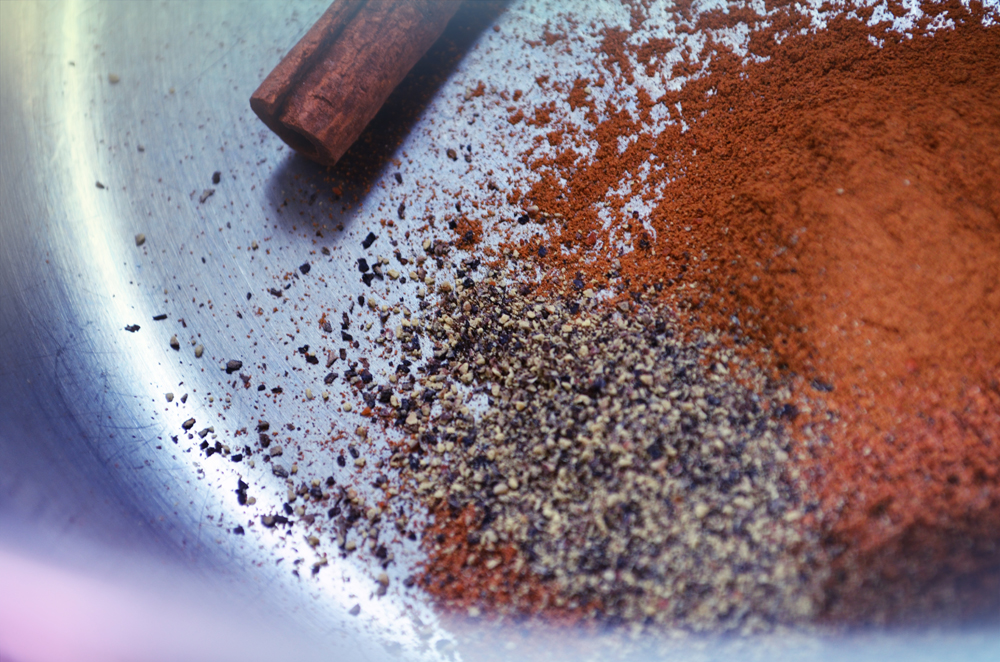
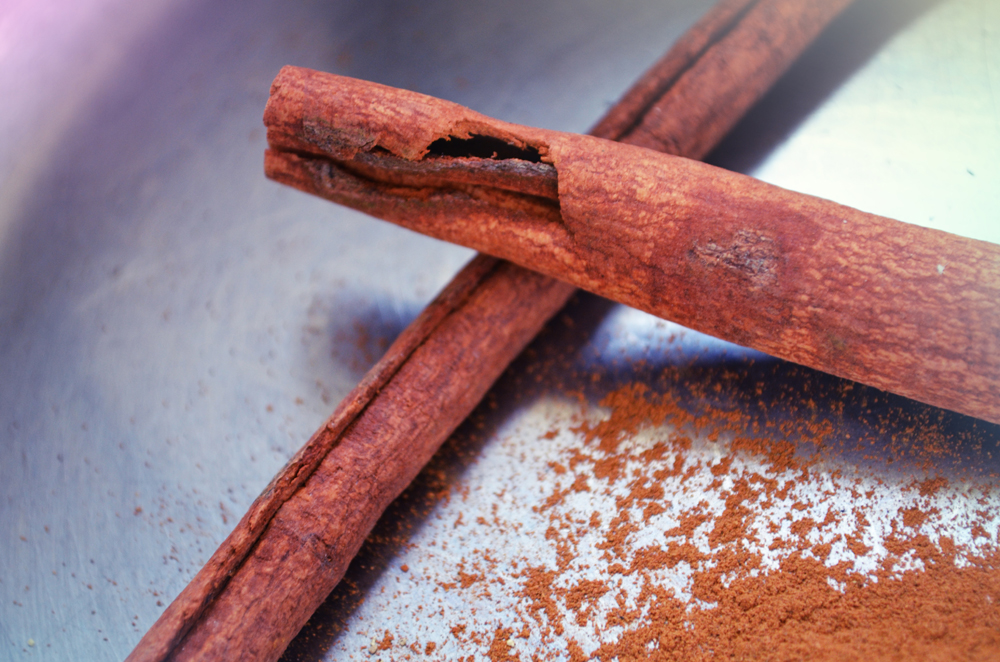
First: gather your ingredients, mix the dry ingredients well in a large saucepan and add water. You are going to want to bring the water and spices to a rolling boil for about 10 minutes before moving on to the tea.

null

null

null

null

Cover the saucepan to bring it to a boil quickly.

null

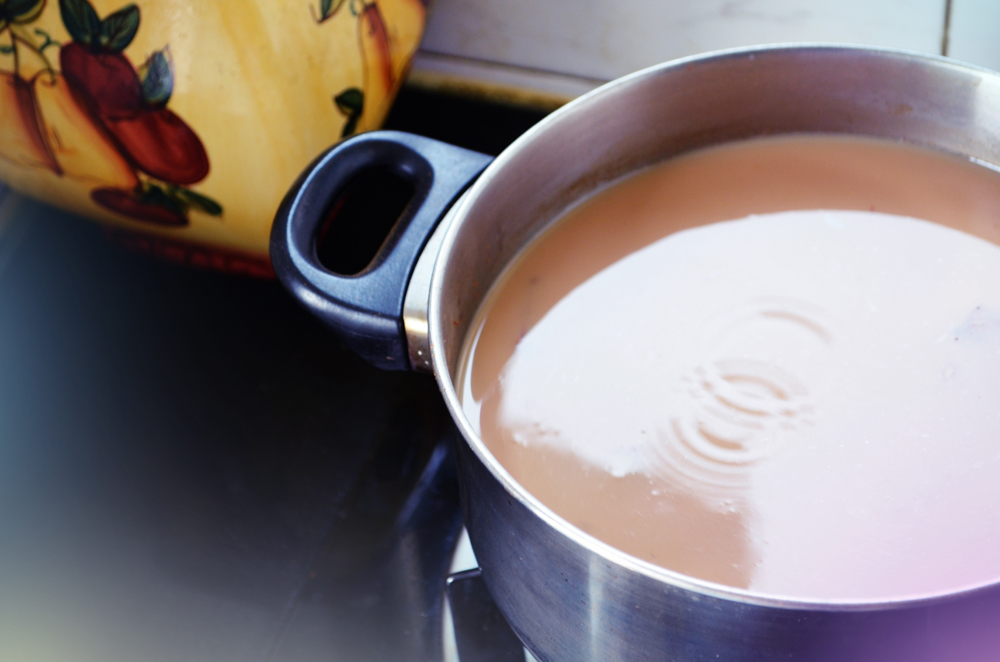
Secondly, remove from the heat and let the tea steep for around 5 minutes. Remove the tea bags.

null

Then, add the milk and brown sugar (or your preferred sweetener). Bring back to a simmer and keep warm til you serve.

Another great tip: Chill the tea after you are done, and serve over ice. It tastes just as good cold!

null

null

Serve with baked goods, cake, bars or even savoury food (curry or tandoori chicken?). Rachel made a special treat for us the other day and it was GREAT with the Chai!
(Here’s a preview of it):

Cake Challenge: April

This is the cake I made for Jessie’s Birthday this year. I will just admit straight out that these pictures look like they could be used in a post titled “What Not To Do When Photographing Cake.”

1. Do not take pictures in direct sunlight.
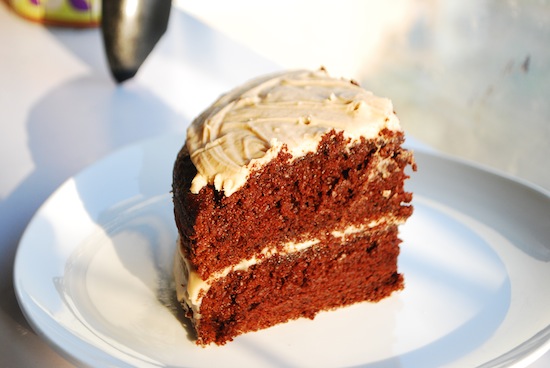
2. Avoid late-evening-lighting because its likely your image will be dark and blurred.
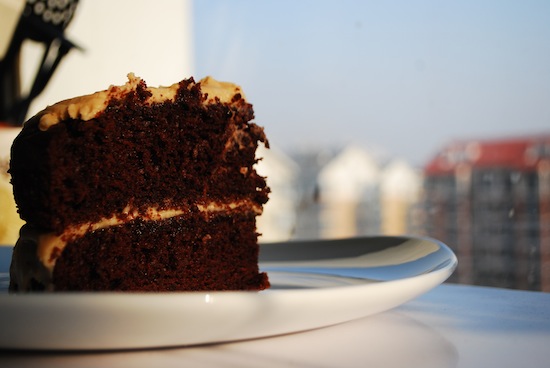

3. Take pictures of your cake “before” you dig in, blow out the candles, and remove candles (leaving horrible little holes in the icing!)
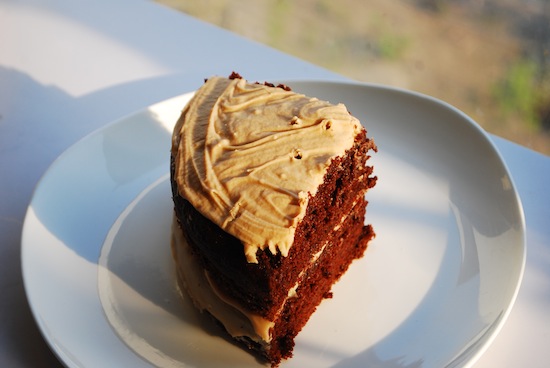
On the other hand, however, the actual cake was deliciously moist and chocolatey. I used the same espresson glaze in January’s cake for the icing, with a white chocolate mousse on the side. Again, I apologize for not showing this cake in its full glory, you’ll just have to experiment with the recipe below and make a beautifully decorated cake to redeem this one 🙂

<Cake Challenge Series: is a collection of posts which document the cakes I bake each month. More specifically, I have a goal this year to bake at least one (hopefully spectacular) layer cake each month, and photograph/post them here. I hope you enjoy this collection as much as I enjoy baking these delicious desserts!>

Other Cake Challenge Posts:
January 
February
March 
May

Chocolate Cake
2 1/4 cup flour
1 cup unsweetened coacoa powder
2 1/4 tsp baking soda
1 1/4 tsp baking powder
1 tsp salt
1/2 tsp cinnamon
2 1/2 ounces unsweetened chocolate, chopped
1 cup milk
1 1/4 cup hot coffee (strongly brewed)
2 eggs
1 cup mayonnaise (sounds weird I know, but this is the secret ingredient to SUPER moist cakes!)
1 1/2 tsp vanilla extract
2 1/4 cup sugar

1. Preheat oven to 350 degrees. Butter 3, 9-inch round cake pans, line each with parchment paper (cut to fit the bottom of each pan).
2. Sift together all dry ingredients (first 6 ingredients listed)
3. Put chocolate in a heatproof bowl. Bring milk to a simmer by heating it in a small saucepan over the stove. Pour hot coffee and milk over the chocolate creating a mocha mixture. Let sit for one minute then whisk to combine.
4. In a mixing bowl beat eggs, mayonnaise,and vanilla together until smooth then add sugar to the mixture. Alternate mixing the dry ingredients and mocha into the egg mixture until smooth. Divide batter into cake pans.
5. Bake for 25-28 minutes. Once cake pans are withdrawn from the oven, let cool 10-15 minutes before removing cakes.

White Chocolate Mousse:
4 ounces white chocolate, chopped
1 cup heavy cream
1 egg white
1 tbl sugar

1. Melt white chocolate and 1/4 cup of the heavy cream in a double boiler. Be careful to avoid overheating the chocolate or it will seize. Whisk and set out to cool.
2. In a mixing bowl beat the remaining 3/4 cup of cream until soft peaks form. In a separate bowl whip egg whites with sugar until stiff peaks form.
3. Fold the egg whites into melted white chocolate (make sure the chocolate is cooled). Finally fold the whipped cream in, as well until just combined (err on the side of under-mixing)

~enjoy 🙂
Mama What’s Cookin’: Chinese Dumplings

Stuck inside today because of the rain here in northern china, and what else does one do inside all day? Cook!


I made Chinese chicken and cabbage dumplings. (With sweet and spicy soy sauce.)


The trick is to first fry the dumplings in some oil for a minute or two , this will prevent them from sticking when you steam them.


An easy way to steam the dumplings is to keep them in the same frying pan and pour a cup of water into the pan while hot and place a lid over them. Let it steam until the water is all gone.


An alternative step is to then pour some more oil in the pan and fry the other sides of the dumplings to get a crispy exterior.


And finally-Enjoy!

Cake Challenge: May

Why am I posting the May Cake Challenge installment in the middle of July, you may ask? Will “better late than never” cut it? Between Jessie, Maddie, and Michael I am reminded “daily ” of my absence on Connecting4. sorry about that.

This is my real answer to the question above;

While traveling this summer, I realized how much I miss being in the kitchen, baking sweet treats for my family. It is this desire that inspires me to finish these unfinished posts. I find that interest is followed by desire to perfect skill, which pushes one not only forward but backward as well. I want to go back and refine, improve, and polish original works. Hence, although my plan was to post this in May, I am checking off old tasks and moving forward.

I encourage you, as well, to pull out dusty dreams and aged ambitions, review, rewrite and keep creating!

<Cake Challenge Series: is a collection of posts which document the cakes I bake each month. More specifically, I have a goal this year to bake at least one (hopefully spectacular) layer cake each month, and photograph/post them here. I hope you enjoy this collection as much as I enjoy baking these delicious desserts!>

Other Cake Challenge Posts:
January 
February
March 
April


MeMaw What’s Cooking? Blueberry Pie!

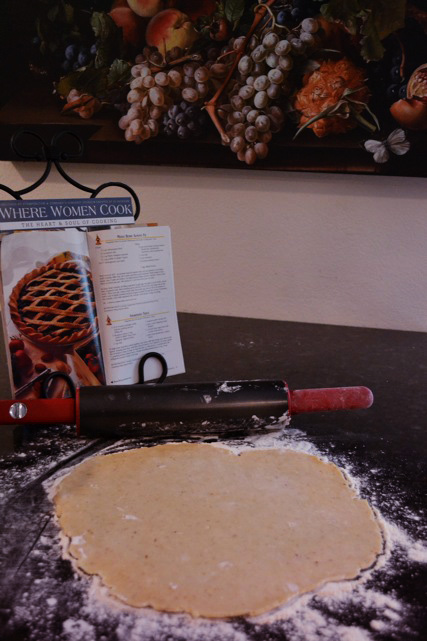
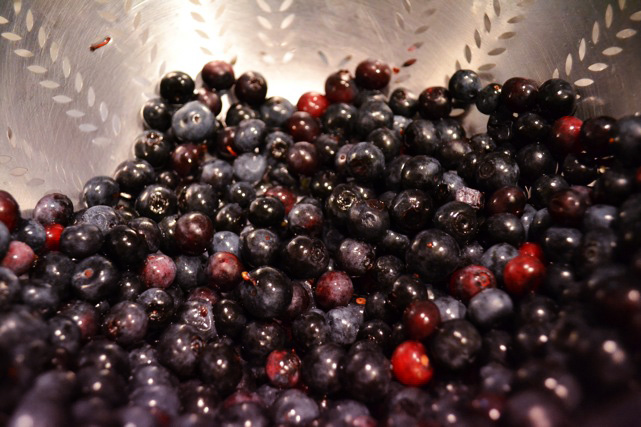
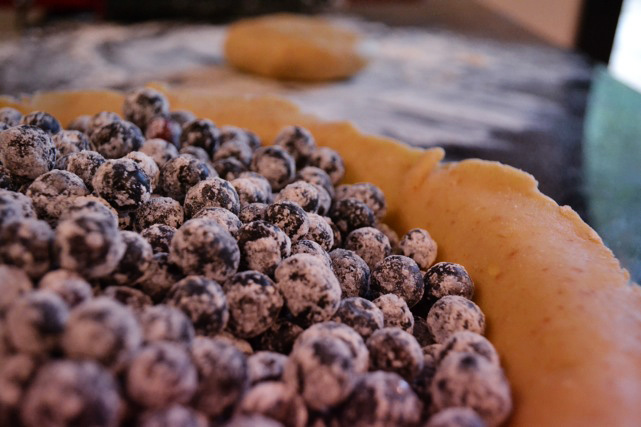
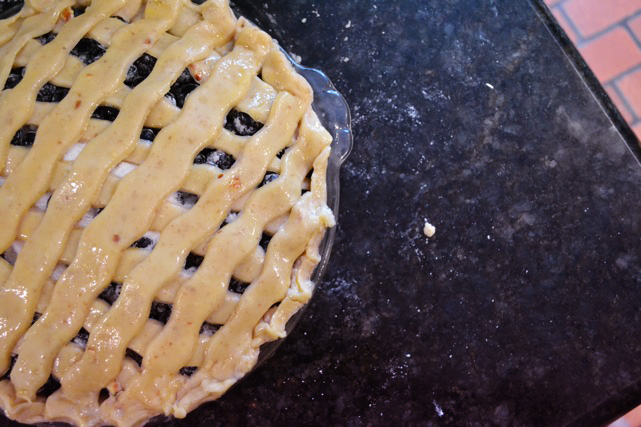
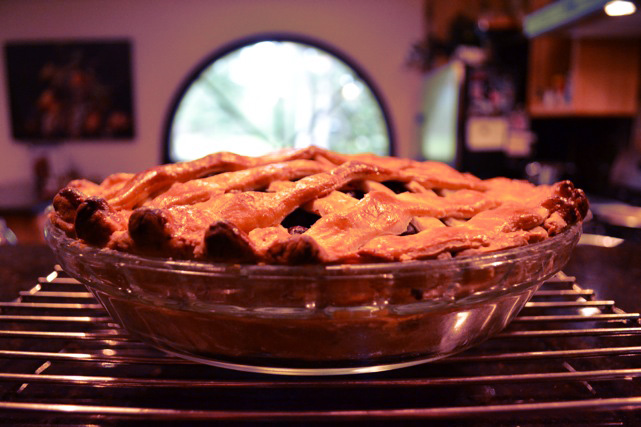
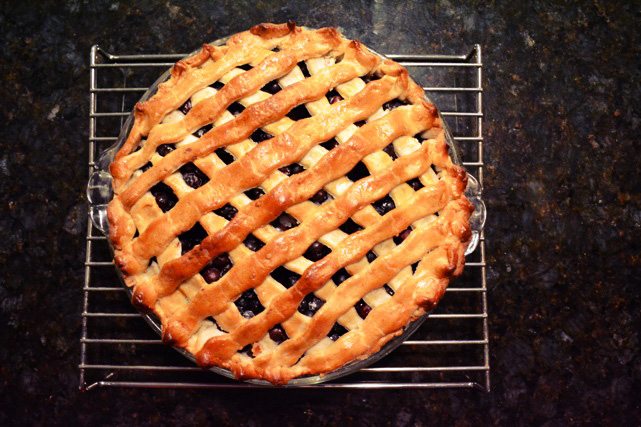
Since arriving in Texas I begged my grandmother, MeMaw, to go blueberry picking – something I haven’t done in four years! On our way back from a long shopping trip we spotted a blueberry picking sign on the side of the road and knew… it was time to pick some berries! Upon arriving at the blueberry farm we plucked and munched to our heart’s desire. Rain clouds finally rolled in, forcing us to finish up. We paid for our 20 pounds (about 30 cups) of blueberries and returned home. The following day I succeeded in talking MeMaw into making a blueberry pie with me; this was the first blueberry pie I ever tasted let alone made! And let me tell you, it turned out delicious!

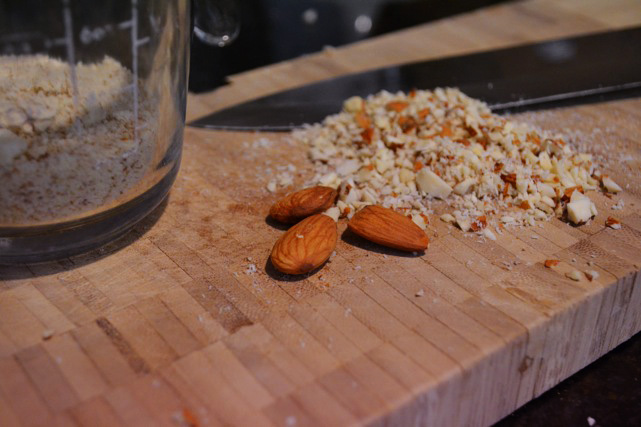
The secret ingredient to a crunchy crust : almonds!

Tartness of blueberries matched with sweet sugar yields the most delicious pies! Tip: when baking pies or crisps, the more tart the fruit, the better the pie… you don’t want those four cups of sugar to overpower the flavor of the fruit.

Summer is a great time for pies, and if you cannot find blueberries: look for peach, strawberry, or even rhubarb; any of these will make a delicious pie!

Another trick: add a layer of granulated sugar directly under the crust, making a delicious blueberry syrup once baked.

Couple your pie with a glass of Southern Sweet Tea or some cool whipped cream.
Beautiful.

Watermelon Pink Lemonade

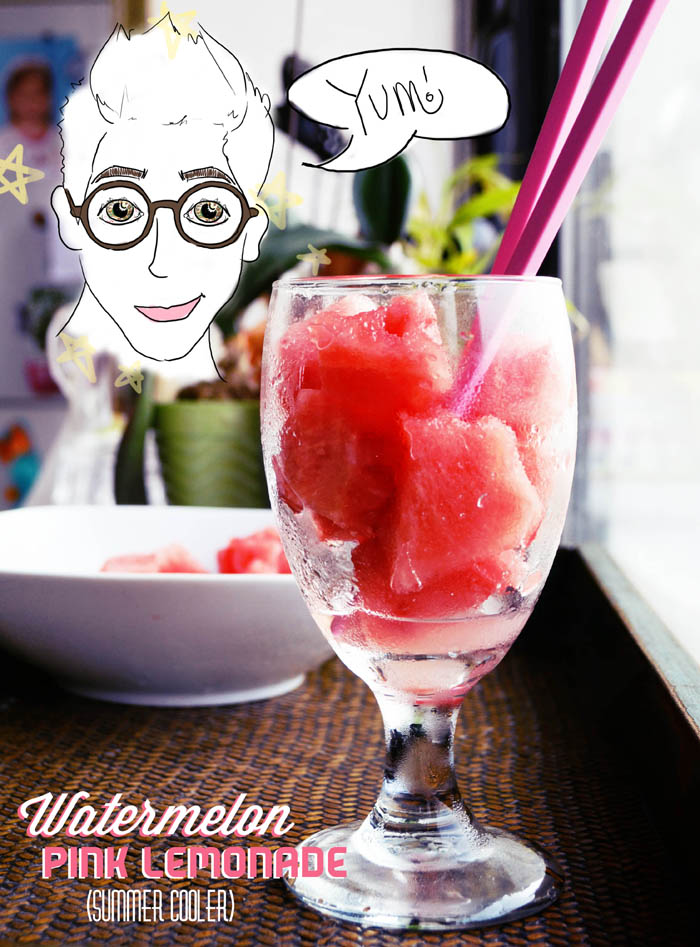
It was 35 degrees (95 degrees Fahrenheit) today, and I needed something to cool me off. This Watermelon Pink Lemonade just what I needed- it’s the perfect remedy for a hot summer day!


(Recipe at end of post.)

The best part of this frosty snack is after you drink the lemonade: eating the watermelon. The fruit will absorb the pink lemonade and you get incredible sweet and sour flavored watermelon cubes.

I’ve found that using chop sticks is an easy way to eat watermelon. This pink set matched so well with the color of the summer cooler.

This drink is perfect for summer BBQs, children’s birthday parties, and even garden party events.