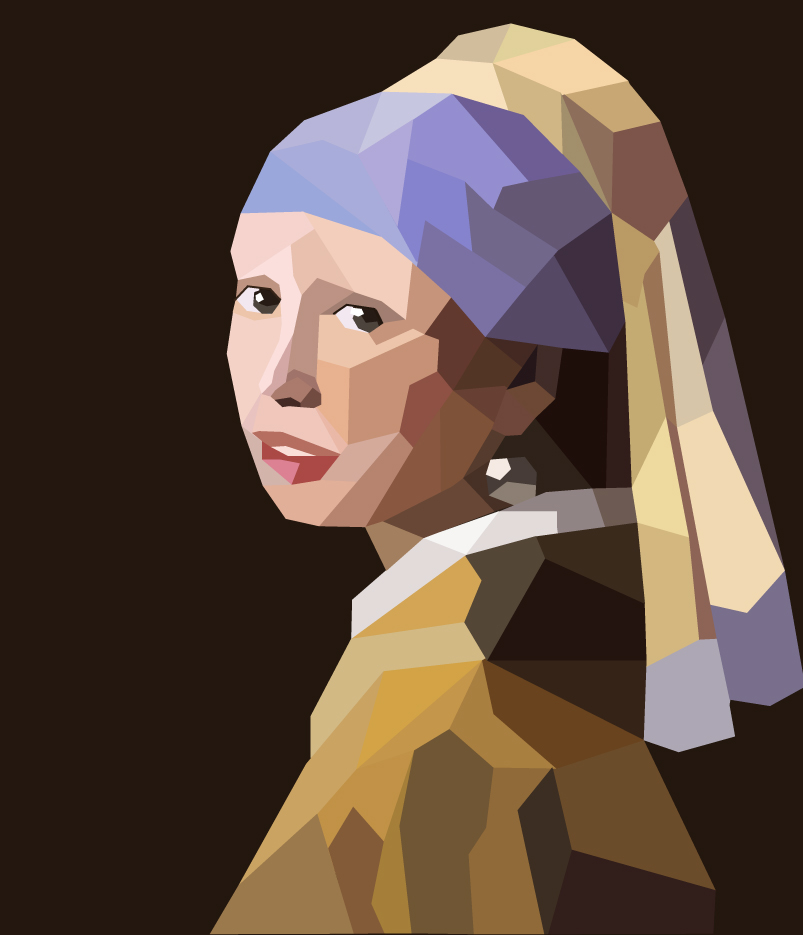
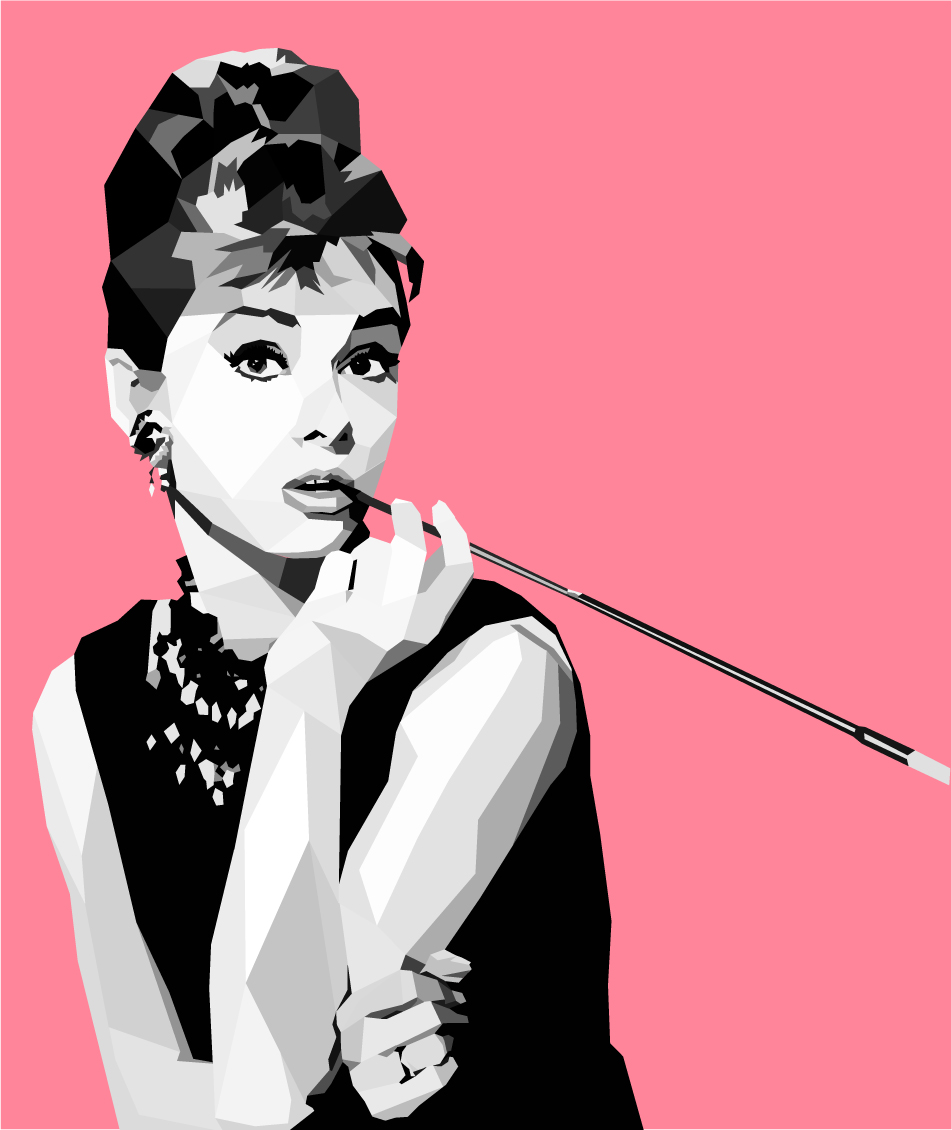
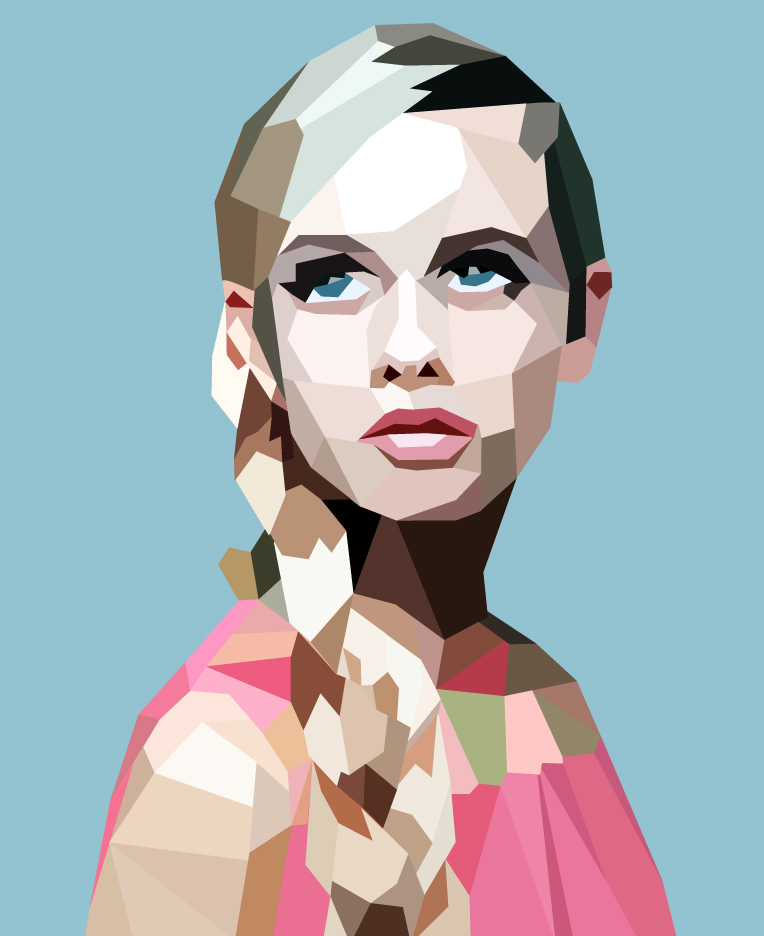
You may remeber my preview posts of geometric renditions of Audrey Hepburn, The Girl with the Pearl Earring, and Twiggy; well today we are going to learn how to create a geometric-art-form of any picture! The process is quite simple if you’re willing to invest time in creativity. I practice Adobe Illustrator concepts (such as this one) while watching movies with Rachel and Maddie (just to keep my hands productively busy!).


1. First step: place your picture into Adobe illustrator. File > Place > (choose picture).
2. Once you have your picture into Illustrator, zoom into the spot that you will be starting with.
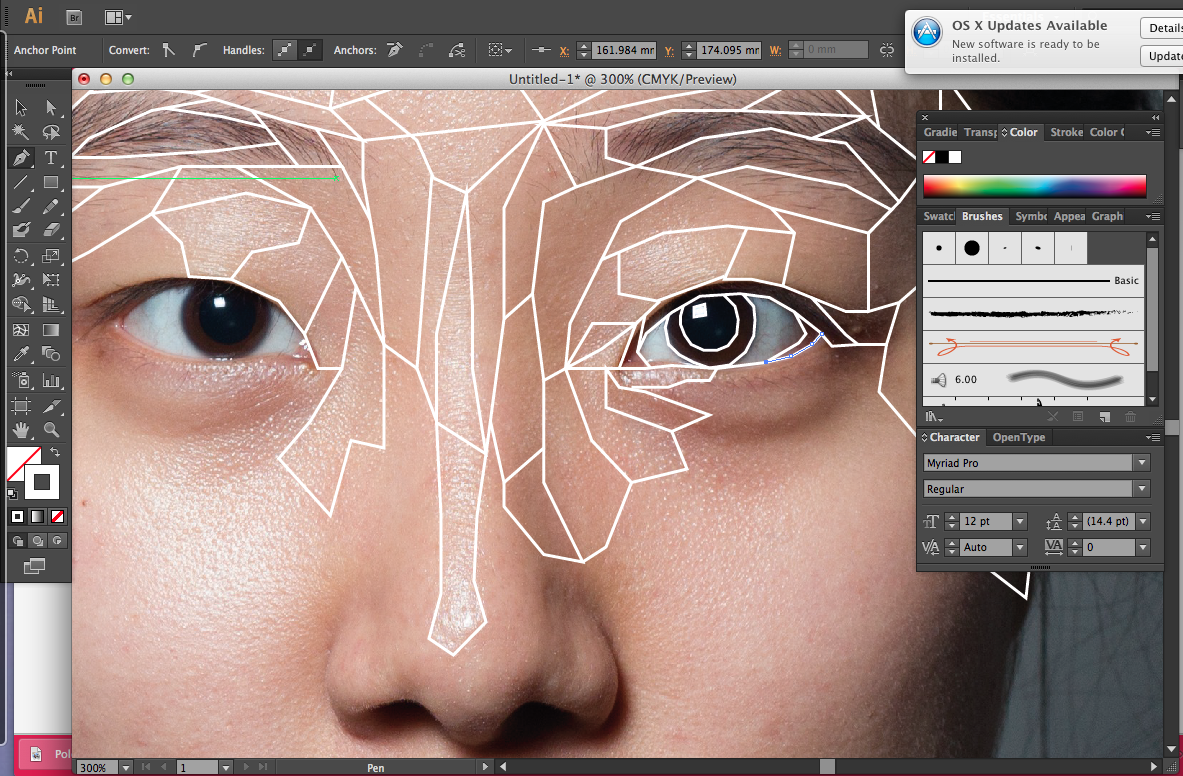
-Choose the pen tool and make the stroke color white with a weight of 1.
-Start creating a “jigsaw” of geometric shapes on top of the picture (these shapes should surround an area of the picture where the pixel color is generally the same).
If you would like this to be a very detailed and precise rendition of the picture, then create smaller geometric shapes in order to get more clarity. If you would like your picture to be more rustic/abstract, feel free to make your shapes larger and cover more shades of color.
~I went for the more detailed geometric look for this particular picture.

3. Whew! took longer than you expected right? Well this next part is fun!
-Now that you have all your geometric lines drawn, use the arrow to select all the shapes (make sure you do NOT include your background picture).
-(with the shapes selected) > Live Paint > Make. Now that they are “live paint” you may fill each shape according to the instructions below…
4. Now you need to use the Eyedropper tool and the Paint Bucket tool interchangeably to get the general shade of color from the shape’s picture underneath.
-To be more specific: For each shape use the eyedropper to collect the color (from the picture underneath). Once you’ve collected the correct shade, use the Paint Bucket to fill the shape. Repeat this step until you have filled every shape. ( Doesn’t this just bring you back to your “coloring book” days?)
– Now delete the background image to check if you have filled every space- if not, click ‘edit undo’ and complete filling the geometric spaces.
5. Now selet the whole picture, click Expand on the top tool bar (so it is no longer a Live Paint Object) and make the stroke color transparent (the white lines should now disappear). You have now competed you’re very own geometric design! <Add a background and some text to “spruce it up” if you’d like>.
As you can see from my previous geometric creations I usually create the whole picture, including the background. However in this example I only rendered the face to highlight message. Enjoy!


