From the Studio: Chinese Calligraphy Acrylic Cut

Studying architecture can be difficult at times: the work load, the hours, the complicated models and tedious drawings. I often get very frustrated, but there is one thing that I am thankful for in it all. I am so thankful for the things that architecture has taught me. Yeah, yeah, it taught me about diligence-working with others.. bla, bla, bla..

But who really cares about architecture work ethics? I am excited about the representational styles and visual communication skills it has taught me.

If I went through all of this and only learned this-I would be happy.

This is the Chinese New Year season, and a friend commissioned me for a project to do with Chinese calligraphy work. He wanted name tags for some of his friends in China. (And I decided it would be fun to make my own name as well!)
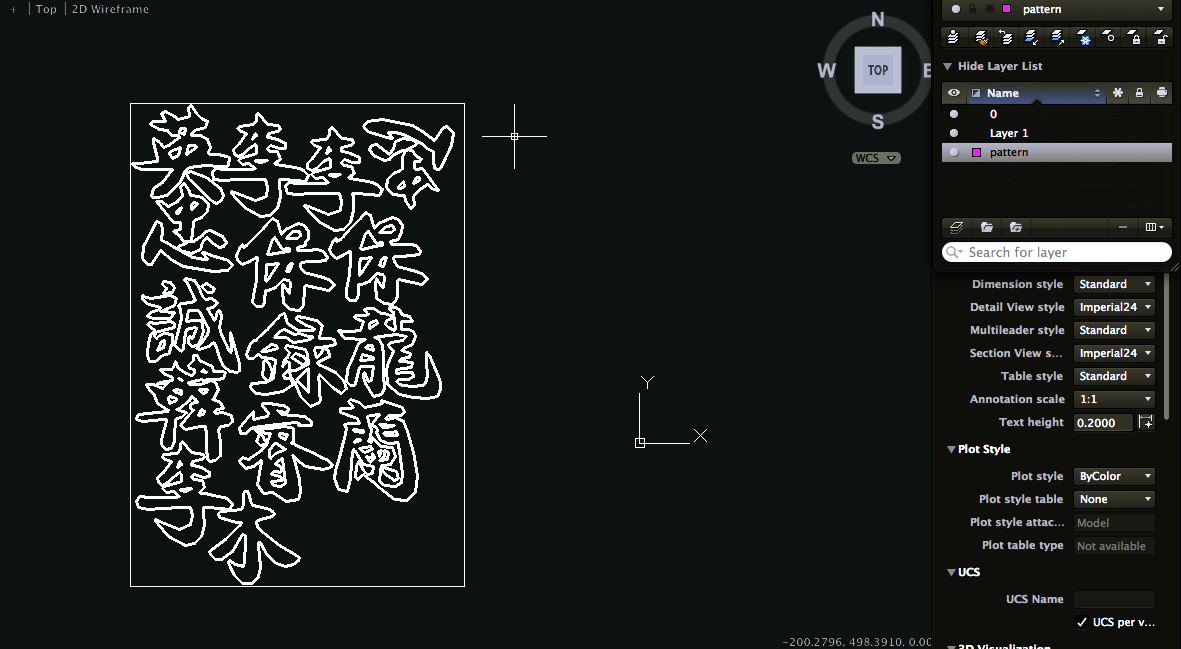
First step was to draw the outlines of the Chinese calligraphy on the computer so that we could laser cut the 5mm acrylic board. I used Adobe Illustrator and then cleaned everything up in AutoCAD.

Next step was to laser cut-I don’t have my own machine, but a local architecture supply store has machines for rent (by the minute). We grabbed a USB drive with our file and started the cut… it took 30 minutes (and at 4HKD/minute that comes out at about $15 USD).
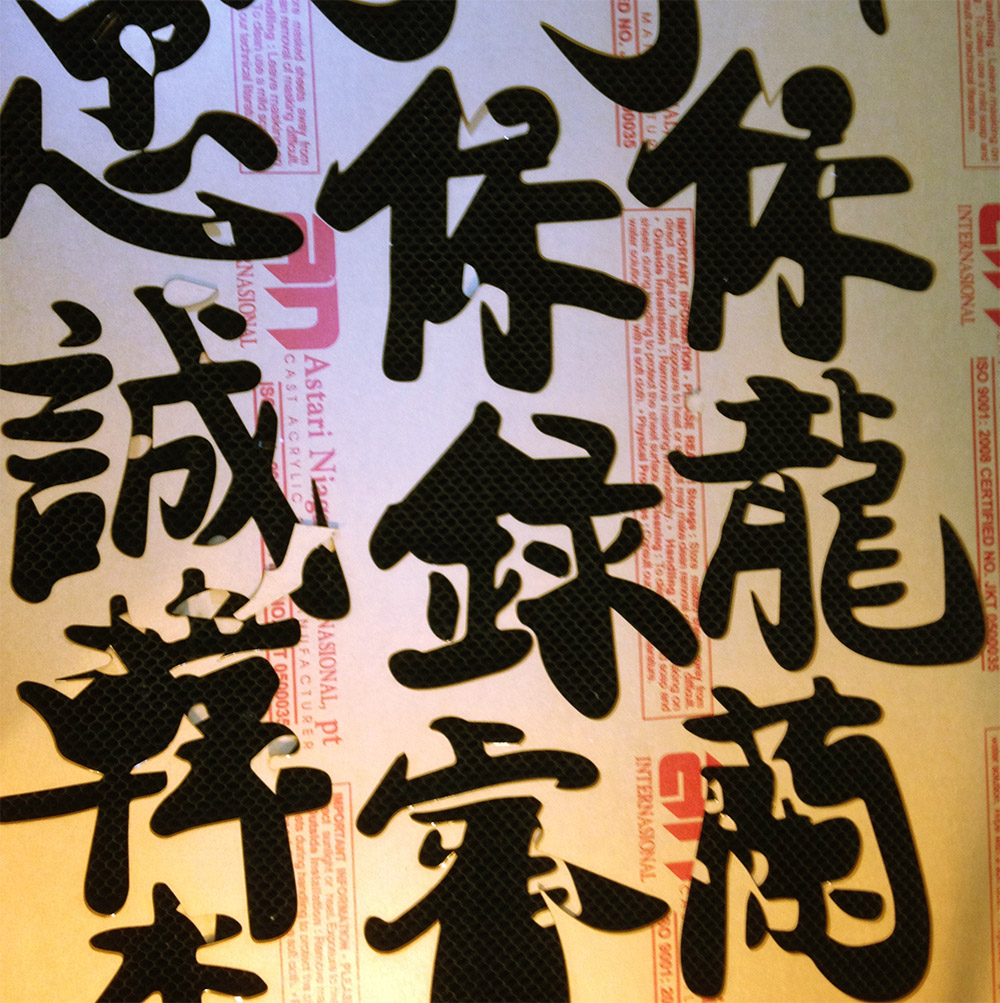
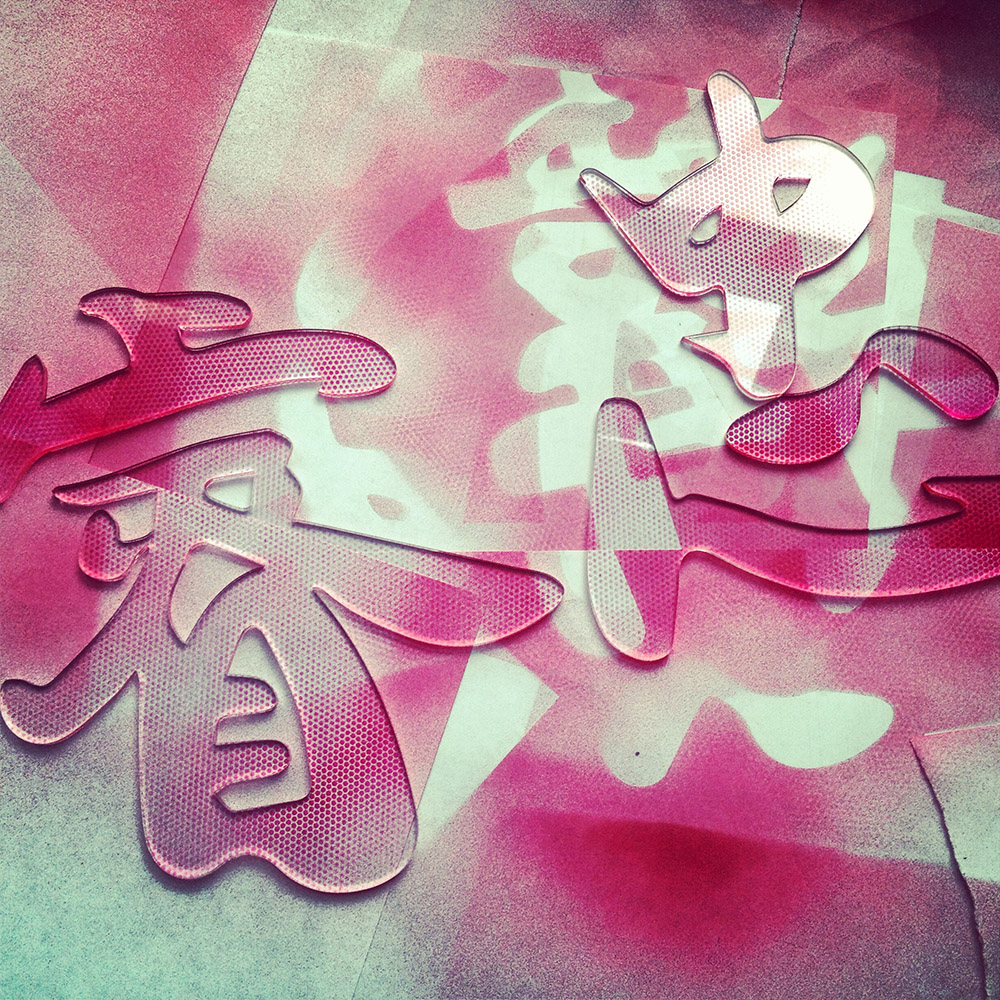
Next step is spray paint… we used a perforated plastic sheet as the pattern for the spray paint. (Painting on the back of the character..)

My Chinese name is: 韓睿忠 (hán ruì zhōng). Above you can see the 韓 being sprayed, and below a detail of the 忠.

Here is the final product of the 睿忠.
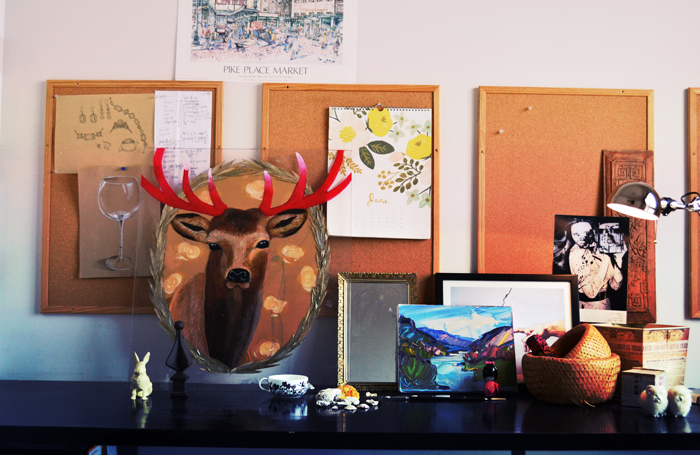
Office Project 03

The office is on its way to completion. Since our last update, we’ve finished:

1.) painting the chevron wall design
2.) cleaning and organizing the cube shelves (which we will hang like the ones sketched in this blog post)
3.) spray painting the bottom of the shelves (GOLD!)
4.) buying a gorgeous nickel-plated lamp from IKEA
5.) organizing the decoration pieces we will be placing/hanging around the room.

  • getting “stuff” done: inspiration from mimi&meg!

Check out all the planning and work we’ve put into it at Office Project 01 and Office Project 02!

From the Studio: DIY Chevron Clutch

Cliche as it may be, I had to do something with this old pencil case. The Fidelity Federal Credit Union pouch was used for money, chequebooks or other documents (from my Dad’s first job at 16 years old!), but we now use it to store pens and markers. Some of the markers had discoloured the zip-up bag, and I knew the leather case could be transformed with just a bit of masking tape and some spray paint.

Time to make this into a chic clutch!

Use Masking tape to cover the area where you want to keep the original color, in my case this cool electric blue.

I painted some pink on the zipper, and lastly covered the whole clutch with silver. (Sorry for the image quality-iPhone pics!)

I really love how it turned out! The right-angled zig-zag is not quite a chevron, but it really gives a cool twist to the old chequebook carrier.

Pair this with a cocktail dress or keep using it for writing utensils.
Put it with this navy blue look, or these cute mint pants!