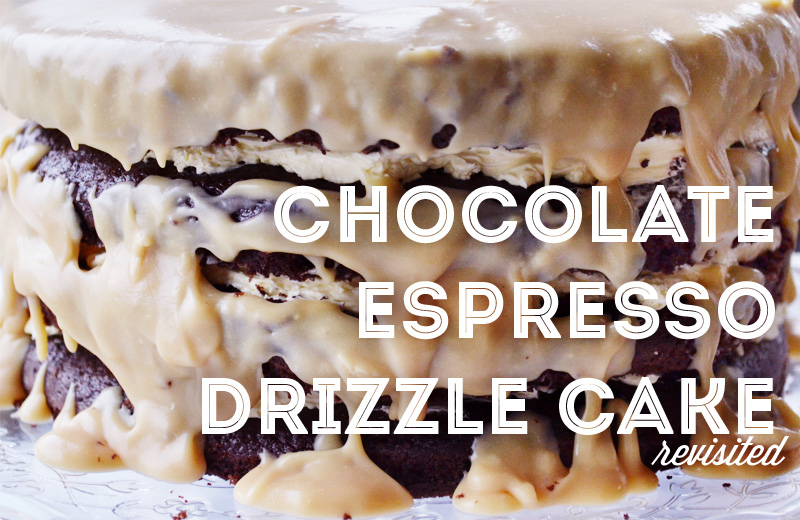
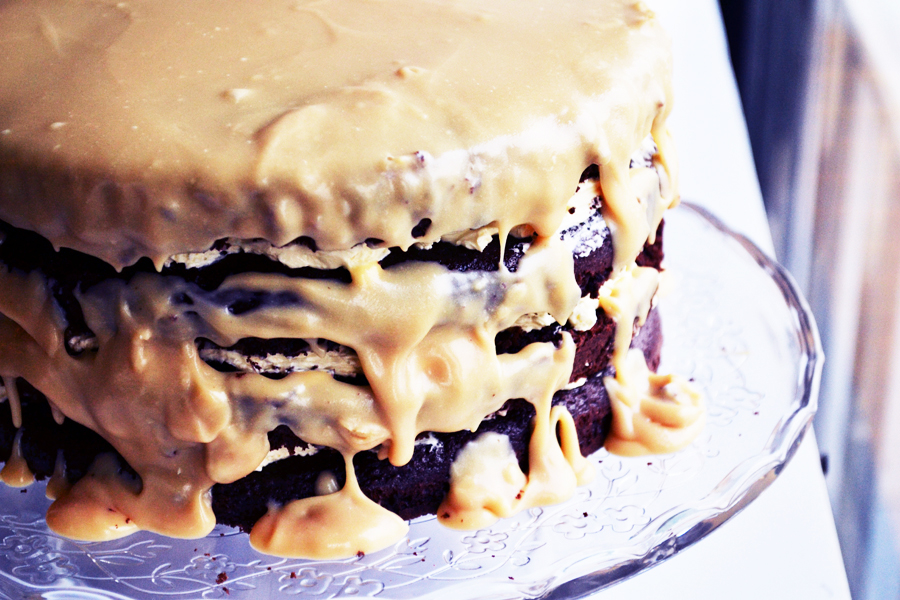
Mocha Espresso Drizzle Layer Cake:
Cake Challenge Series: is a collection of posts which document the cakes I bake each month. More specifically, I have a goal this year to bake at least one (hopefully spectacular) layer cake each month, and photograph/post them here. I hope you enjoy this collection as much as I enjoy baking these delicious desserts!
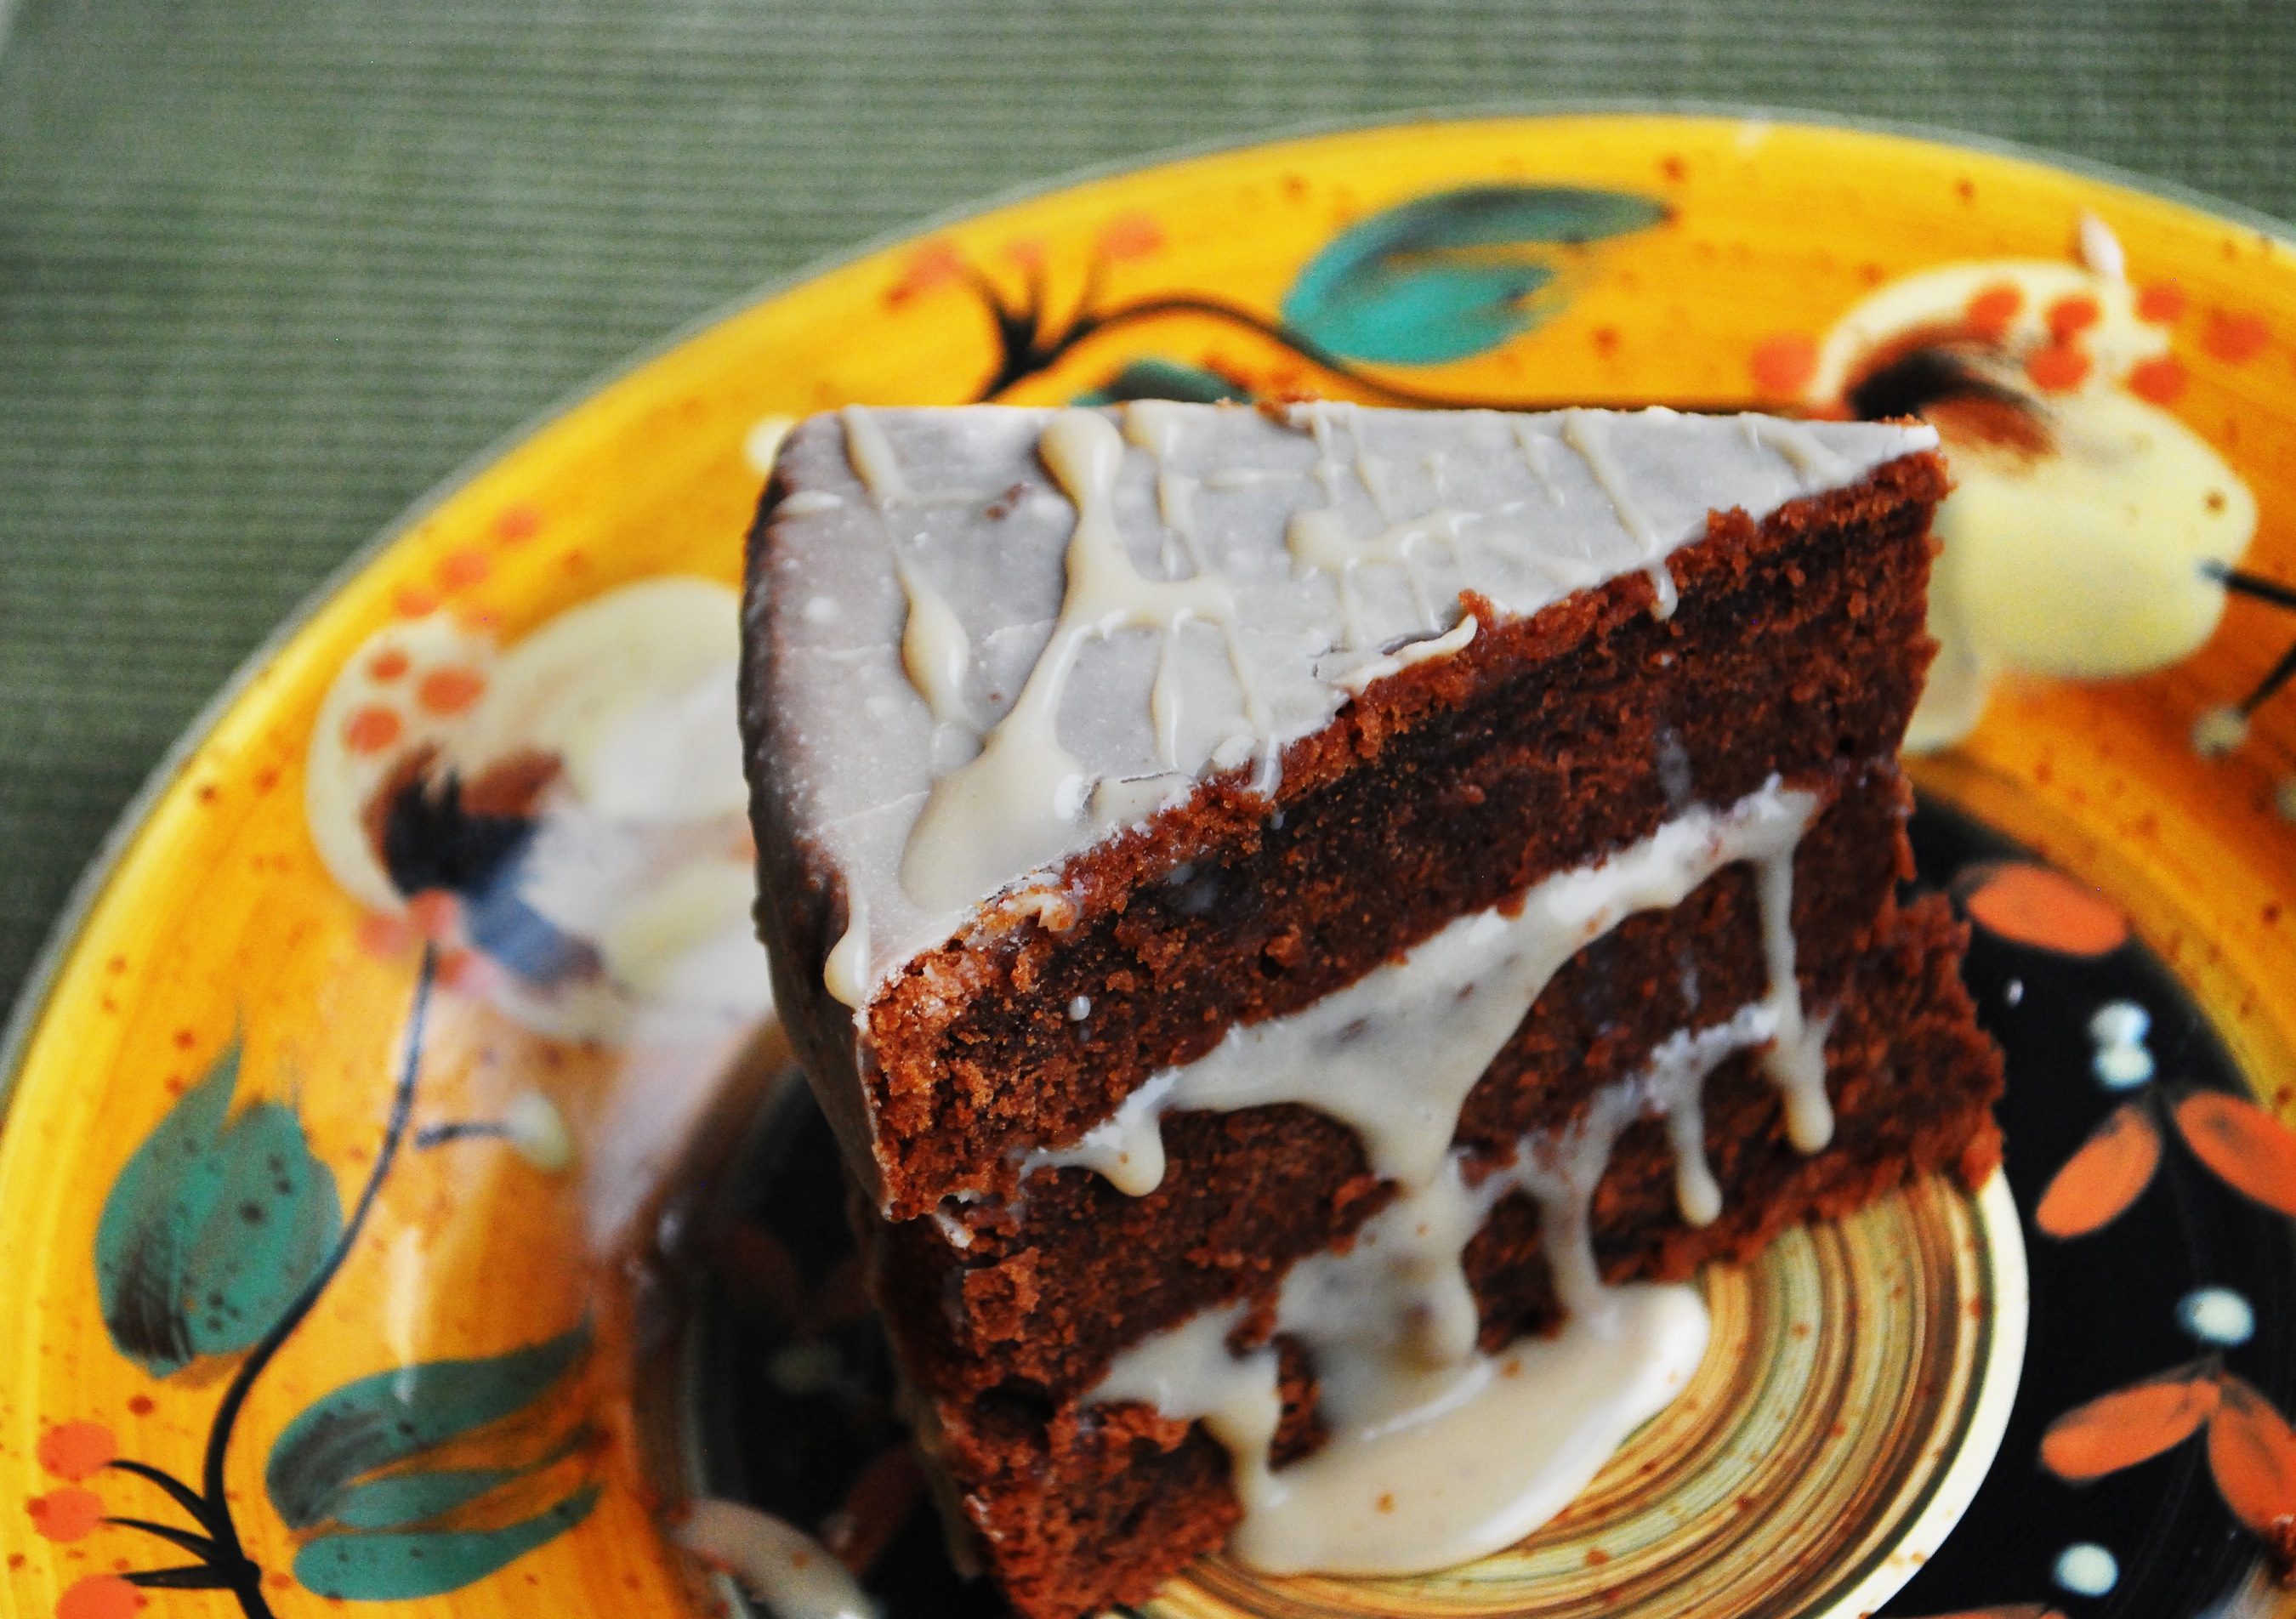
I’m happy to say that I was able to achieve my goal, for the first month at least. My first triple decker cake this year (and EVER) was from my new cookbook, Sky High. The texture of this cake is more dense than it is fluffy. Personally I enjoyed the change, I’m so used to vanilla cakes with sugar based frosting, so this coffee flavored cake with expresso glaze tasted heavenly.
As I describe this to you, I have to remember all the things that did NOT go right when making this cake. You see, I started this venture with high hopes, the ingredients were measured, the batter was spun to perfection, the oven was ready… but little did I know my “ready” was the wrong temperature. Sadly, the first two layers were slightly overcooked and a bit dry. And although the last layer was baked to delicious moistness, more problems were awaiting when I began the glaze. As you will see below, the expresso glaze calls for a bag of white chocolate chips melted. <This was when I started hitting bumps in the road.> THE CHOCOLATE WOUDLN’T MELT! My parents and their friends were coming back for dessert at our house and the glaze wasn’t even close to completion! At this point, I was quite disappointed with myself and honestly just wanted to give up. Jessie keep me going though, she never gave up hope while I on the other hand was pacing back and forth voicing “what ifs” here and there… after much stress and multiple rounds in the microwave, the chocolate finally loosened (I think something was wrong with the chocolate and that is why it wouldn’t melt).
Finally, I mixed in the the sweetened condensed milk, other ingredients and vuoila, the glaze was done. My parents were already home waiting for the cake and although the glaze was on the thin side, we quickly assembled the cake and brought it out to be served. I was definitely not eager to serve this cake; after agonizing over it for so many hours I thought that it would taste horrible for sure. But it DIDN’T! On the contrary, I quite liked it… As I happily ate this beautiful cake, I reflected on my baking experience and found that…
Baking my first layer cake taught me three things:
1.) Check the oven temperature before you start baking!
2.) Only make chocolate based icings/glazes when you are mentally, emotionally, and physically sound- and don’t start unless you have LOTS of time.
3.) If you taste bits of cake crumbs and licks of icing here and there, you won’t have any appetite left to eat the finished creation!
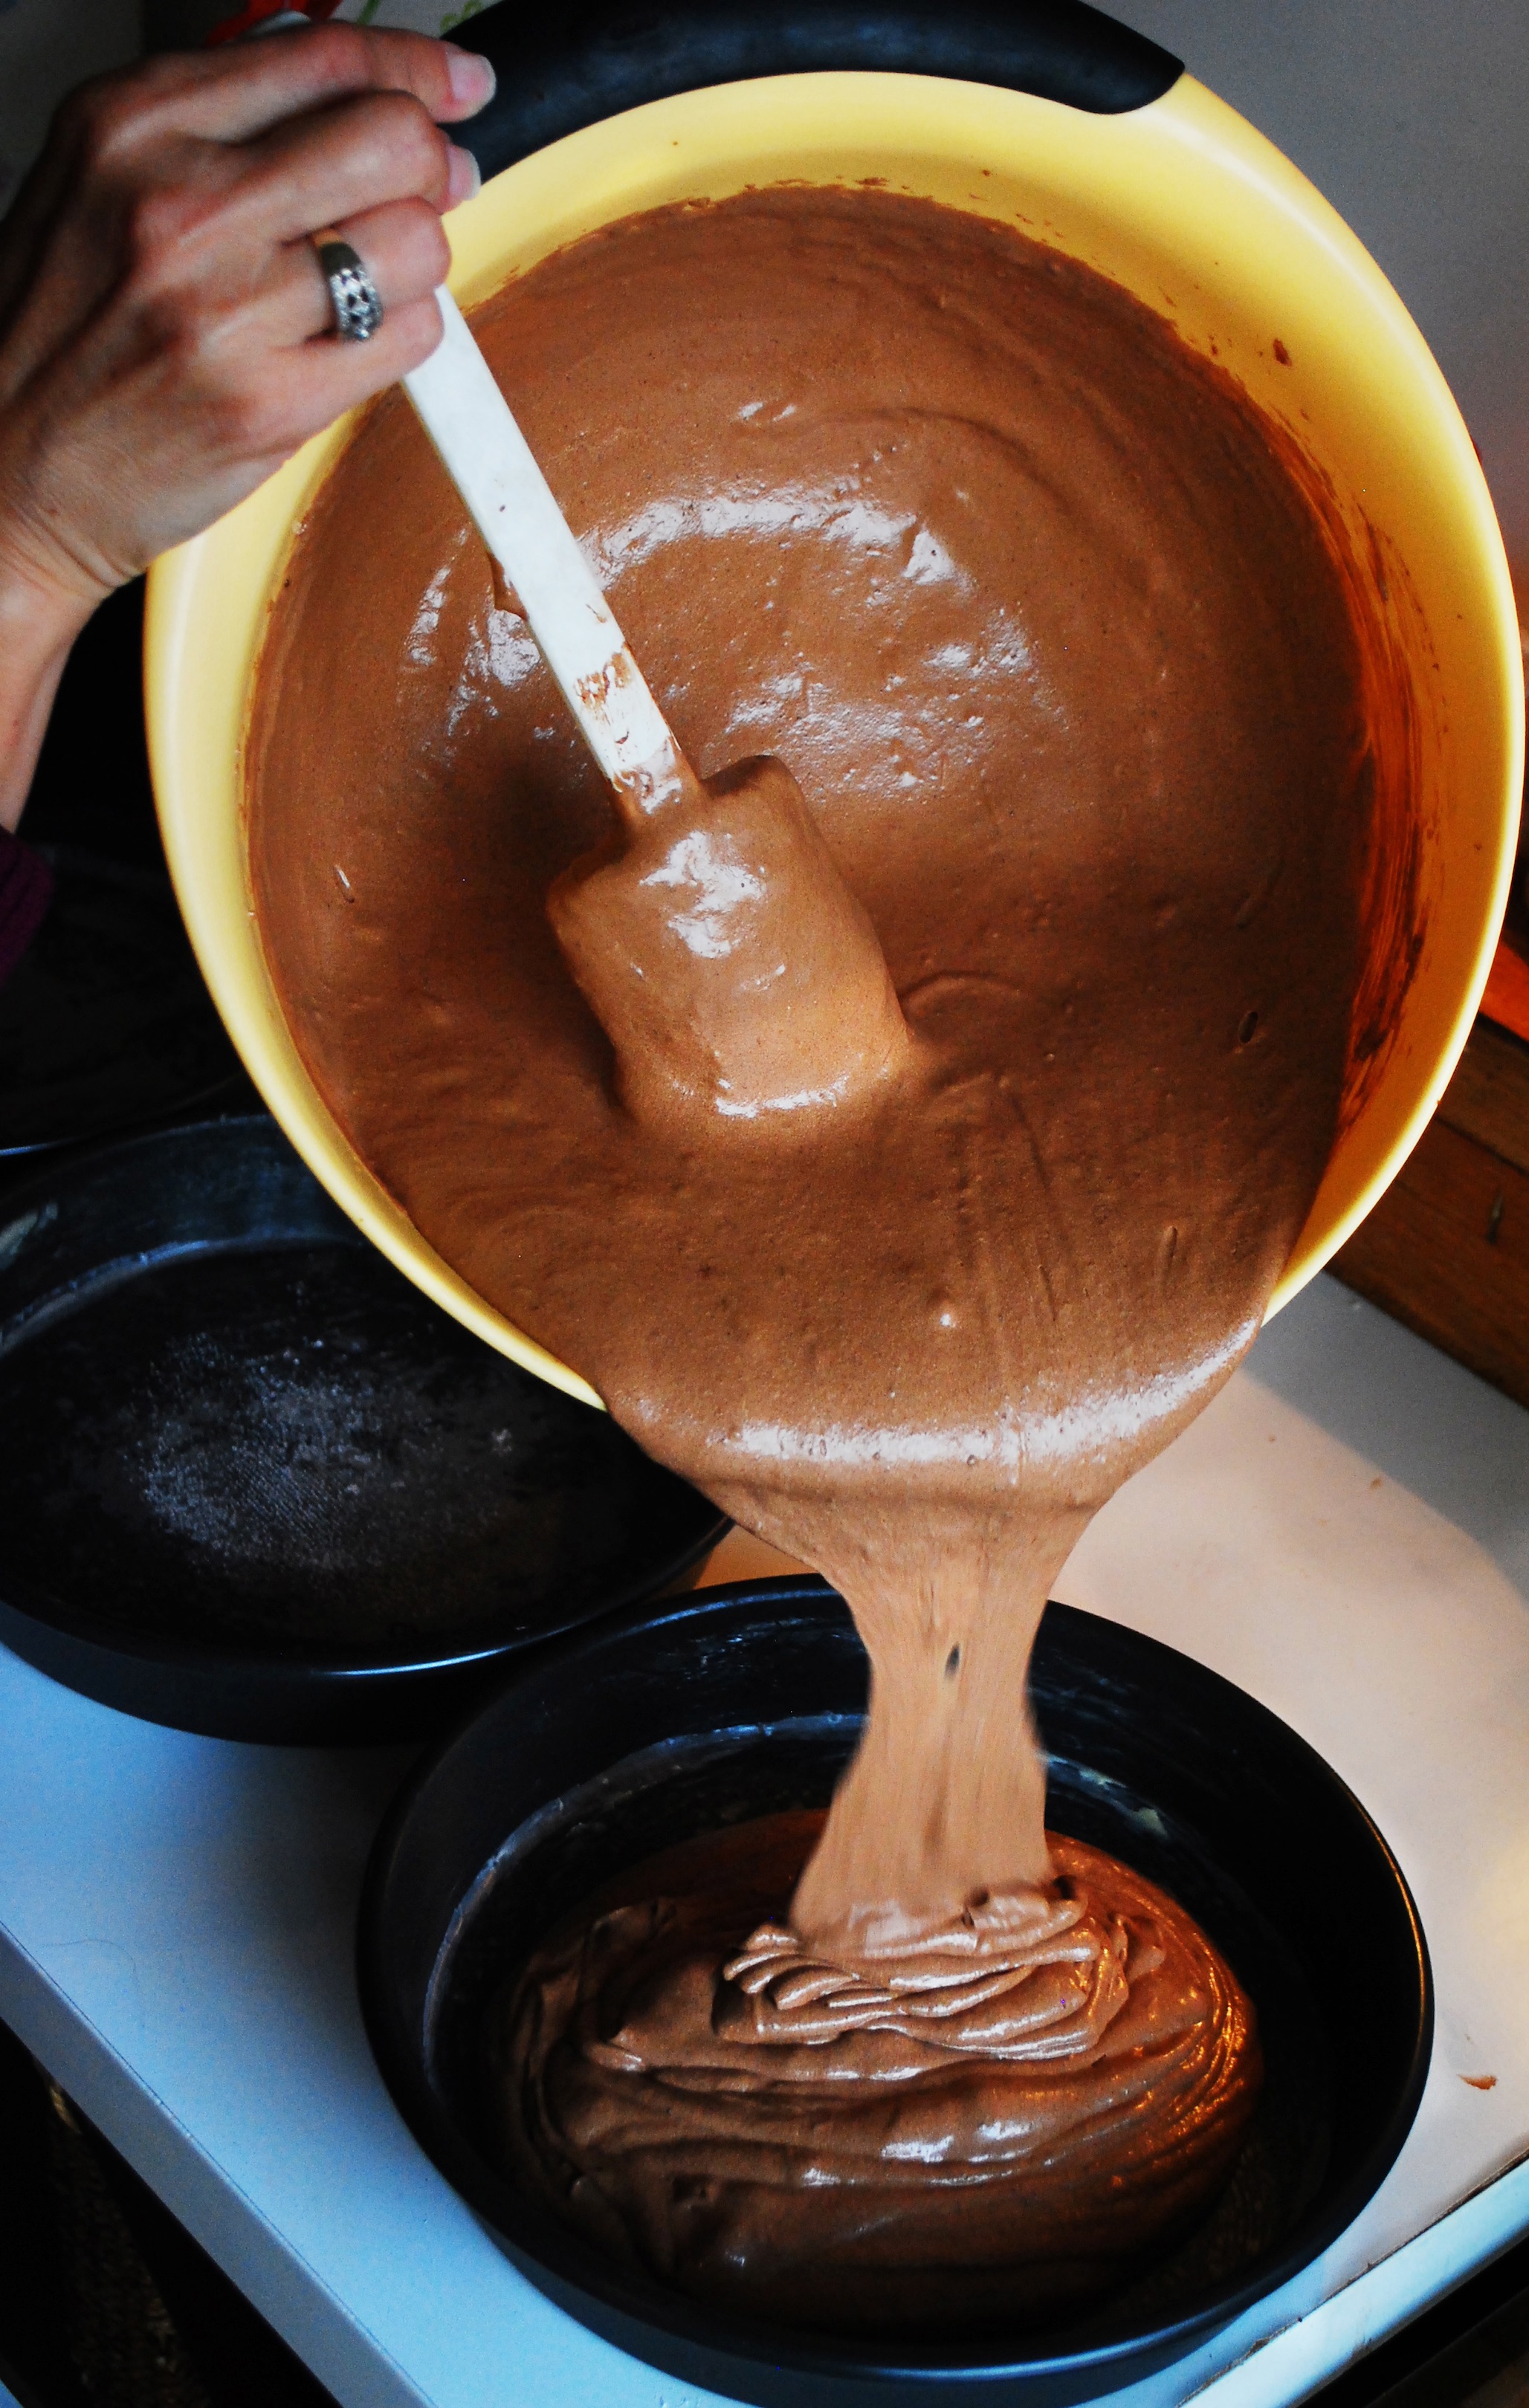
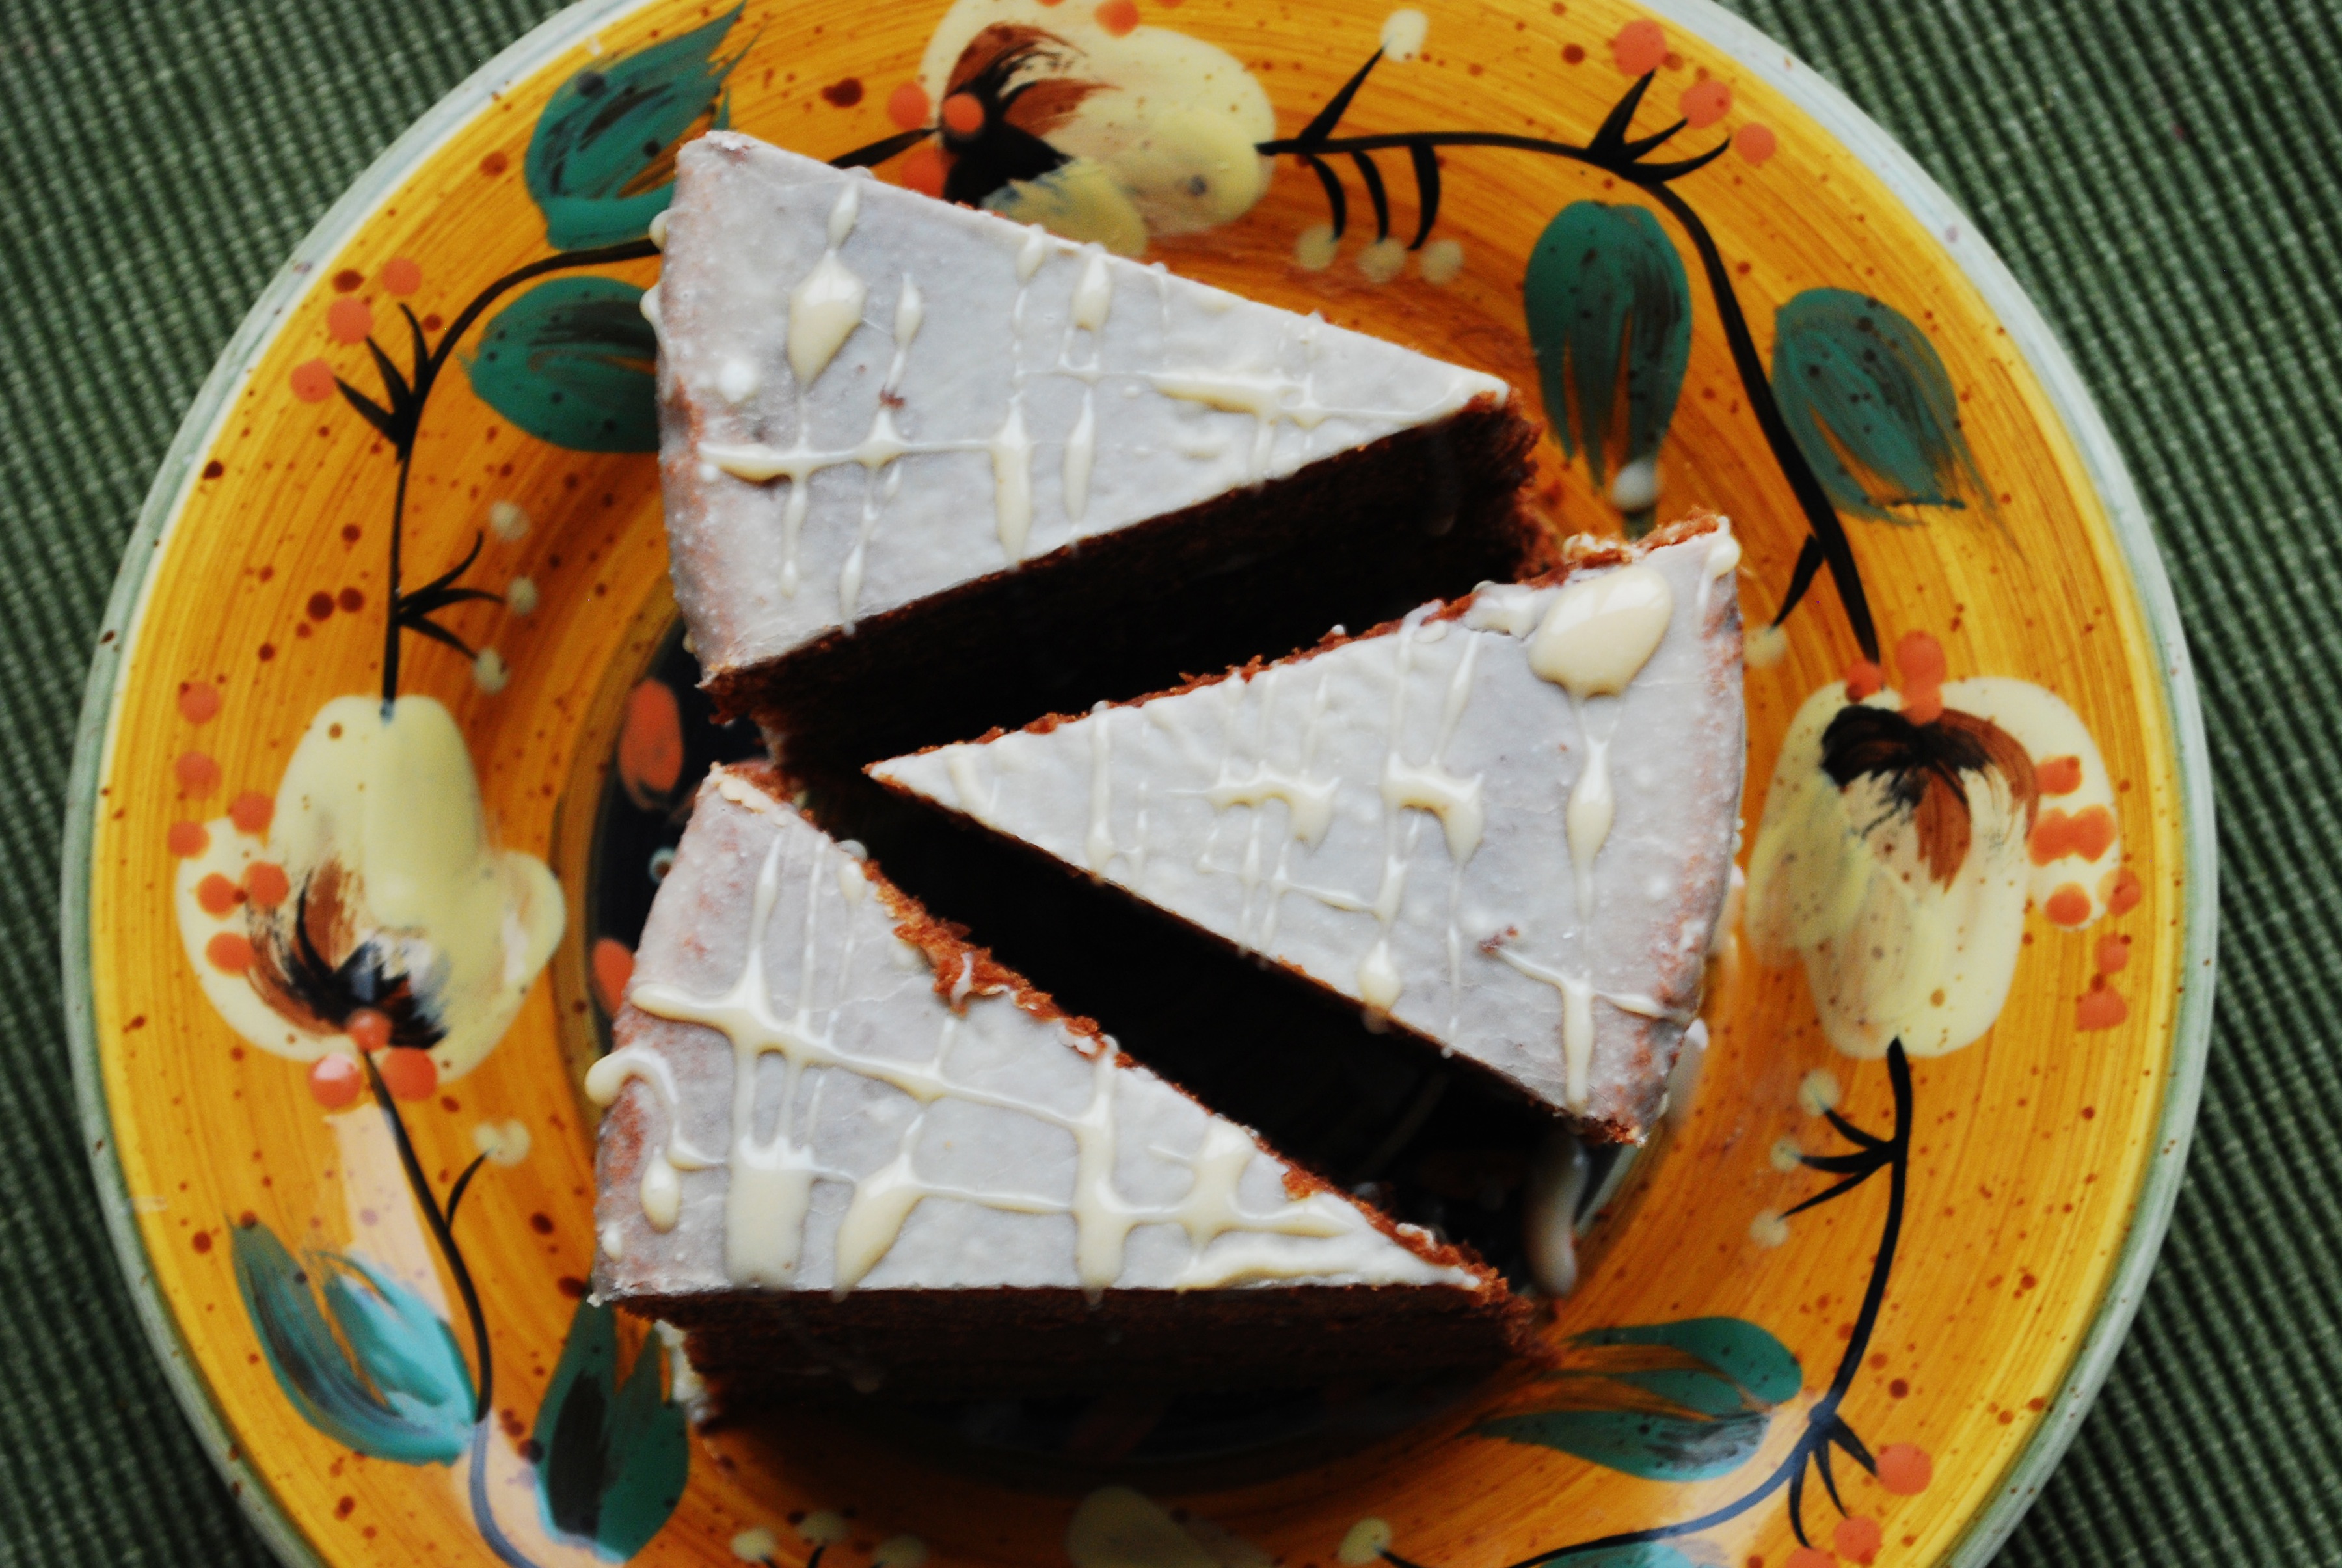
Mocha Cake
Ingredients:
1 cup freshly brewed espresso OR double-strength coffee
2/3 cup of unsweetened cocoa powder
4 eggs
2/3 cup buttermilk
1 1/2 teaspoon vanilla extract
2 2/3 cup cake flower
3/4 teaspoon baking powder
1/2 teaspoon salt
2 sticks (8 ounces) unsalted butter
Method:
1.Preheat the oven to 350 degrees F. Butter the bottoms and sides of your cake pans.
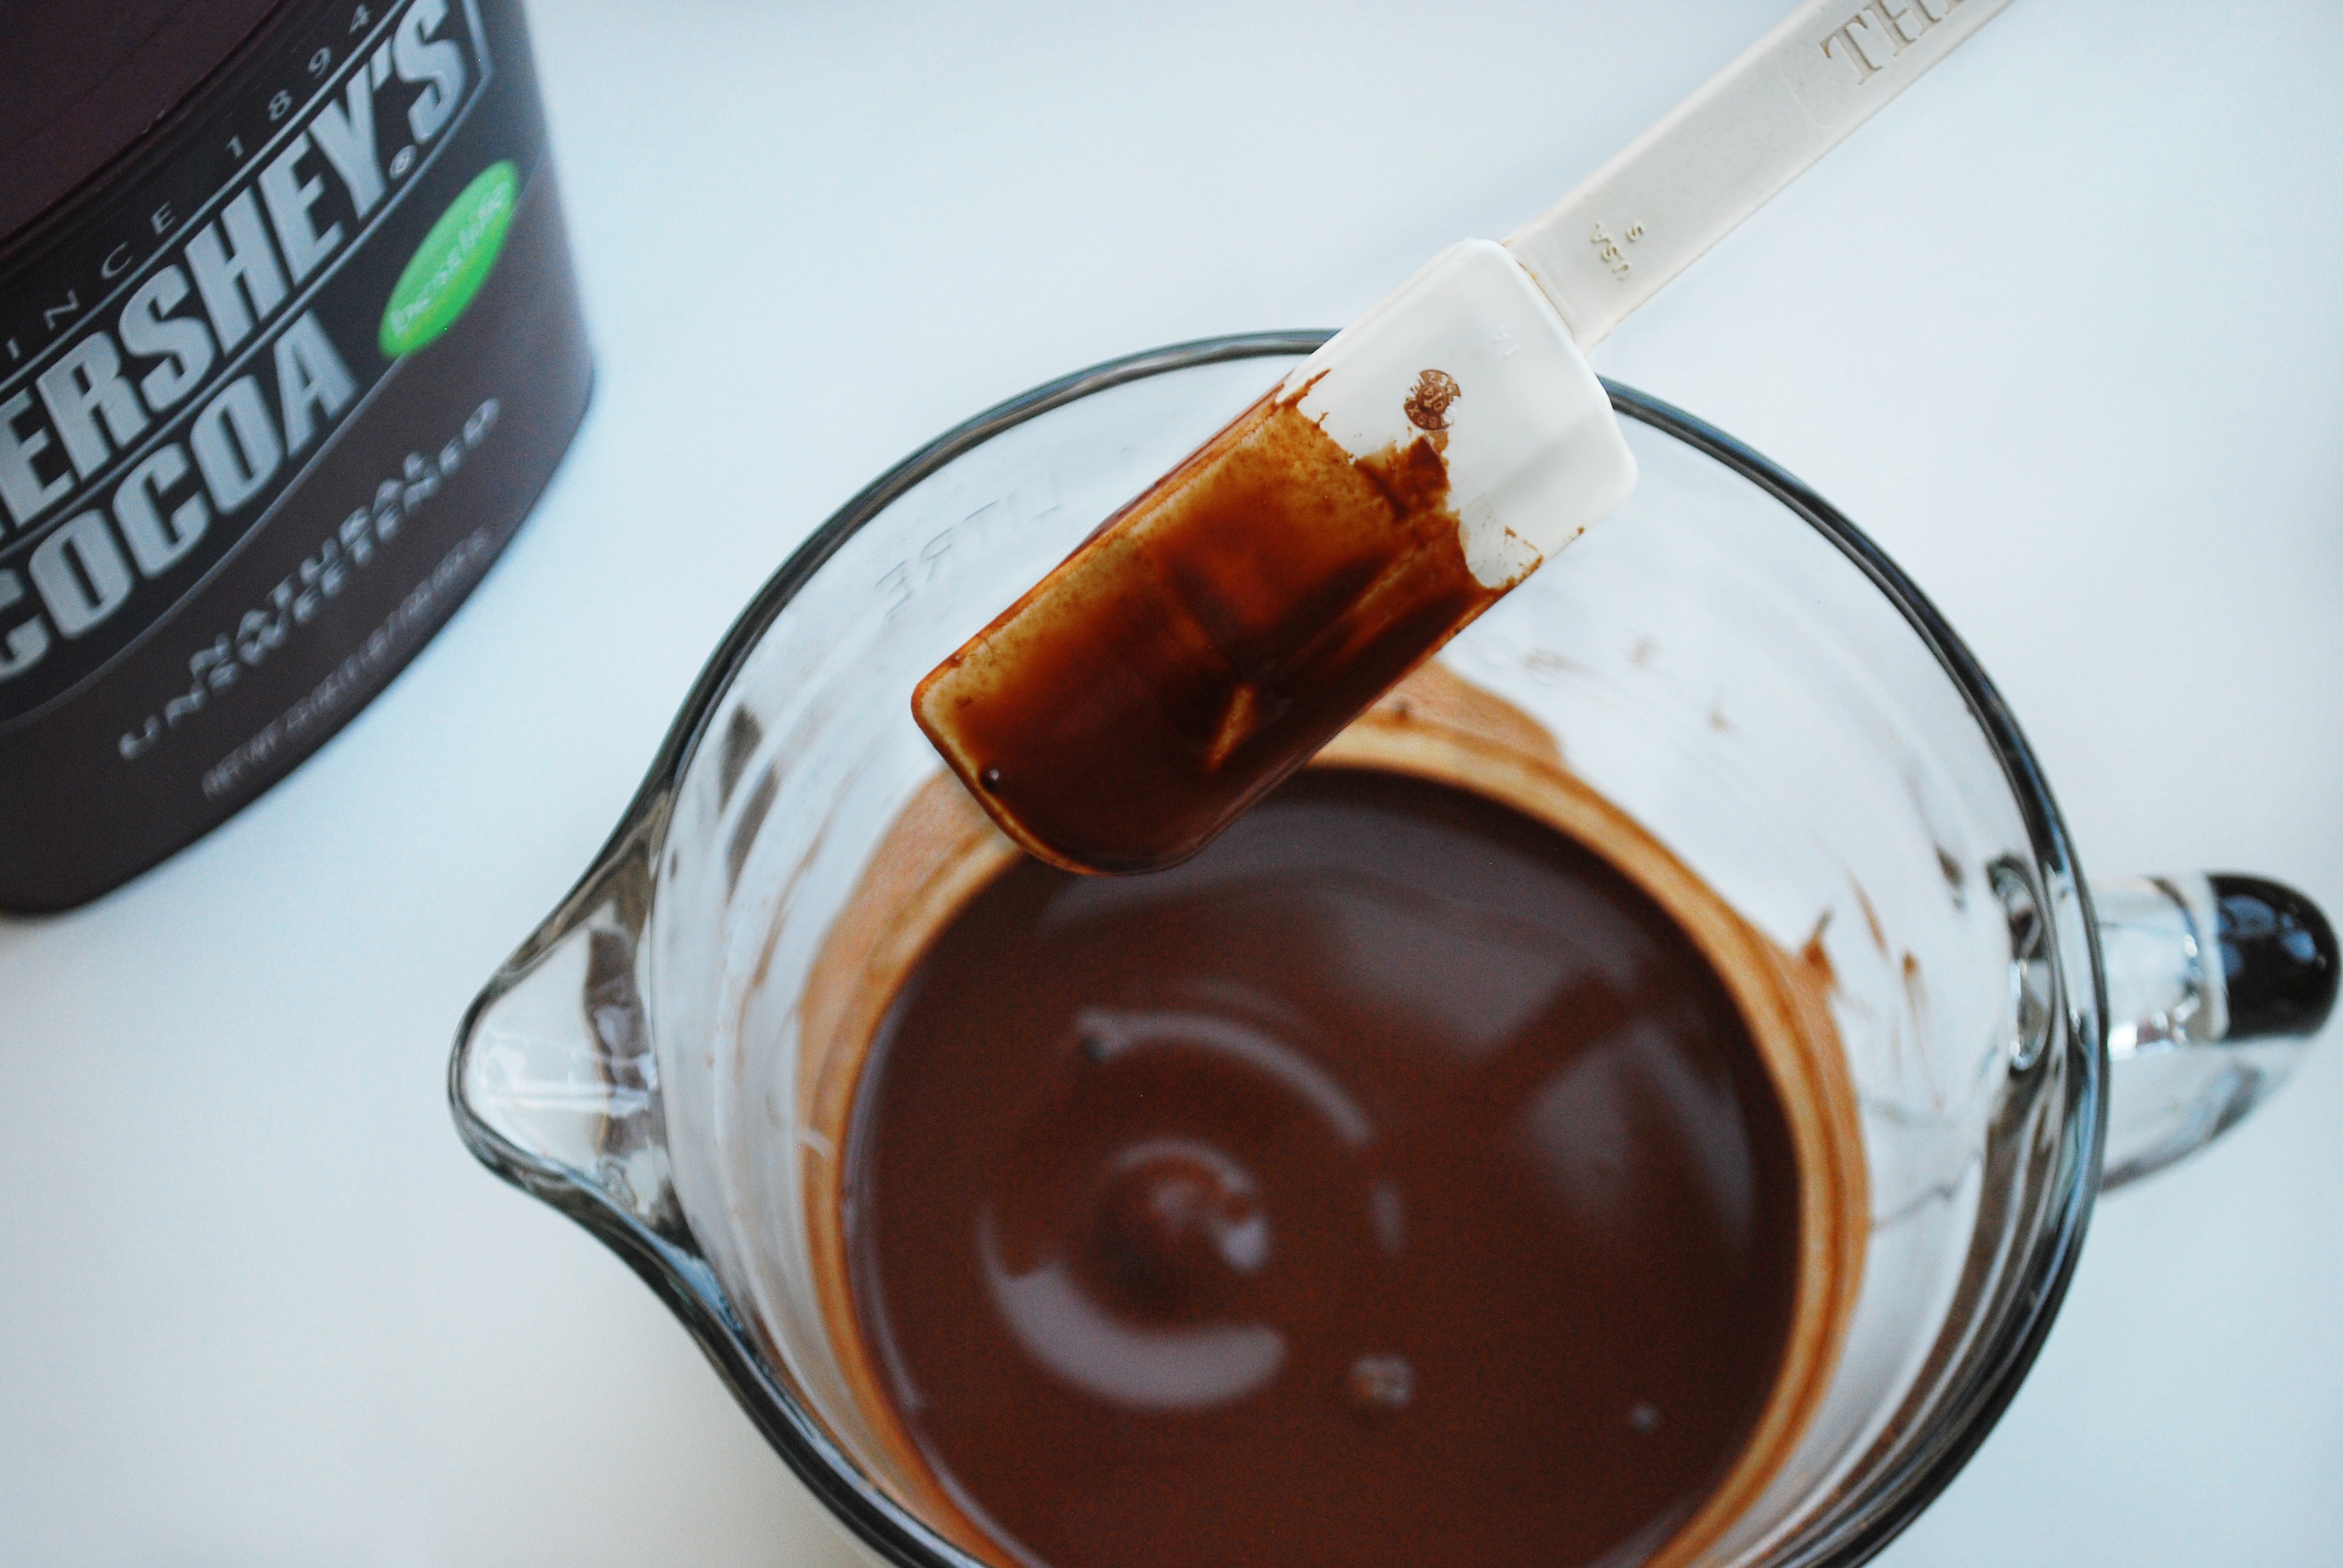
2. In a medium bowl combine the hot coffee and the coca stirring until the mixture is dissolved into a glossy, smooth mocha. Let cool to room temperature.
3. In another bowl beat eggs lightly and whisk the buttermilk and vanilla in.
4. Place all the rest of the ingredients (dry) into a mixing bowl. With the mixer on low first add butter, followed by the mocha mixture. Beat until well incorporated. Raise the mixer speed to medium and blend until light and fluffy, at this point add the egg mixture in three additions.
5. Bake the cake layers for 35-38 minutes or until a wooden toothpick inserted in the center comes out almost clean but still moist. Let cool in pans for 10 minutes then invert onto wire racks.
Espresso Drizzle
Ingredients:
12 ounces white chocolate
3/4 cup sweetened condensed milk
6 tablespoons freshly brewed espresso OR double-strength coffee
Method:
1. Melt the white chocolate using either a double boiler (more reliable) or a microwave.
2. Whisk in the sweetened condensed milk and espresso until smooth. (If your drizzle is too thin, stick it in the fridge for an hour)
To assemble simply pout glaze in between each layer of cake, and add more on the top layer so that it will drizzle over the sides!
