Cake Challenge: February Part 2

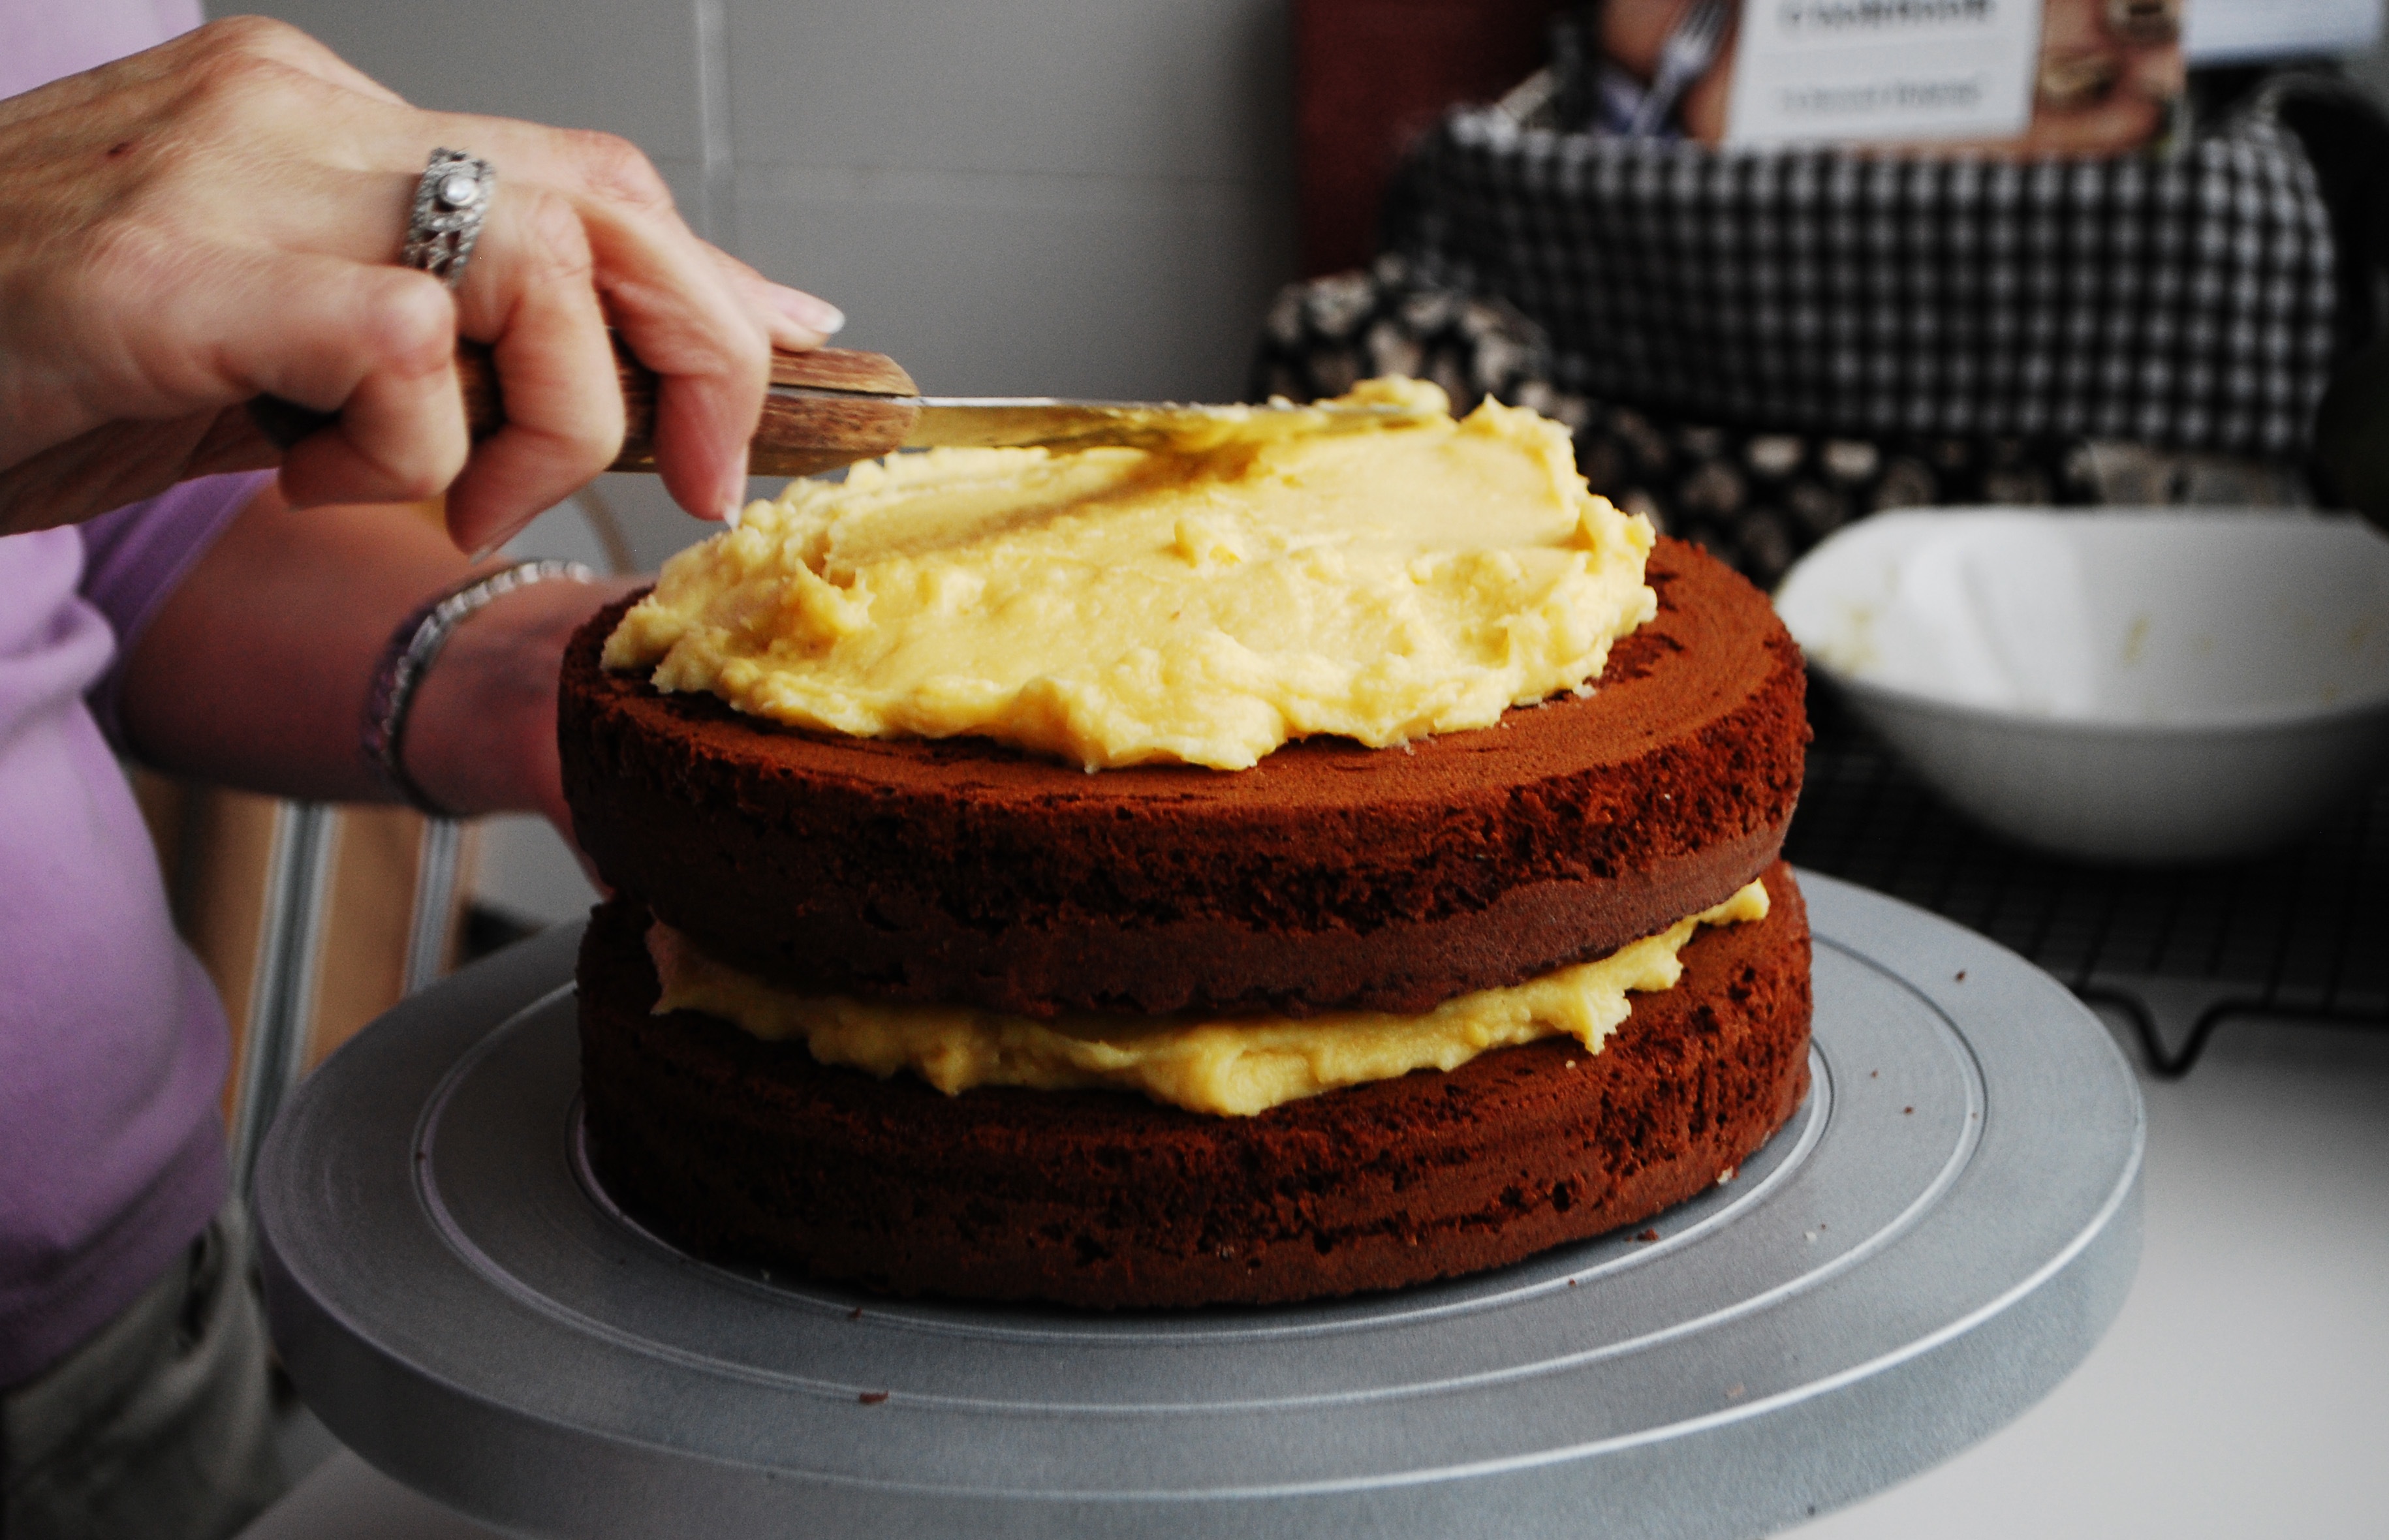
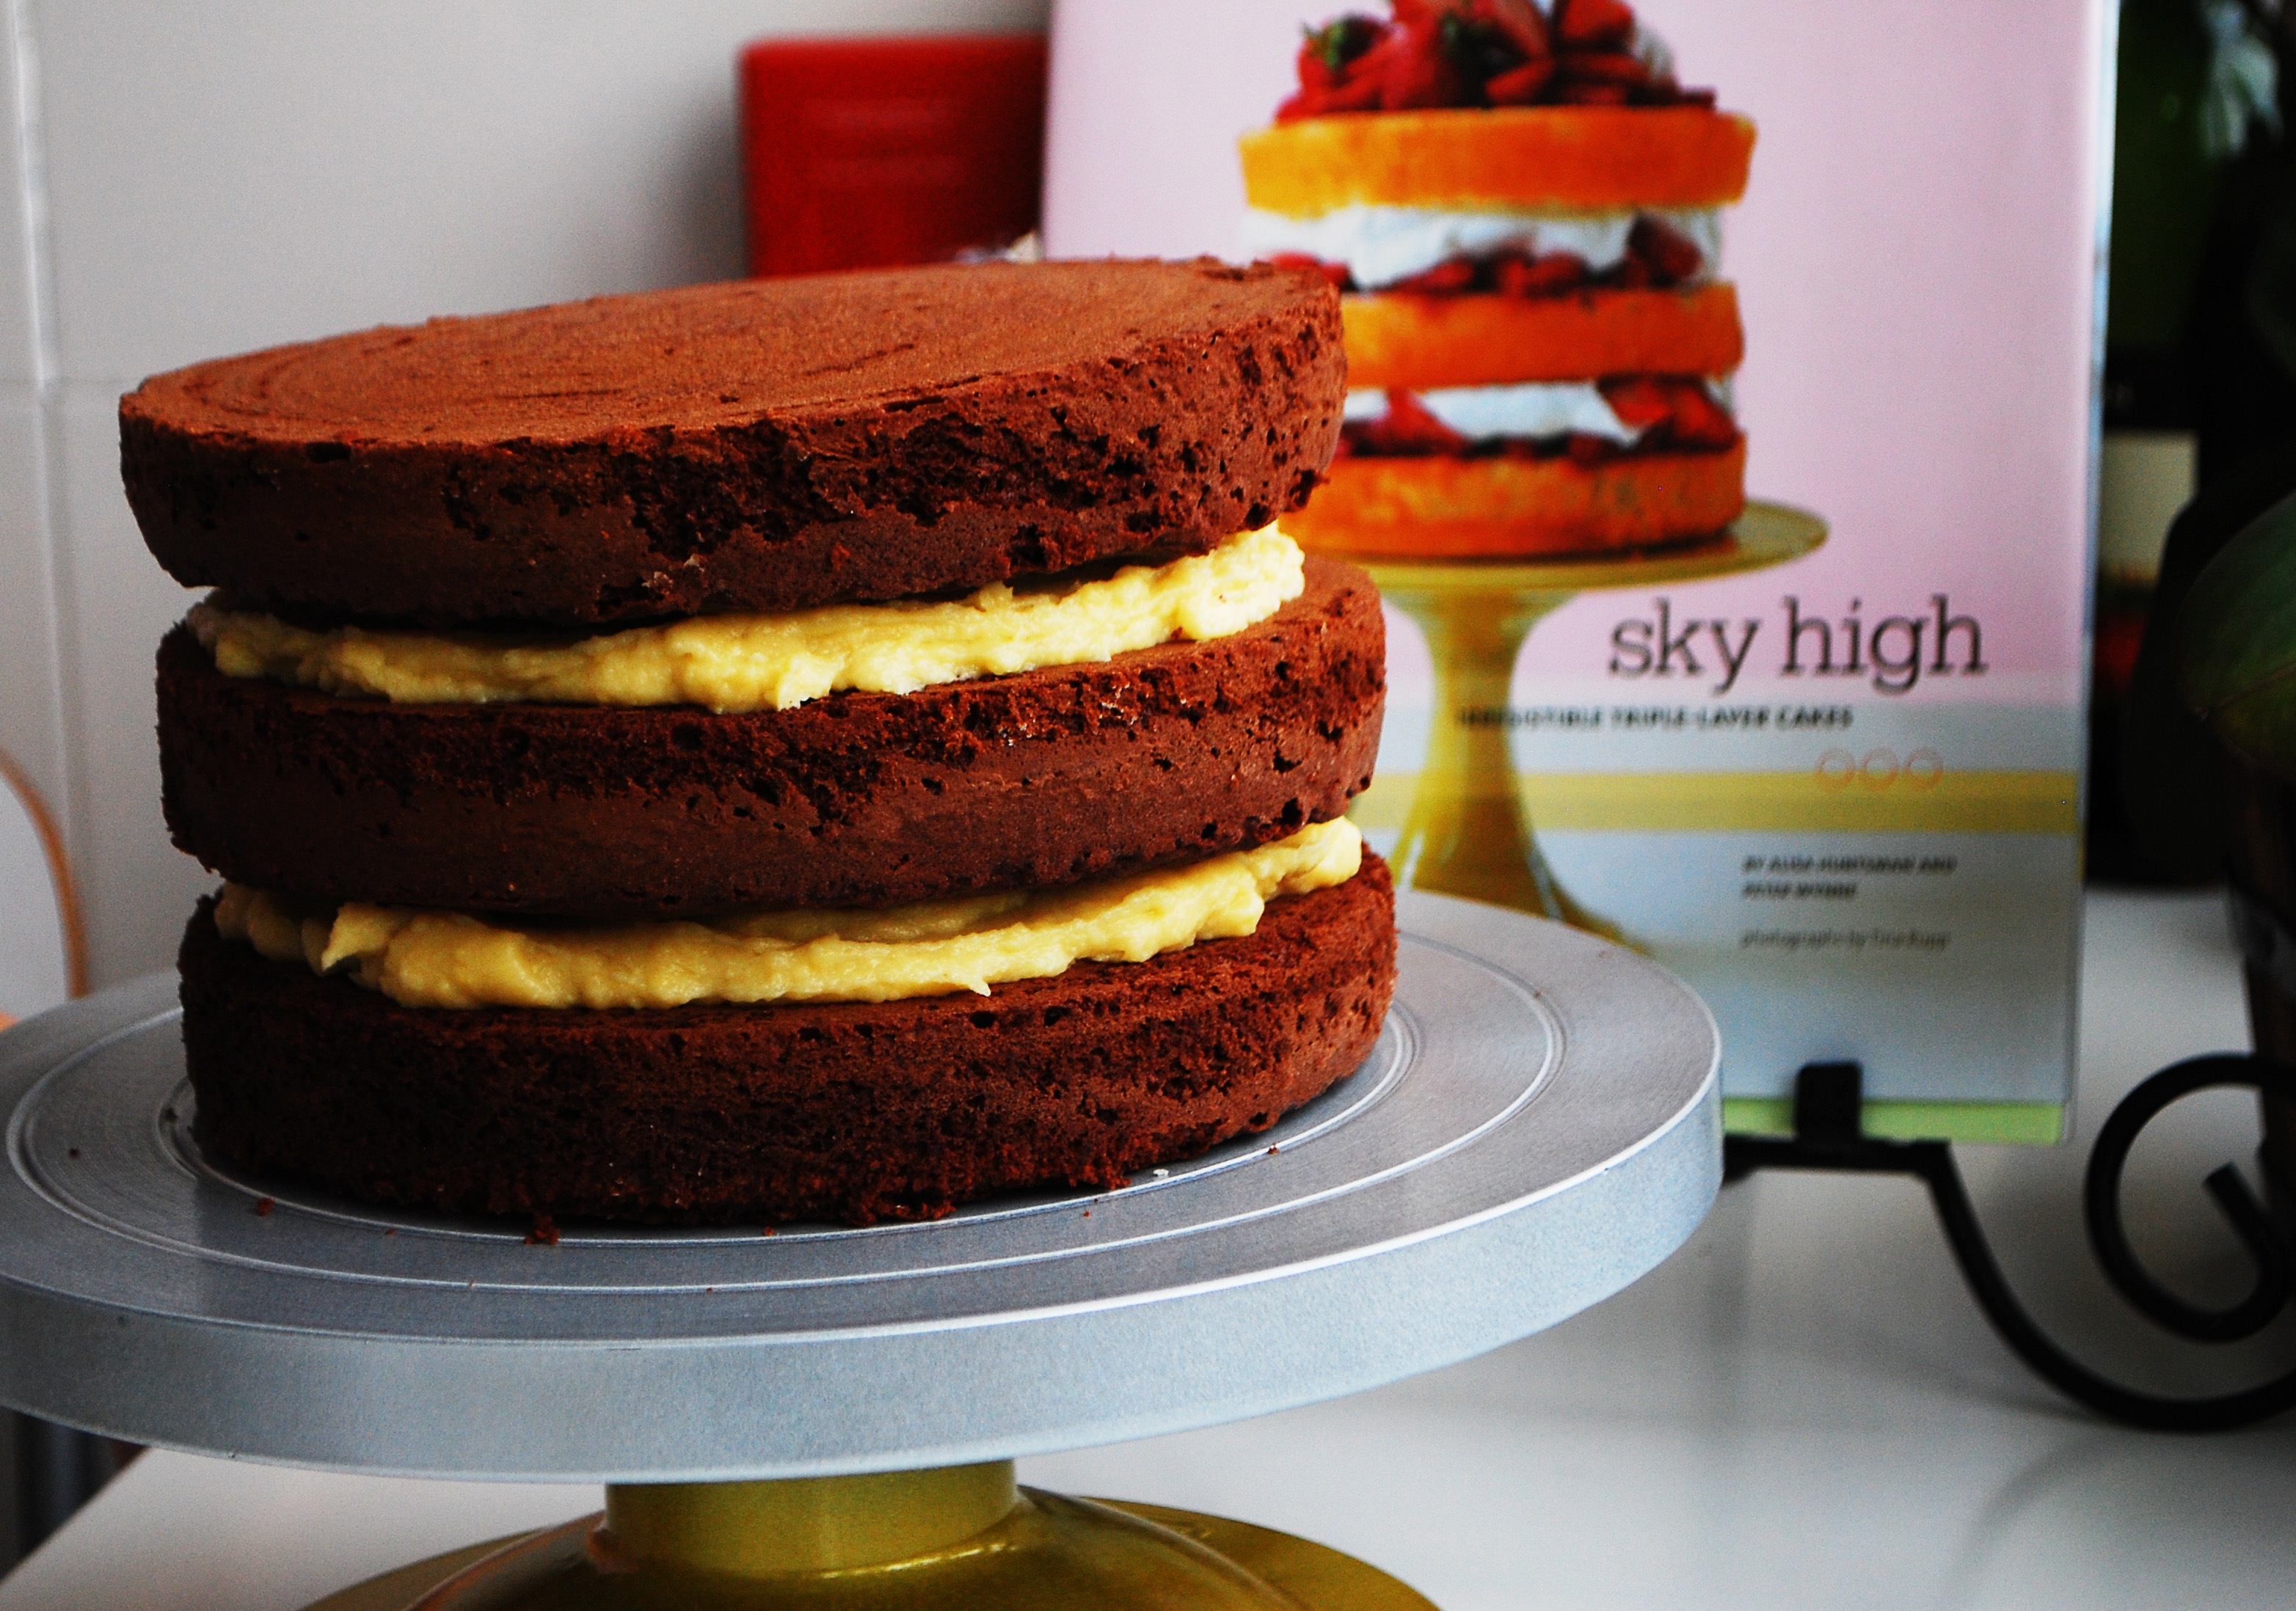
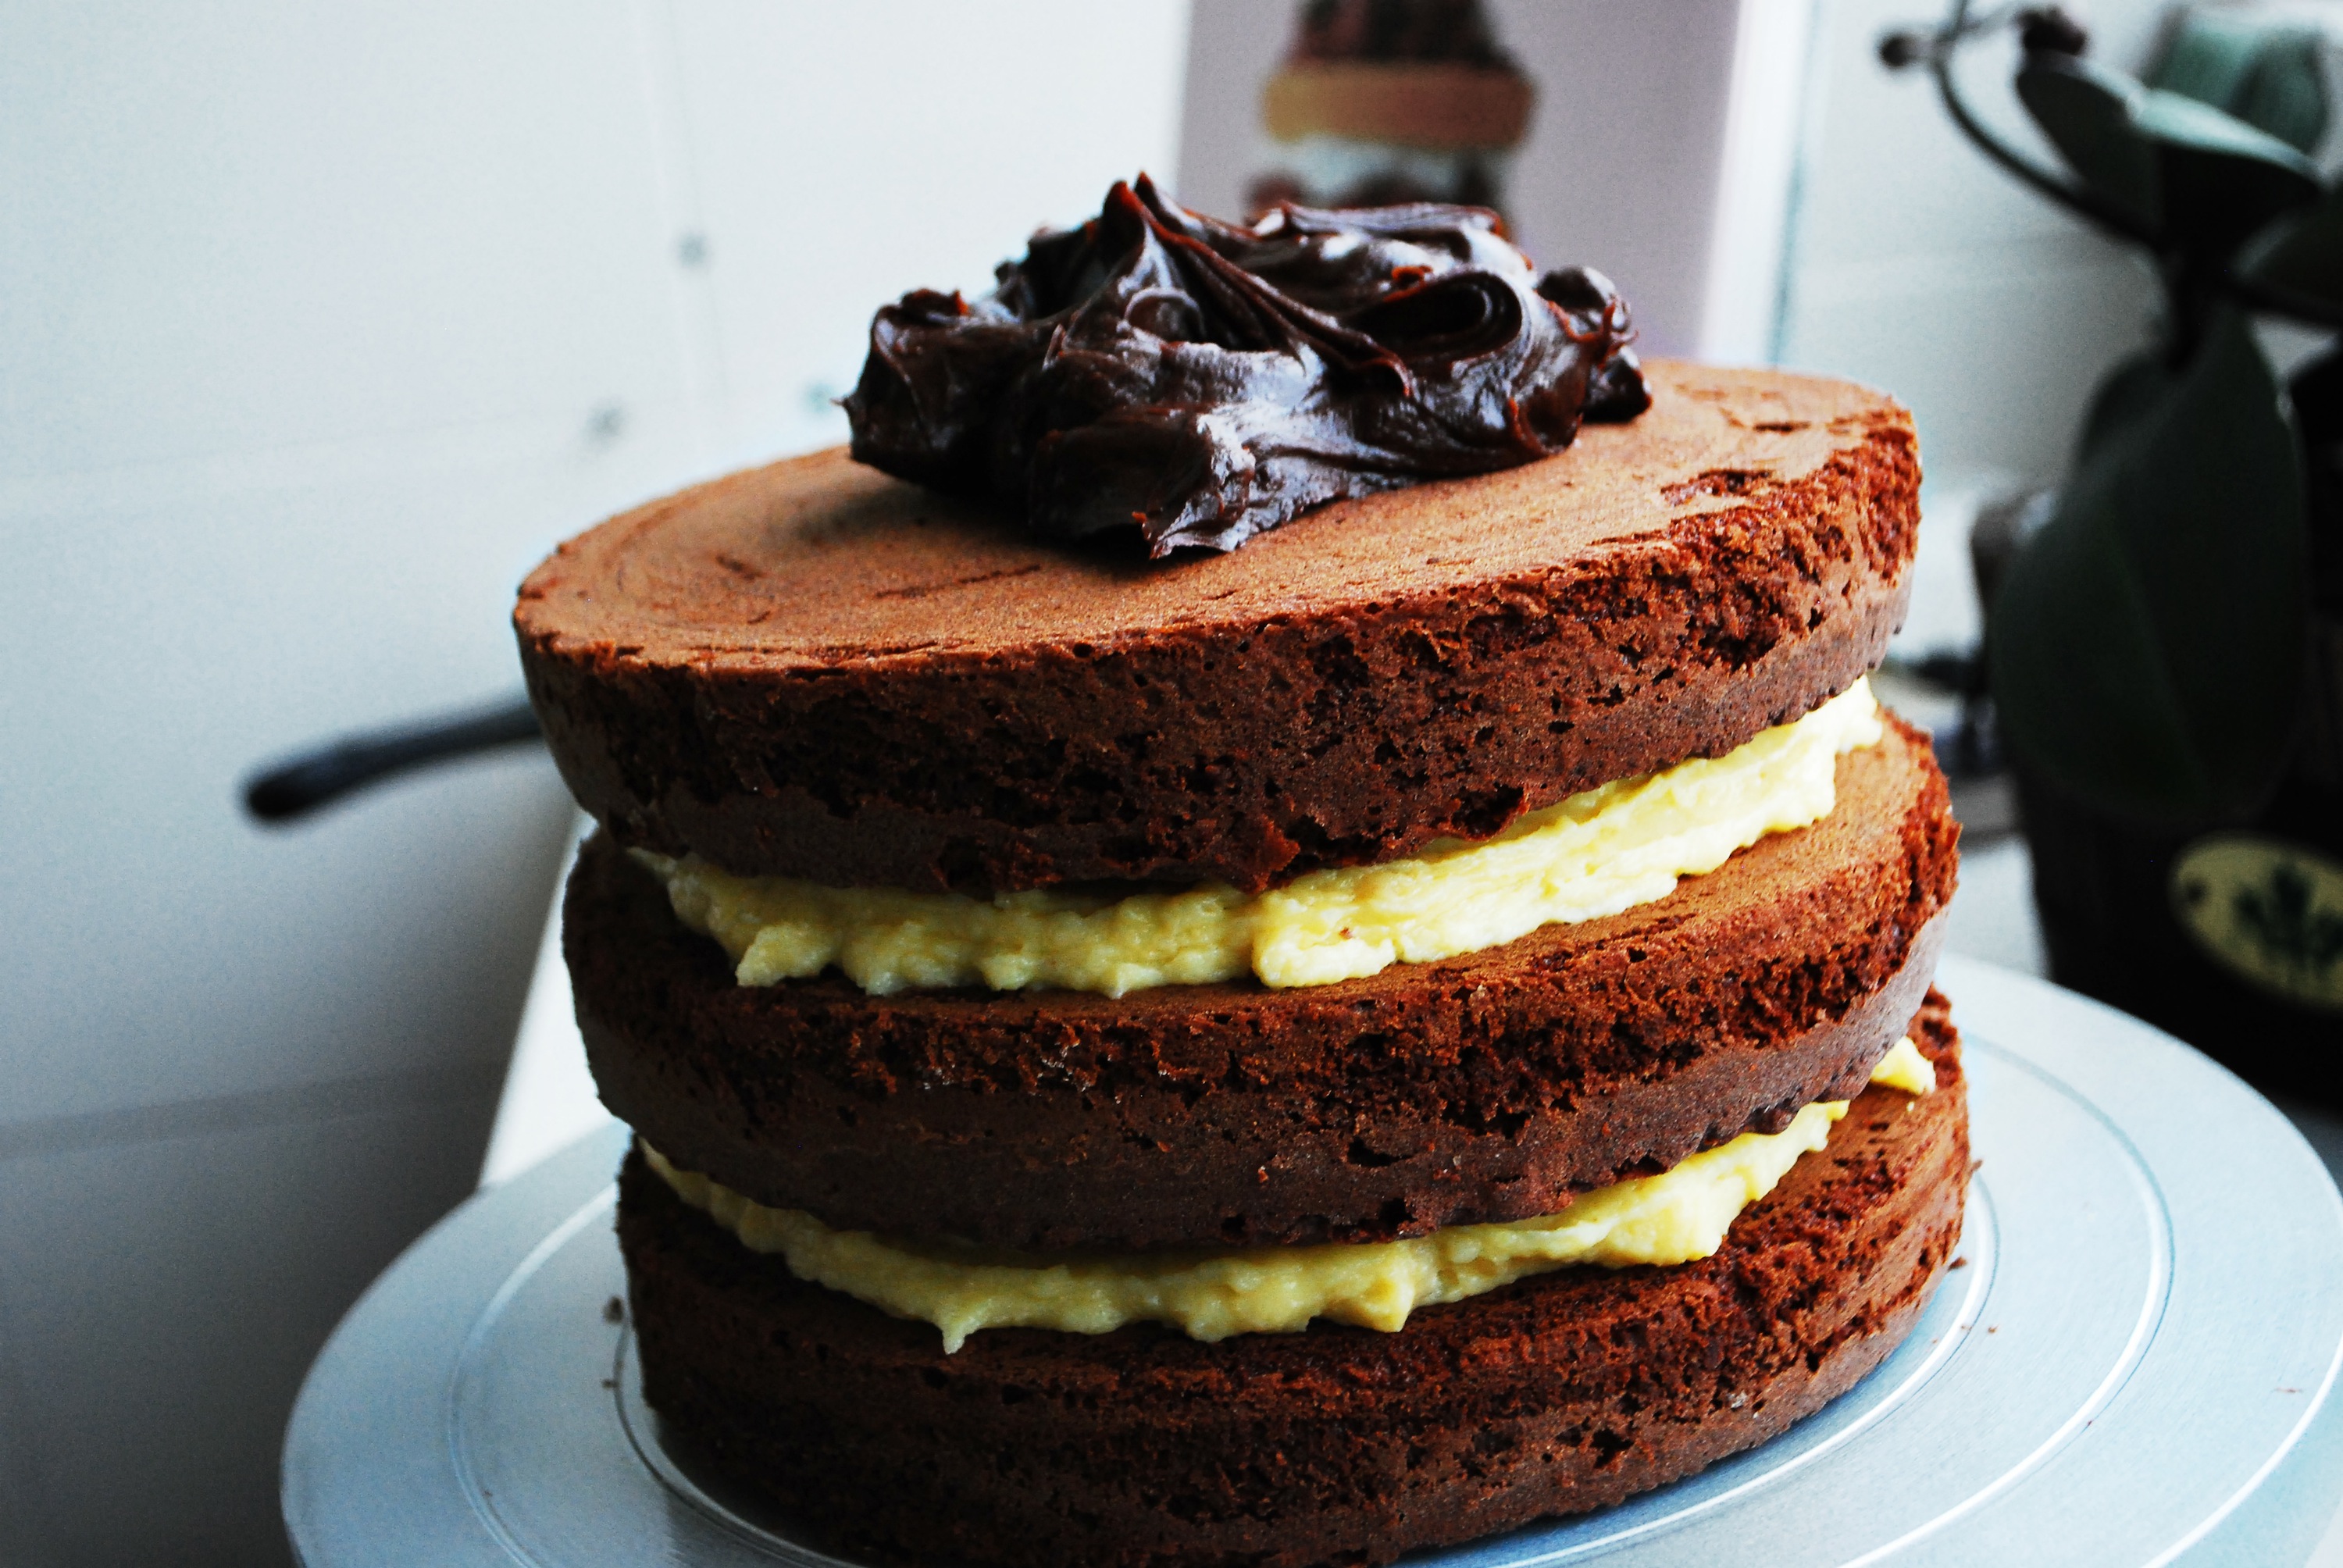
Chocolate Cake with Almond Cream Filling and Sourcream Chocolate Icing–phew, that’s a mouth-full!

This is the second post documenting the February cake I baked. I wanted to quickly write the recipes down for anyone brave enough to try a triple layer cake at home! Its already half way through March and I feel lost by the fact that I haven’t baked any delicious sweets this month. Baking is literally the butter to my bread. Without it I’m simply a dry, over-toasted slice without the buttery topping to moisten it. Lately I’ve been inspired to make something creative with cake such as icecream cupcakes sandwiches, next week is Maddie’s Birthday and I will be making her a layer “ice cream” cake so maybe that will satisfy me.

Anyway, here’s the recipe!

Chocolate Cake:
4 ounces bittersweet chocolate chopped
1 1/4 cups of sugar
1/2 cups strongly brewed coffee
1 3/4 cups all-purpose flour
3 tablespoons of cocoa powder
1 teaspoon baking soda
1/2 ts. baking powder
1 stick of unsalted butter
1/2 cup of honey (odd I know)
3 eggs
2 ts. vanilla extract
1/2 ts. almond extract
2/3 buttermilk

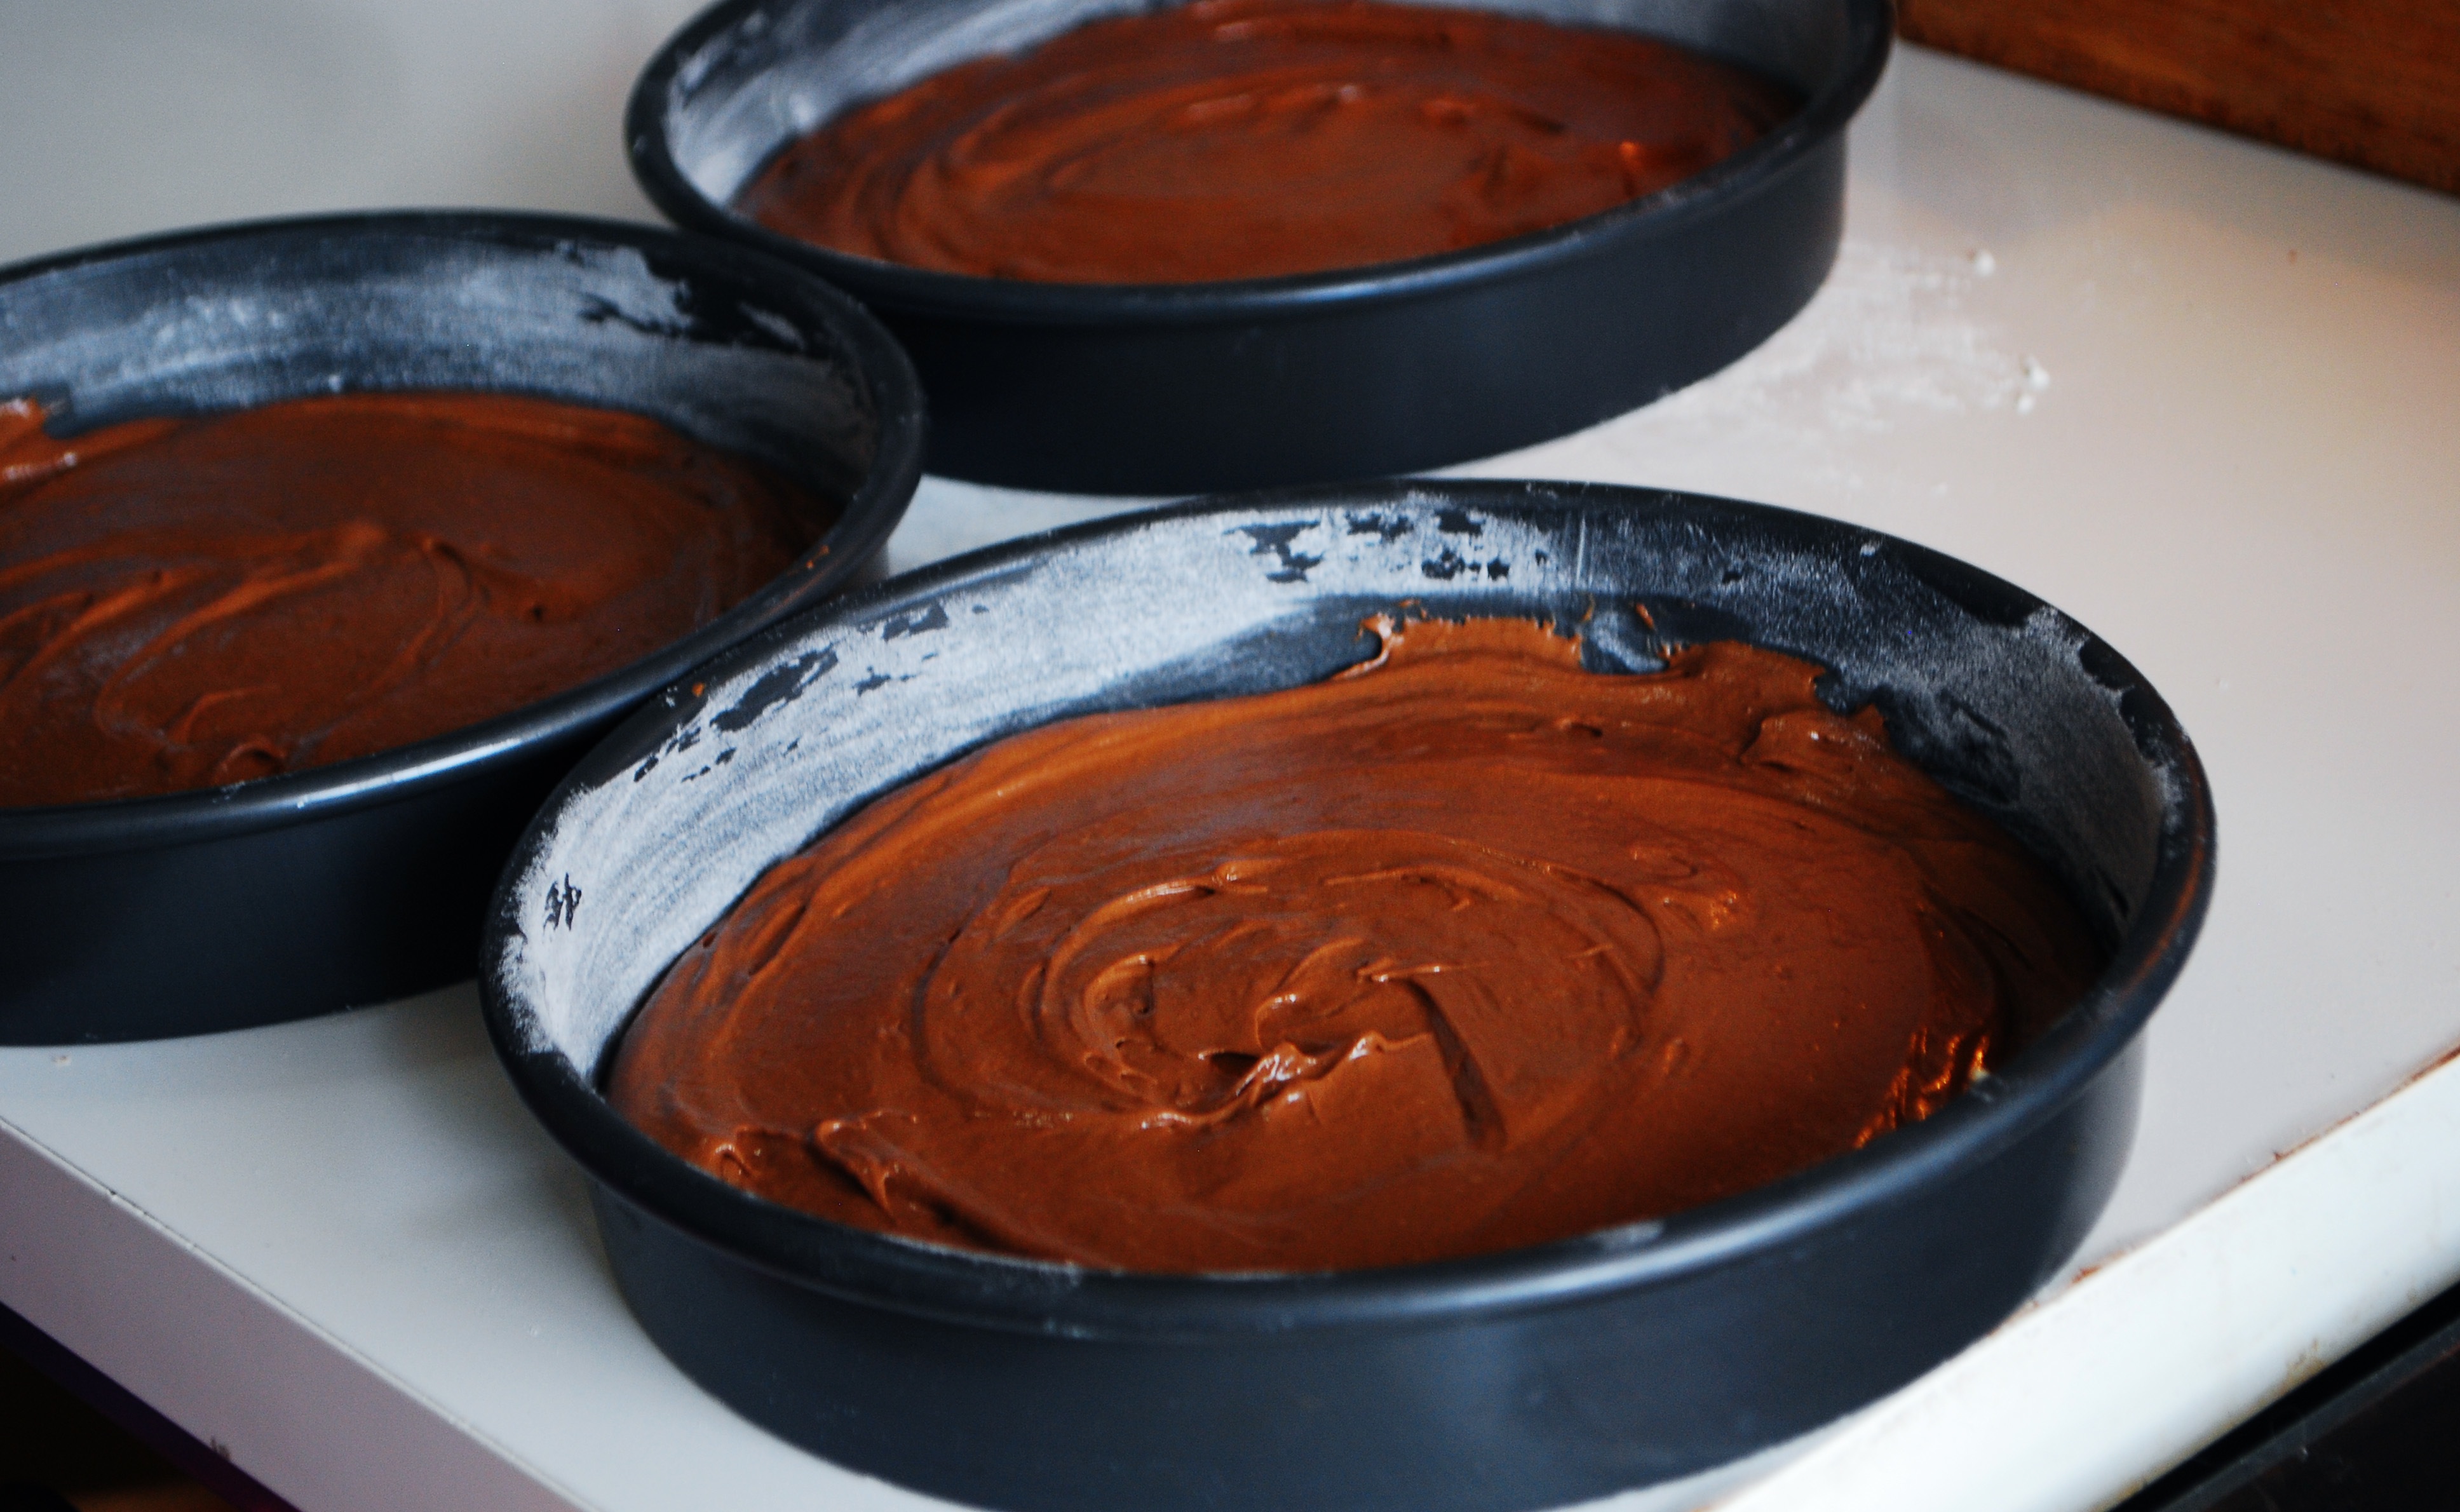
1. Preheat oven to 350 degrees F. Butter the bottoms of 3 8-inch round cake pans, dust with flour.
2. Combine chocolate, 1/2 cups sugar, and coffee. Microwave on high for 1-2 minutes of until chocolate is softened. Stir to blend.
3. Sift flour, cocoa, soda, and baking powder. Set aside.
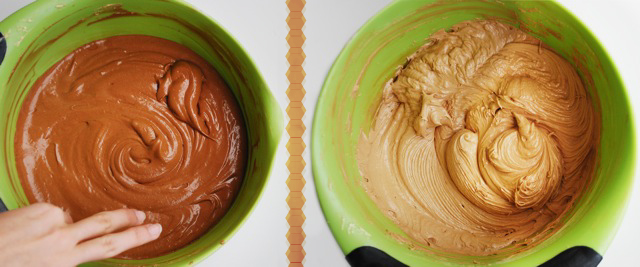
4. Cream butter and remaining 3/4 cups sugar. On medium speed beat in honey, eggs (one at a time), and vanilla/almond extracts.
5. Alternate adding dry ingredients and buttermilk to the mixture.
6. Pour chocolate/coffee mixture in and your batter is complete!
7. Pour a third of the batter into each pan and tap them gently on the counter to remove any air bubbles.
8. Bake 20-25 minutes, remove from oven, cool in pans for 10 minutes before turning them upside down onto cooling racks.


Almond Cream Filling:
2 whole eggs
1 egg yoke
1/2 cups sugar
1/4 cups plus 2 tablespoons flour
1 1/2 cups milk
2 ts. almond extract
1 ts. vanilla extract

1. Beat eggs in a small bowl until well mixed
2. In a saucepan, combine sugar and flour. Gradually whisk in about 1/2 cup of milk until smooth. Whisk in eggs and remaining milk
3. Bring mixture to a boil over medium heat, reduce heat and cook for 3 minutes stirring constantly
4. Remove from heat and stir in vanilla/almond extracts
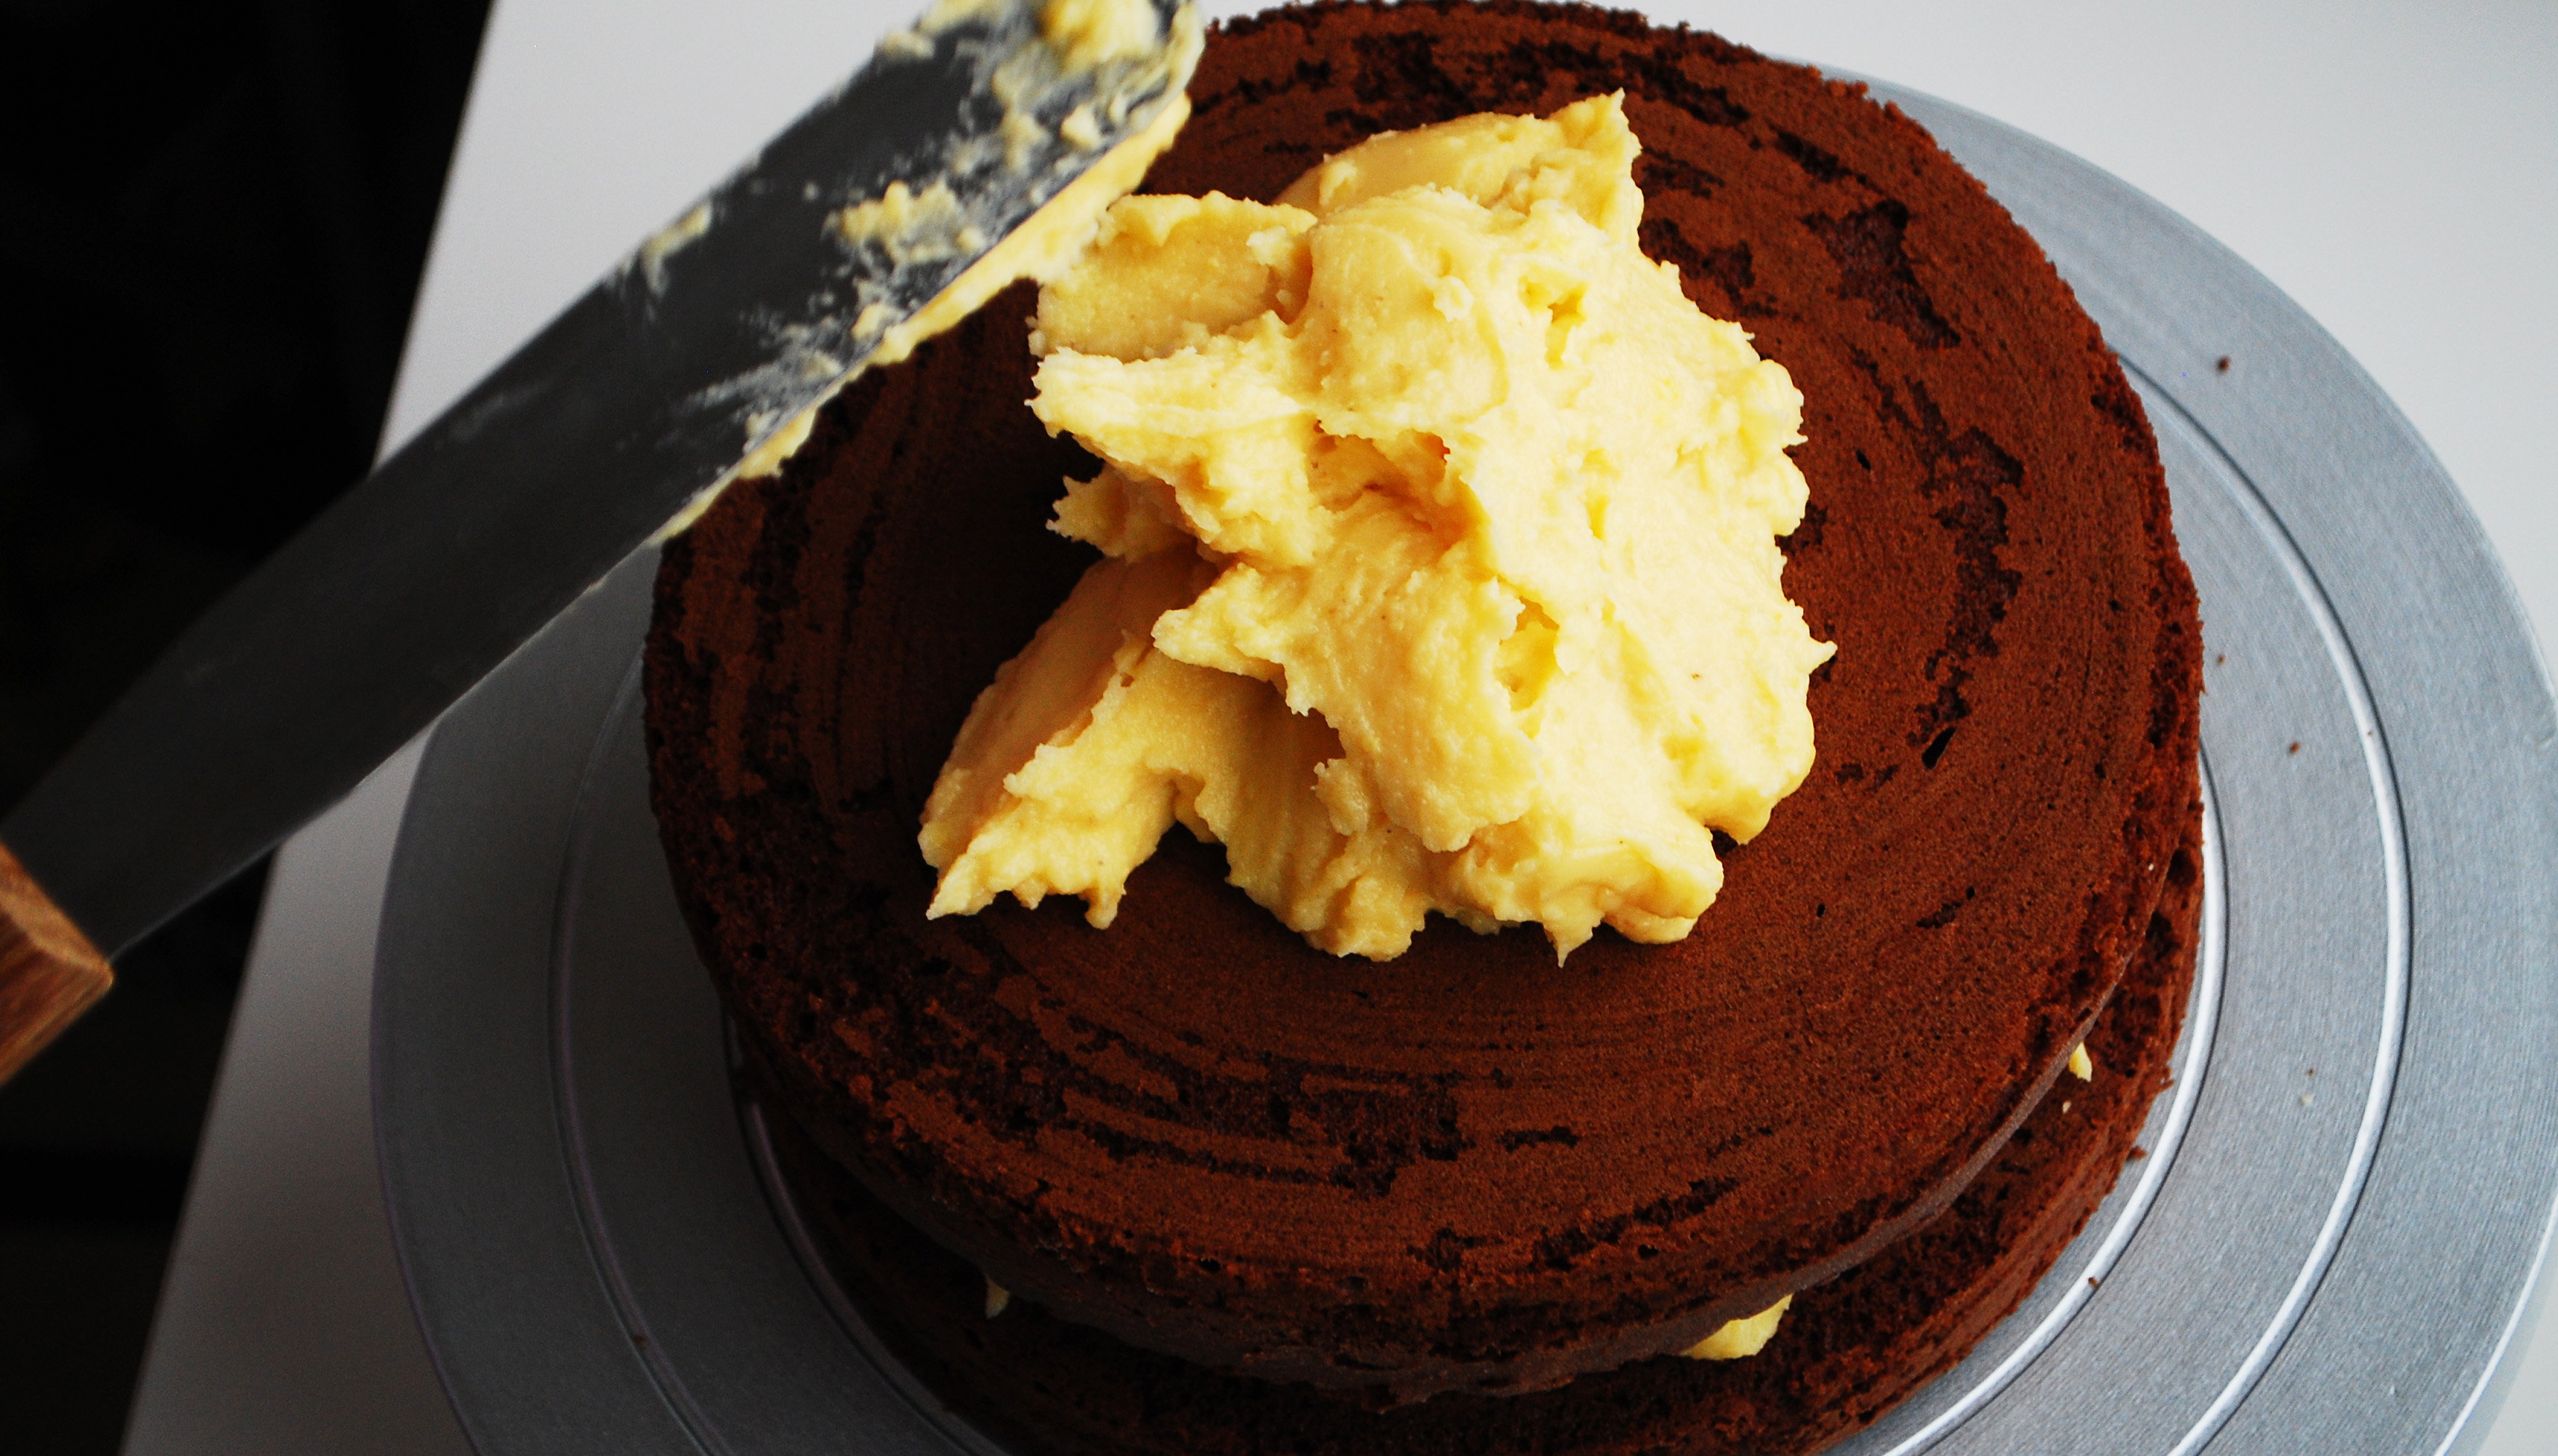
5. Cover with plastic wrap placing directly onto the cream filling to prevent a film from forming.
6. Refrigerate until thoroughly chilled.


Sour Cream Chocolate Icing:
12 onces bittersweet chocolaté, coarsely chopped
1 stick unsalted butter
2 tablespoons light corn syrup
1/4 cup half-and-half (I used heavy cream)
1/2 cup sour cream

1. Melt chocolate with butter and corn syrup in a saucepan over very low heat. Remove from heat and whisk until smooth
2. Whisk in the half-and-half and sour cream. Use while soft (pay attention to this- the icing will get firm!)

Have fun, bake yummy cakes!

Cake Challenge: February Part 1

Hello! Happy Monday. This weekend I continued my goal and in the last few days of February made another triple layer cake… I am overjoyed to announce that I didn’t make nearly as many mistakes this month than in January with my Mocha-espresso-drizzle-cake. Actually the mixing, baking and icing process went quite smoothly. (get the recipe/detailed description in part 2 of this post!)

If you are ever in the mood for baking, my suggestion is to “bake with your mom!” <or someone you love> I have had so many bonding experiences with her through comfort when stressful emotions bubble up in me if something goes terribly wrong, through listening to her many years of wisdom in the field of food, and through the successes that we’ve shared together! Stay tuned for my March cake coming soon!

<Cake Challenge Series: is a collection of posts which document the cakes I bake each month. More specifically, I have a goal this year to bake at least one (hopefully spectacular) layer cake each month, and photograph/post them here. I hope you enjoy this collection as much as I enjoy baking these delicious desserts!>

What’s in There? — Dissection

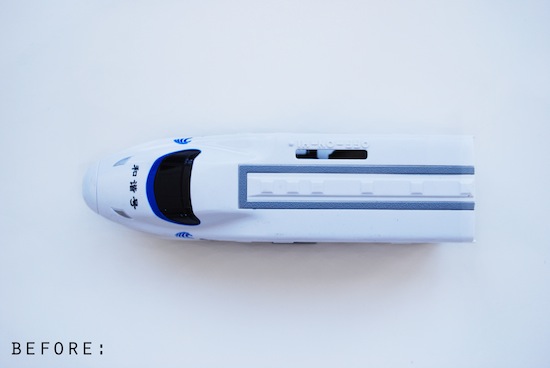
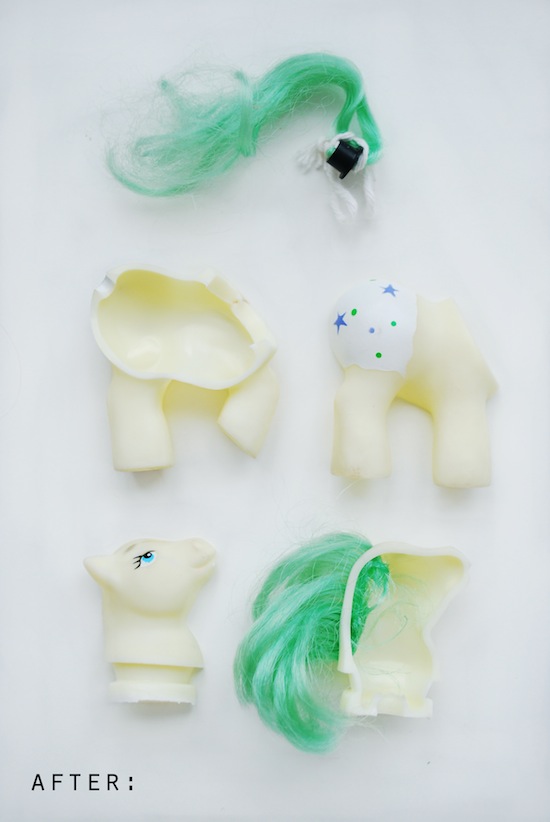
I was inspired by a fellow blogger to do a little post on “dissections”.  I decided that I’d try my hand at becoming a biologist.  I once dissected a fish in my 8th grade science class, but now I’ve taken my skills to a whole different level.  To start out I searched around my house to find some specimens for the operation.  Today we will be looking at the skins and innards of a toy train, a My Little Pony, and toothpaste.  First up, the toy train:  Megan got this on a field trip at the Beijing, bullet train station.  It served it’s purpose as a toy and now it has become a perfect patient.


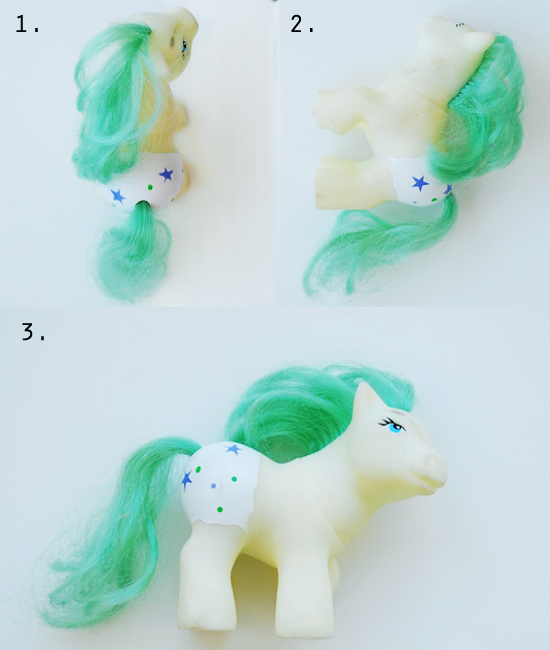
Next is a more “life like” specimen for our dissection. Of all the delicate instruments and tools I used during the process, a small paper razor was the most helpful. As expected, dissections are far from tidy. Sadly, it was my blood, not the pony’s, which was spilled when my razor accidentally slipped. However, for the advancement of Science I think little of it! Though my hypotheses completely missed the mark, I still enjoyed the dissection.

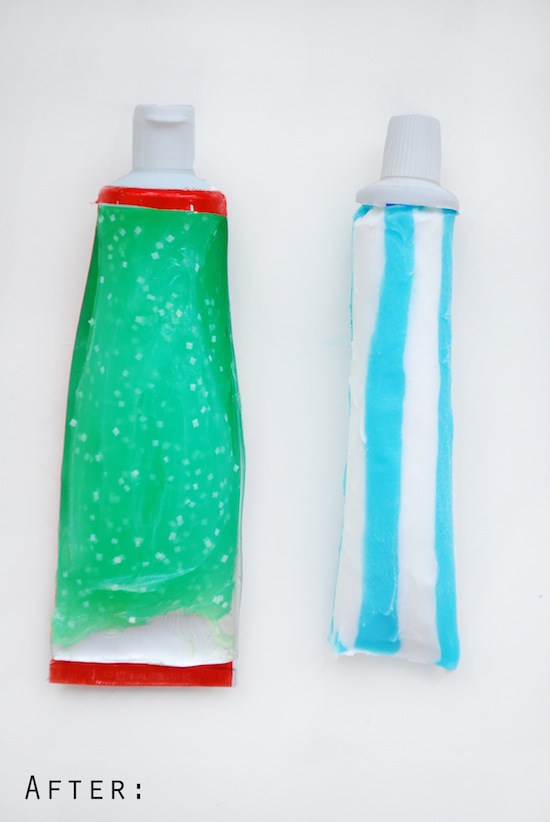
Finally comes the toothpaste, my personal favorite. It never occurred to me that I had, in fact, never seen the inside of a toothpaste tube before this experiment- it was quite an exciting experience. At the local grocery store I picked up the Chinese favorite, green-tea-flavored toothpaste, as well as the American classic, minty Crest. To avoid stickiness I froze them before dissection, however the green tea toothpaste was more gel-like in nature, which was hard to work with. However, I think as a whole it was a successful dissection!

Langkawi, Malaysia Lookbook is here!

[issuu width=550 height=272 embedBackground=%23ffffff backgroundColor=%23222222 documentId=120224023922-c72ea1fb5bf84295a3bb6757b160741a name=headricks_in_malaysia username=connectfour tag=beach unit=px id=30d47c53-ee0f-bf5a-bc93-17eb068d9d1b v=2]

Check out this Lookbook of highlights on our recent trip to Malaysia during winter vacation!

As of Lately…


As of Lately…

– I am attending my very first MUN (Modeled United Nations) conference this weekend and while I’m at it I get to skip a day of school… yipee!

– Spirit Week! (mon:PJ Day, tue: Twin Day, wed: Animal Day, thu: Time Travel, fri: Class Color Day)!

– Picture of the week: I have been loving this blog full of amazing pictures… especially this one!

– We can’t wait to share our lookbook coming very very soon!

– Me and the girls have been obsessing over this TV show… It is amazing!

– Michael is thinking of coming to visit us during Easter weekend! (fingers crossed)

– Megan has been sick with the fever for almost 3 days now :[ Hopefully nothing spreads!

– I think we’re finally getting on schedule with our blog posting… well maybe not, but we’re trying! O__o


Date with Maddie

Img_0276

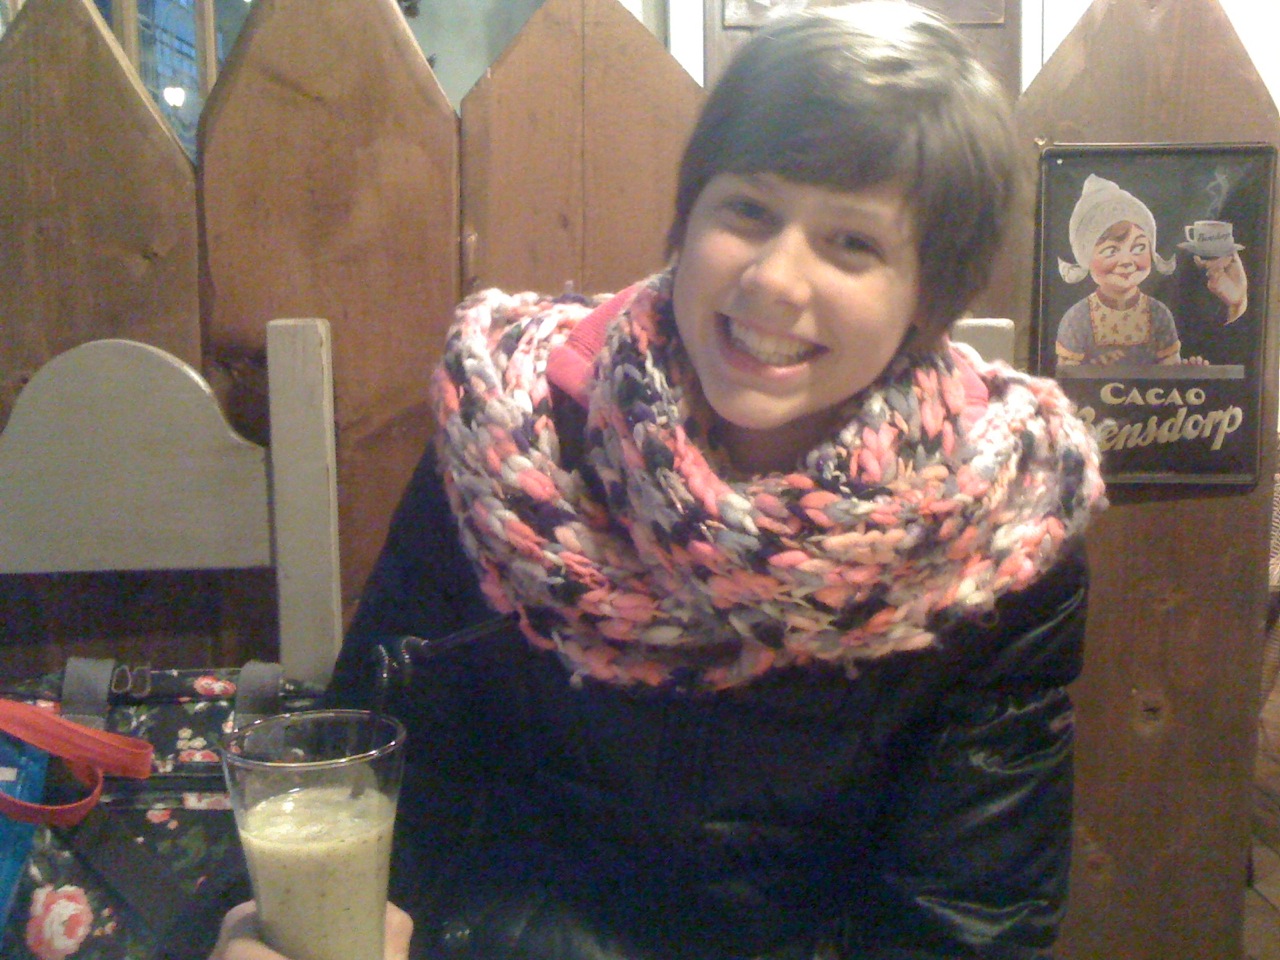
Last Friday night the high school had their annual lock-in. With Jessie and Rachel busy with Student Council duties, I took the opportunity to take Maddie out for a date. She was in desperate need of a haircut. Afterwards we went out to a small cafe in the E-mart shopping area, called Alice Cafe. It’s a quaint little cafe, one of Maddie’s favorites, that sells mostly drinks. We wish they would expand their main course menu items — currently consisting of about 4 dishes, but that’s life in China. As we walked in the door, Maddie said, “Oh, no there is Mr. Prescott.” He is Maddie’s 7th grade Bible teacher. What I didnt’ know and what Maddie forgot is that Mr. Prescott had told his class that he meets on Friday evenings at Alice Cafe with local friends to share good news. He told the class that if any student ever wanted to join him, that he would buy them a drink. Maddie, of course was very embarrassed when unexpectedly the server brought her a fresh kiwi shake. I think Mr. Prescott got a giggle.

Party of Three

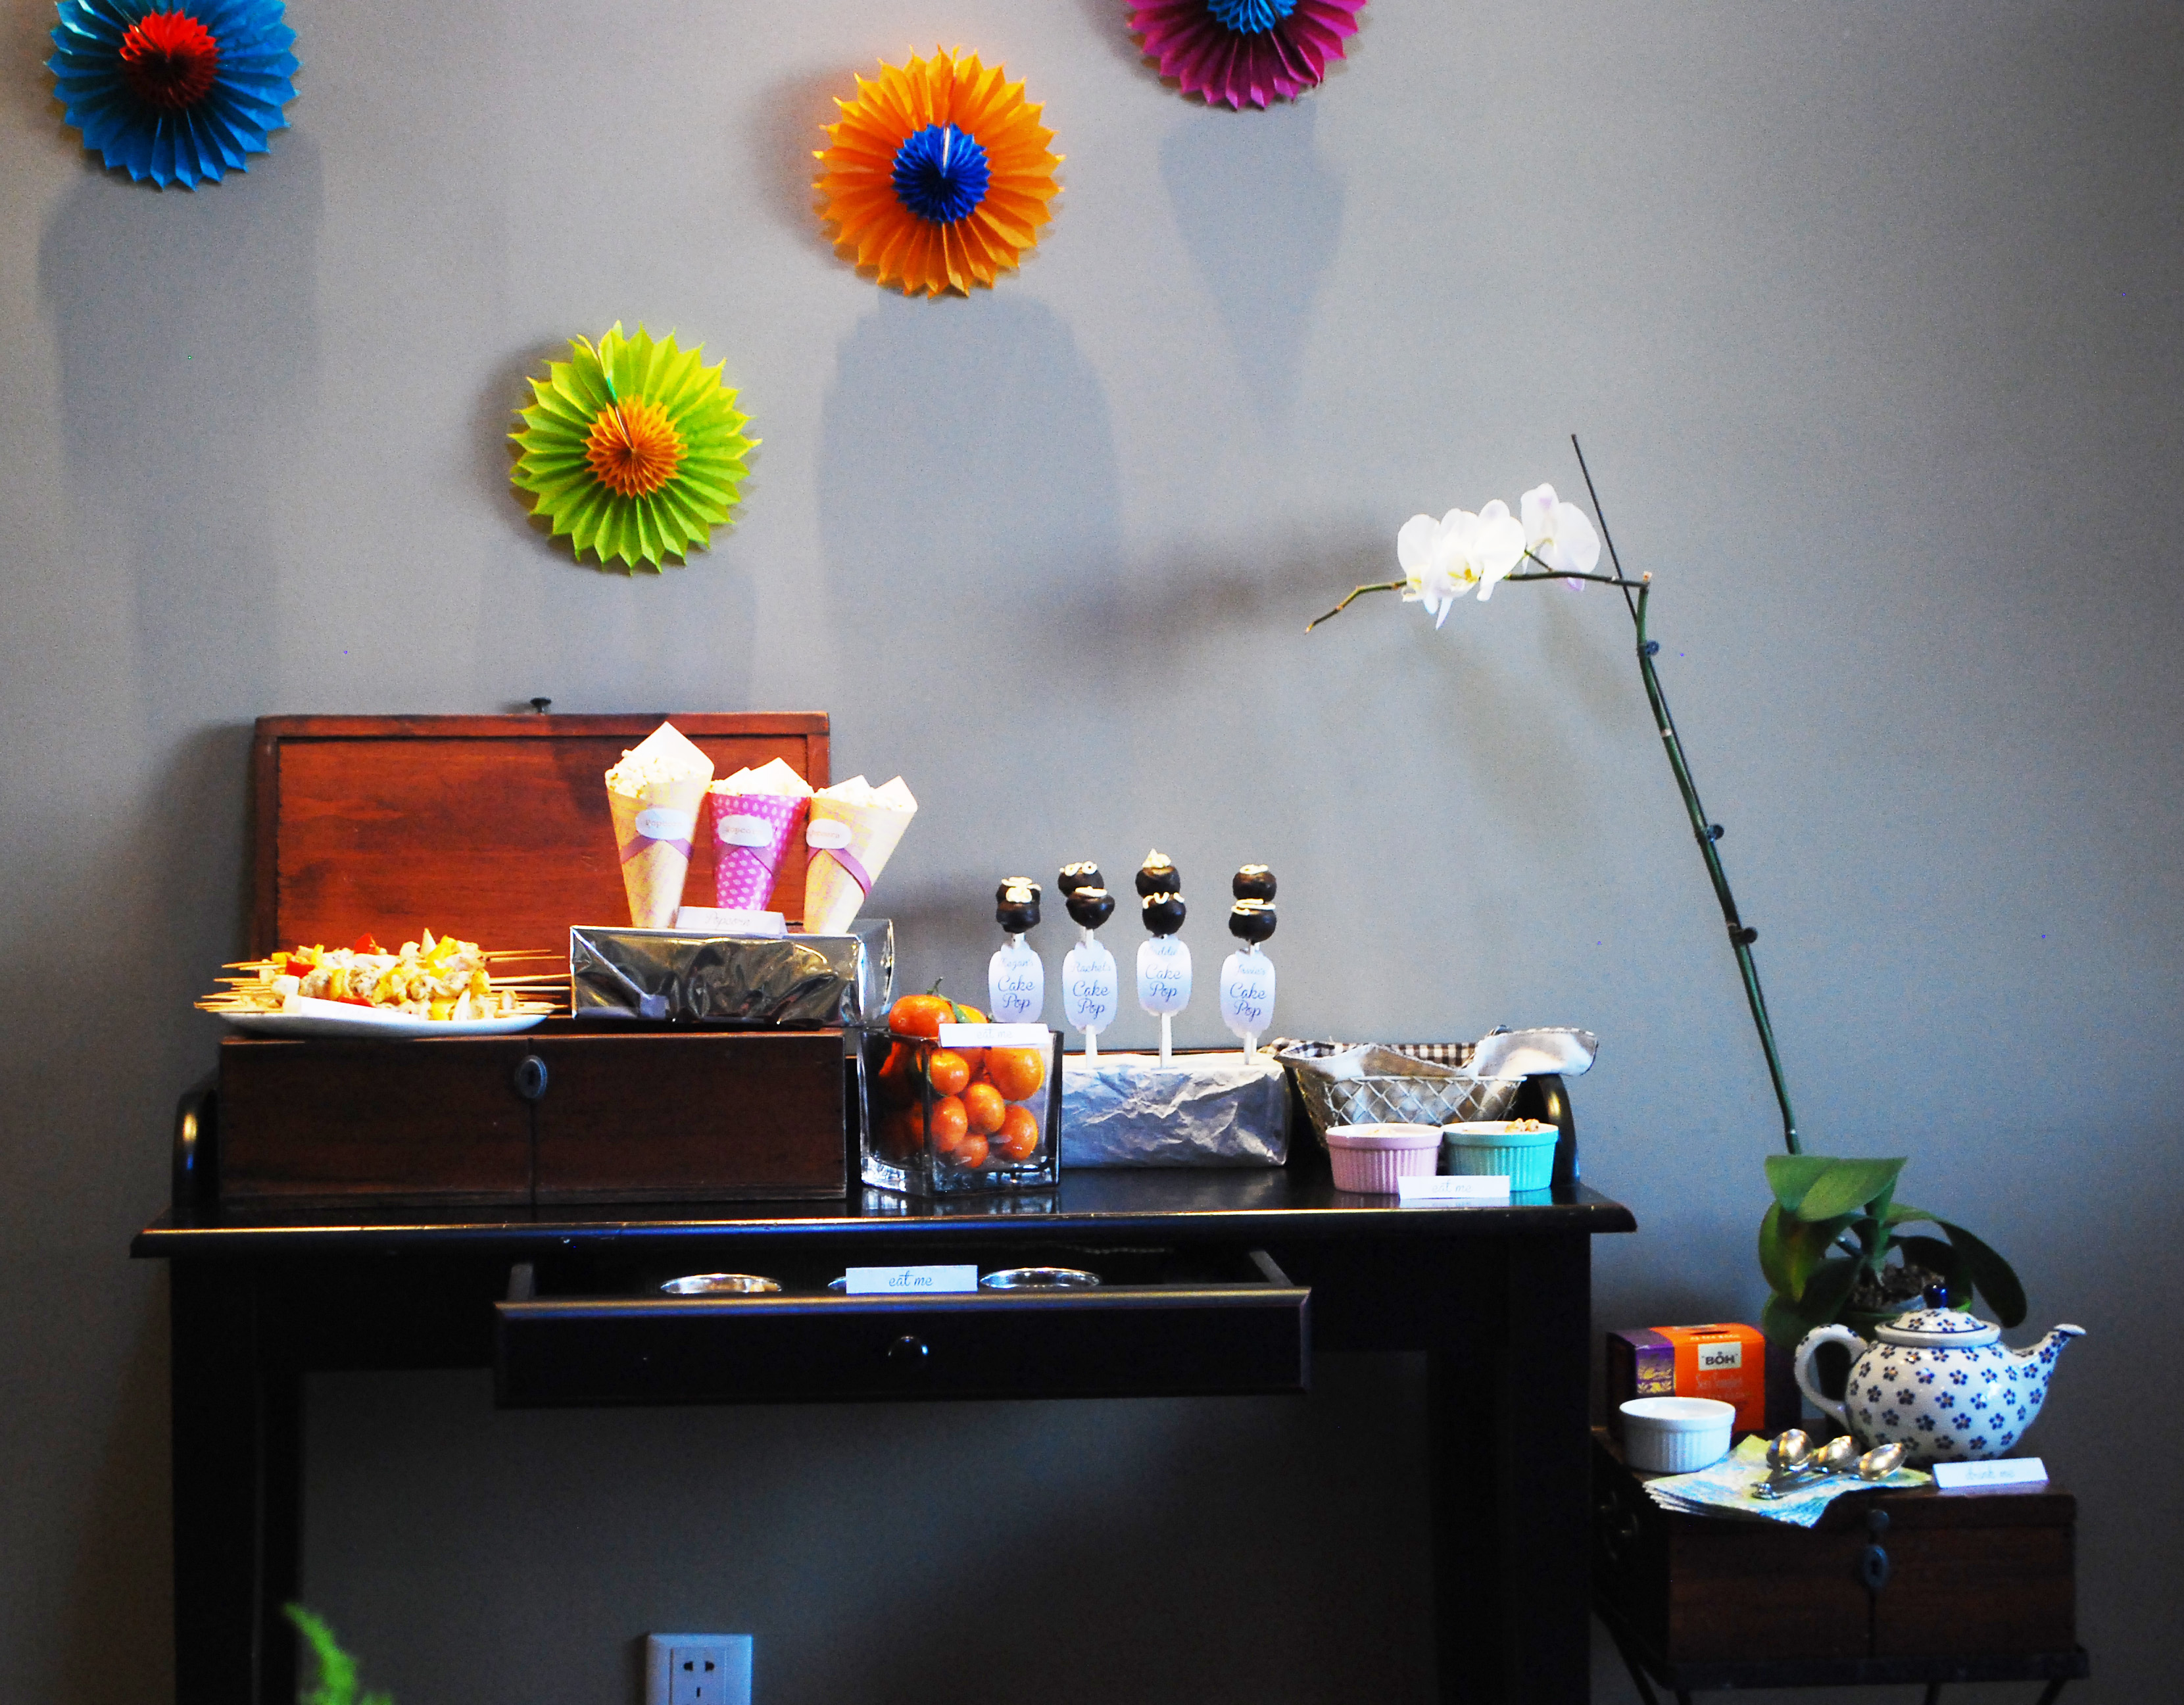
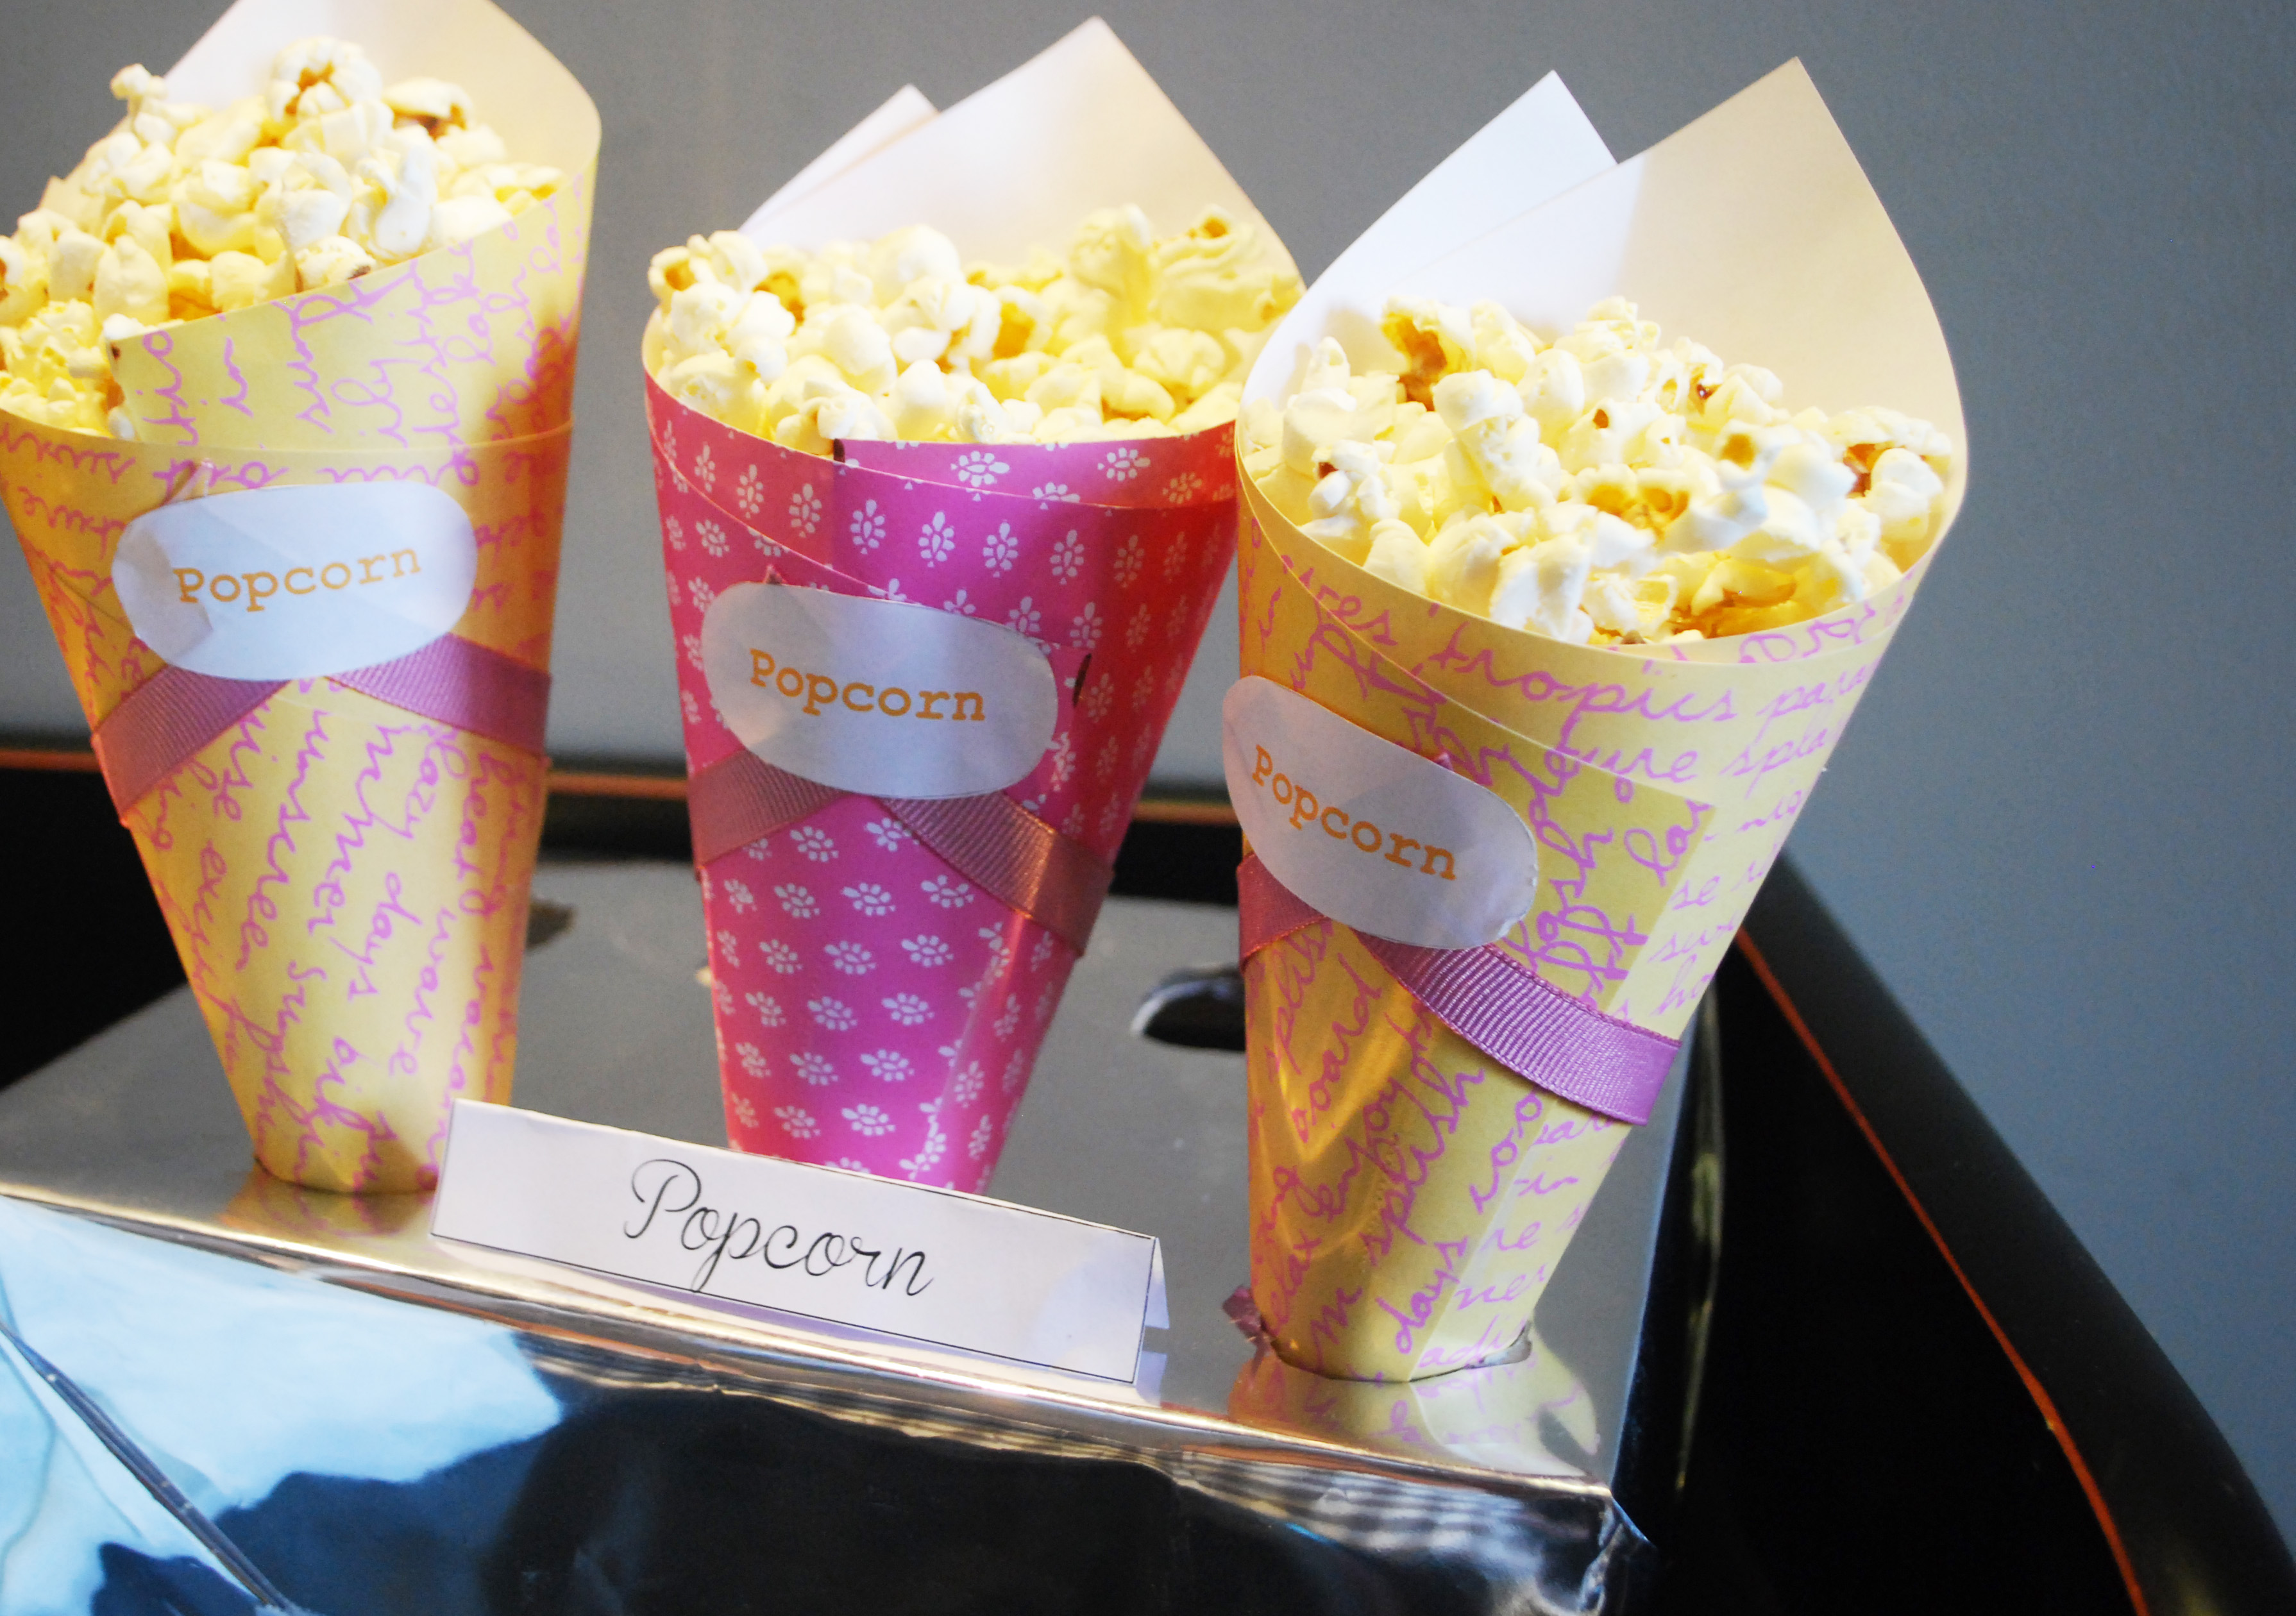
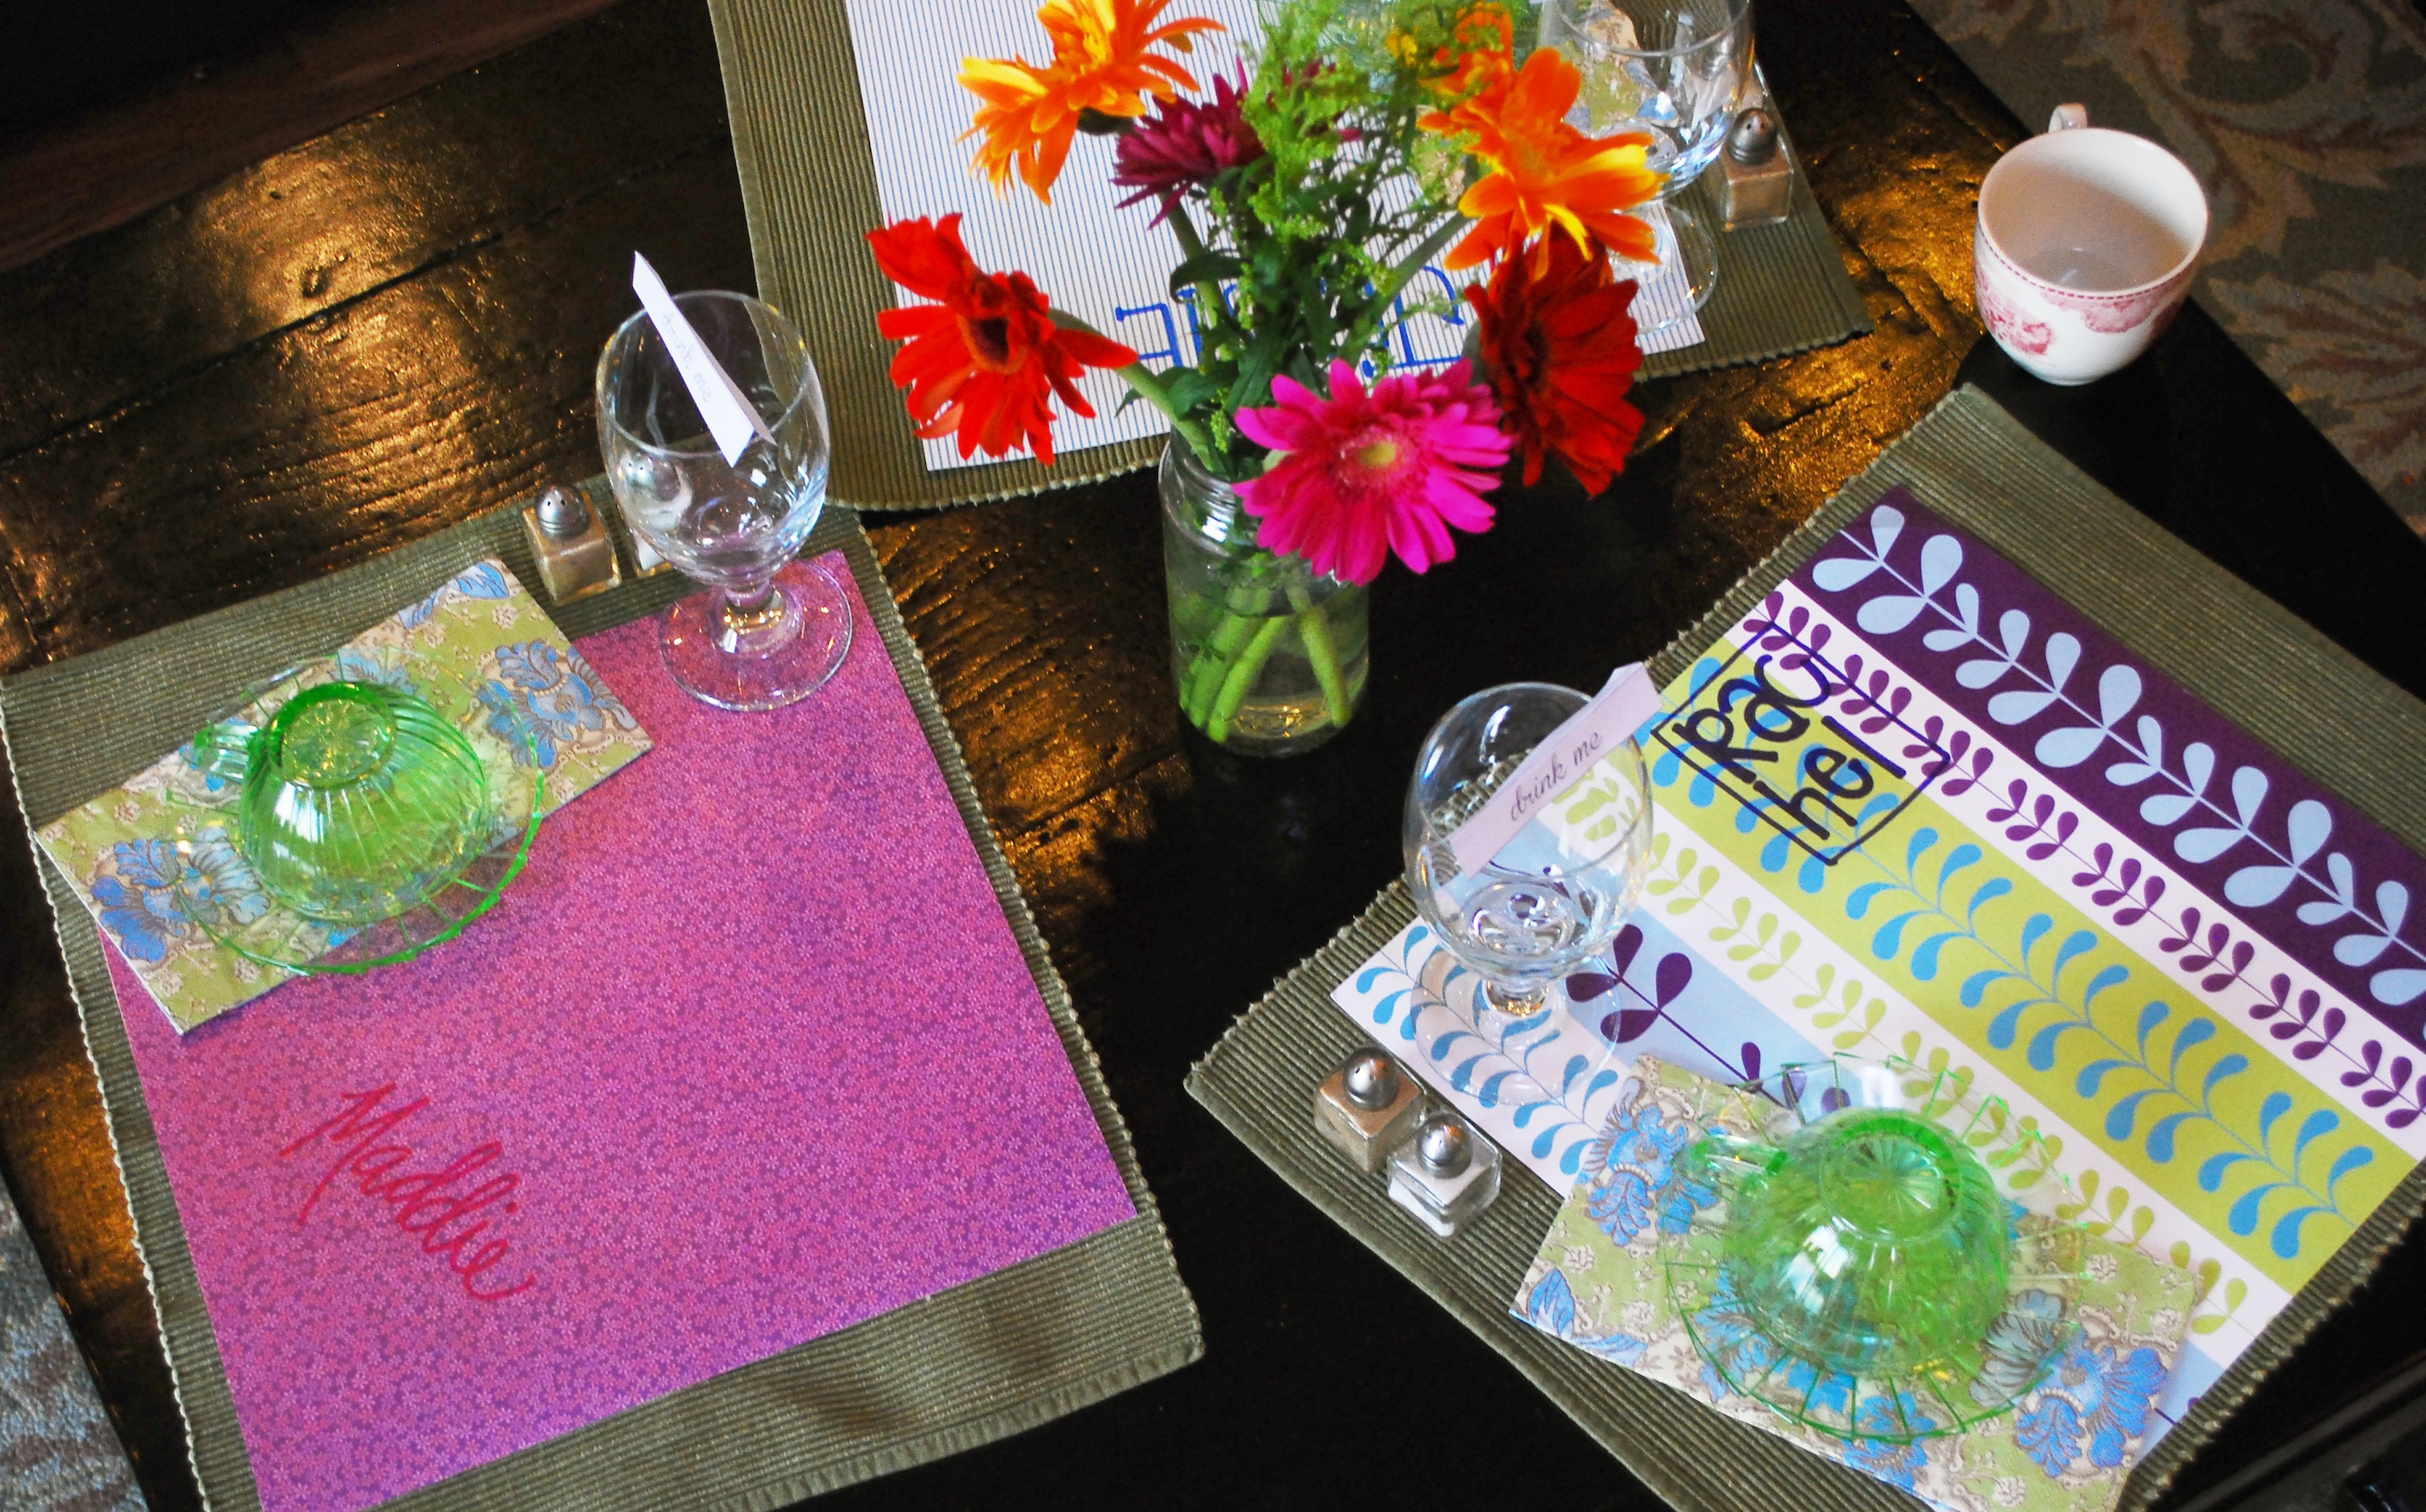
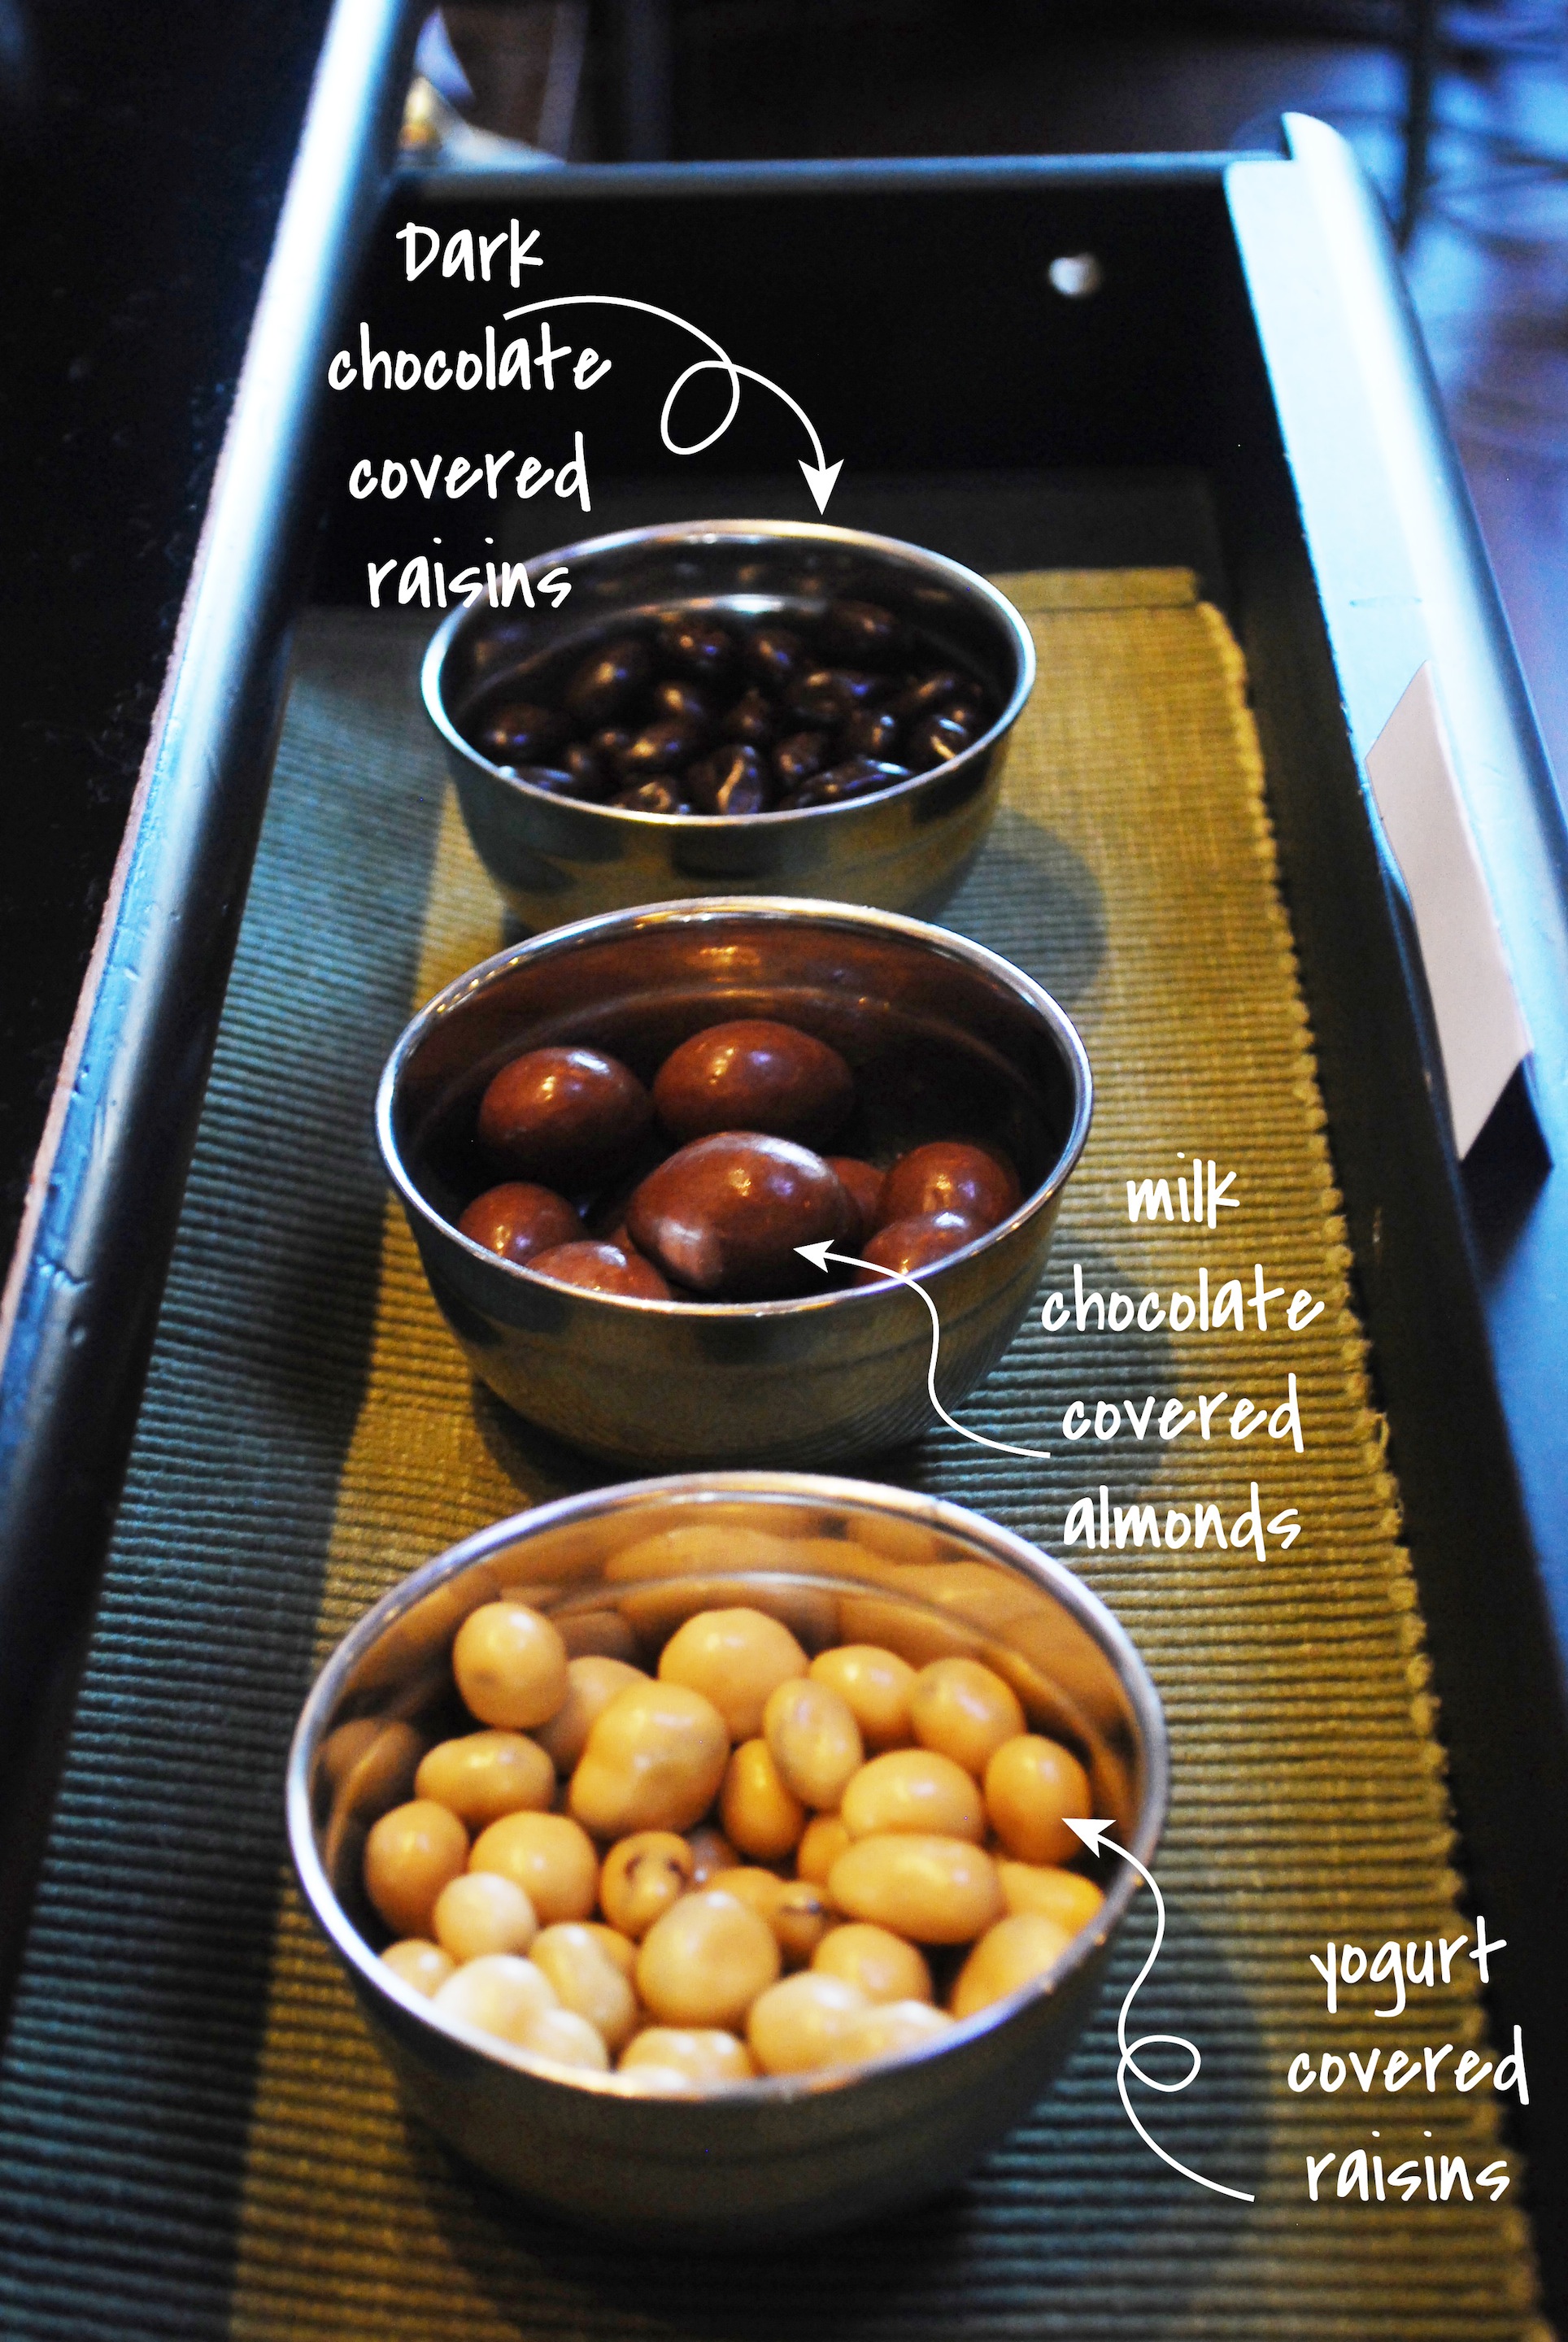
Earlier this month, the girls and I enjoyed a small dinner celebration for the start of this blog, Connecting Four. Maddie made her famous chicken skewers (which are actually BakedBree’s famous kabobs), I mixed up a delicious bread dip which we spread on Mom’s homemade French bread toasted in the oven. Jessie contributed with the cake pops which we are still trying to get a hang of… they take a while to master. I think Dad, Mom and Megan felt a little left out but they made up for it with a “special” dinner with Megan at her little IKEA play table. Oh, and I can’t forget to mention that Michael showed up half way through the meal on skype, we talked over video chat for a while which was nice.

If you are in the mood for a celebration of your own, here are a few tips to spruce up the party:

1.) As far as food goes, small appetizers such as chips and dip, prunes wrapped in bacon, veggies and dip, and other finger foods (things you can find here!) are great.
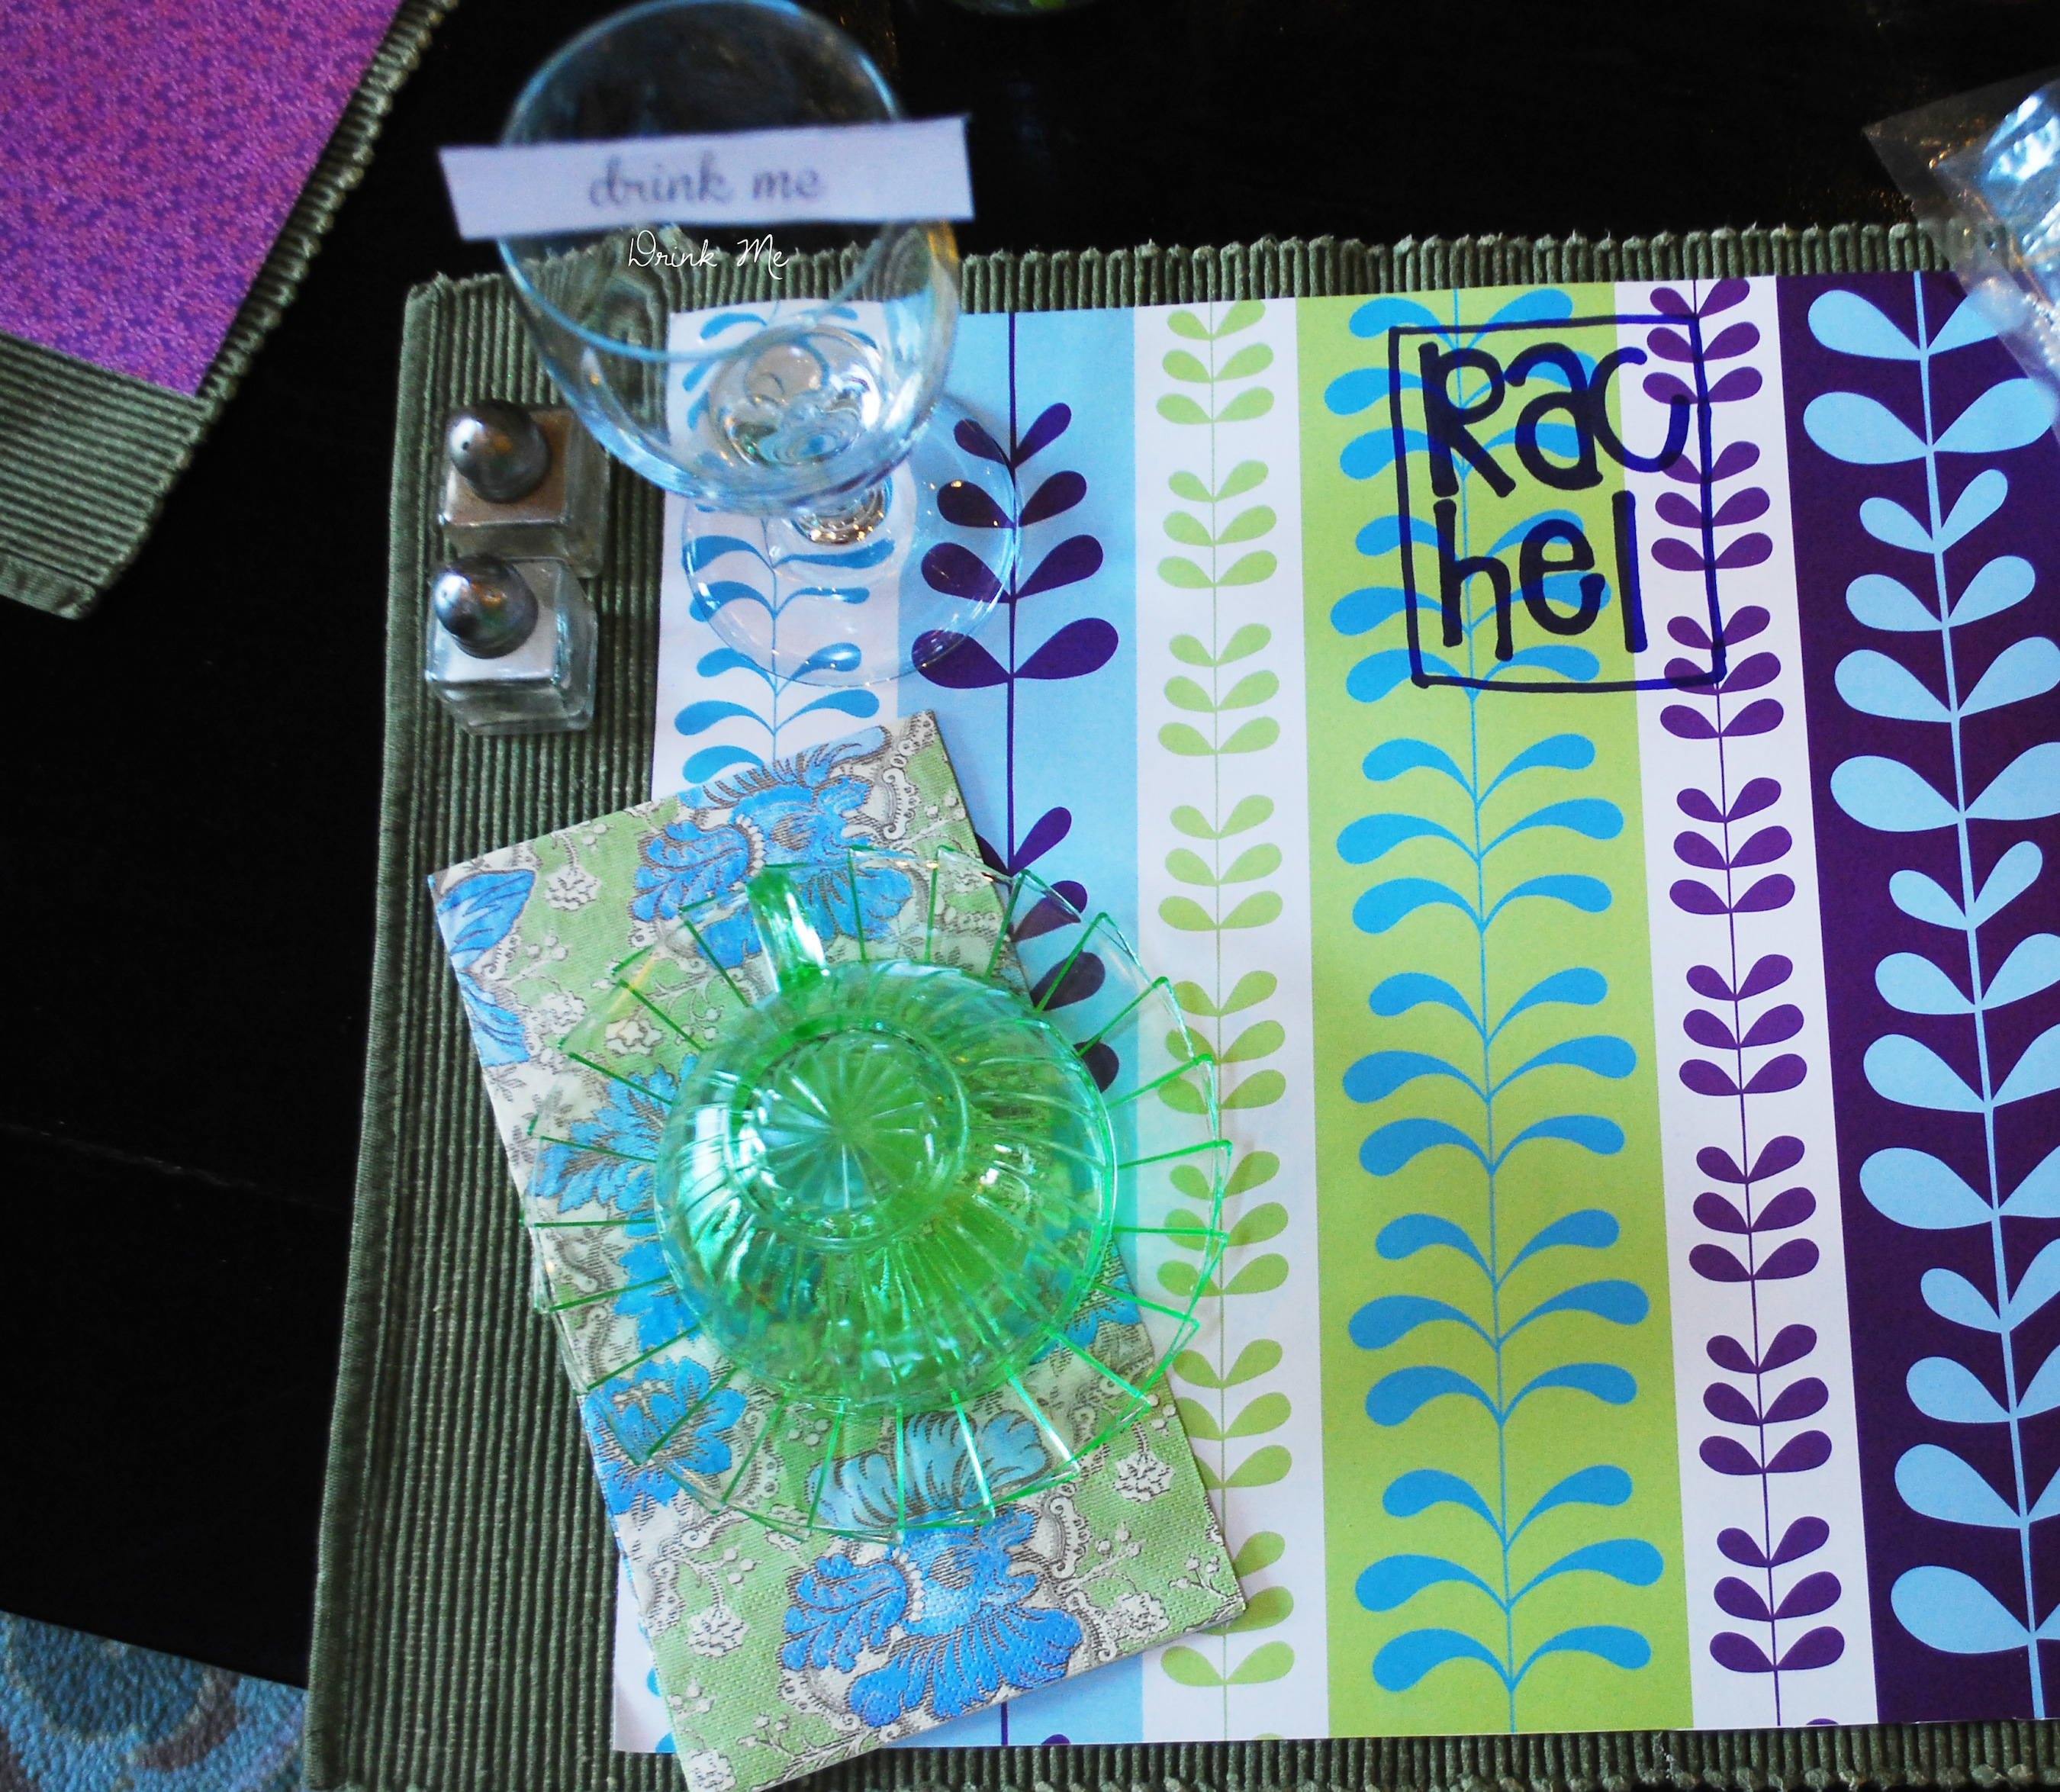
2.) Table decoration are always fun to make and we’ve found that paper place mats are awesome! Stop by at a crafts store and you can find paper in any color scheme with any pattern imaginable, I’m talking EASY way to expand your options.
3.)Make sure you have music!
4.) Don’t be afraid to move furniture around, we moved couches, chairs, side tables and desks to finally achieve the ambiance we wanted.

Have a wonderful Monday and find excuses to party with your friends and family this month!


Photo Lantern

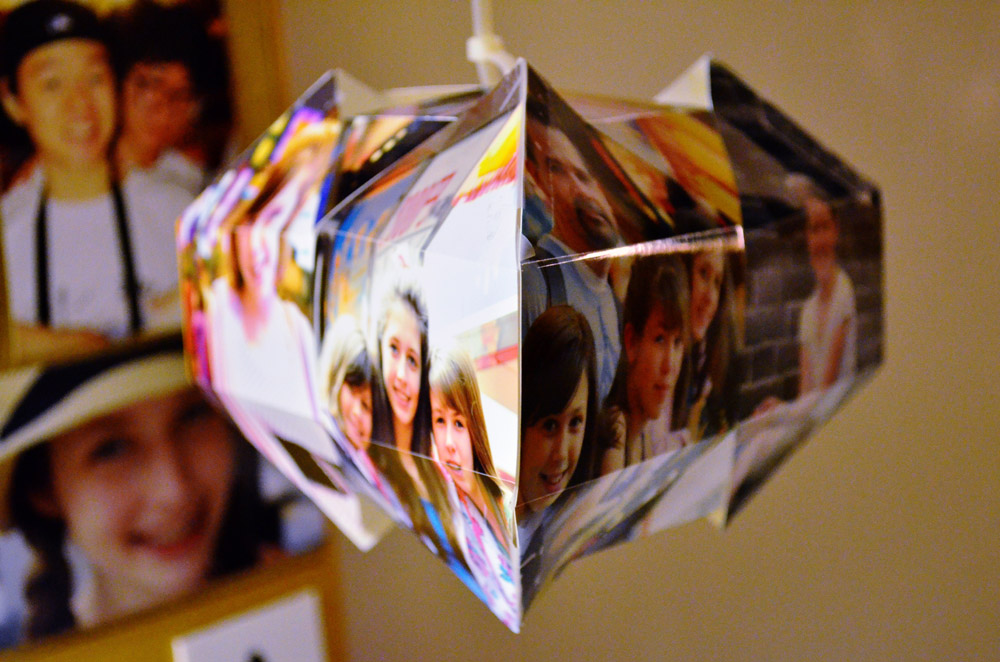
This week, one of my friends asked me to take a look at a blog post she found inspiring. The work displayed was an array of paper jewels-a giant installation made of paper. I agree, the work that she showed me was really inspiring. I really enjoyed the work of Kristen Hassenfeld and decided to try something inspired from her work. This project is very manageable-only taking me one hour to fully complete. I wanted to use some of the printed photos I had lying around, so I tried to re-create a jewel-like-lantern with them.
Here is my product and below are the instructions:

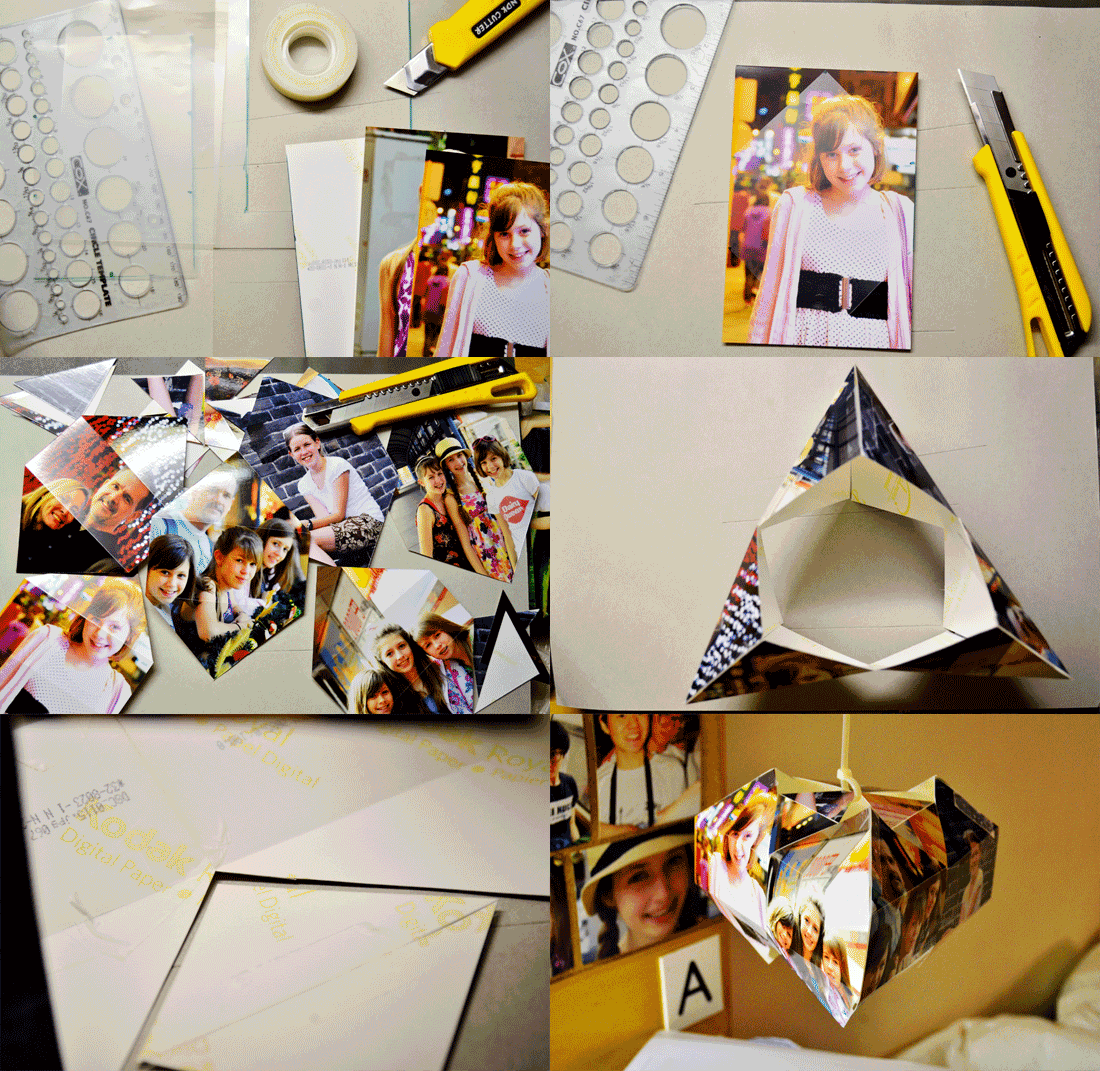
And here is how I did it:

Instructions:
1. Get your supplies. You will need a cutter, ruler, cutting board, tape, laminate paper, string and a marker. (and of course your photos)

2. Cut your laminate paper into a pattern that you will duplicate onto the pictures. I used a hexagon shape.

3. With the pattern cut all of your pictures. Perforate two lines onto the photo (making sure you do not cut all the way through), so that you get a place to fold the picture.

4. Tape all of the flat sides of the hexagons together, making a cylinder of hexagons.

5. Start taping the angled sides together. (Make sure to tape two together, then skip one and tape the next two together-and so on-refer to the above).

6. Take the triangle pieces that you cut off of the hexagons and tape the longest sides together.

7. Tape these into the remaining gaps between your hexagons.

8. Finish by taping these smaller triangles together at their tips.

9. Use string to hang.

Feeling Woody


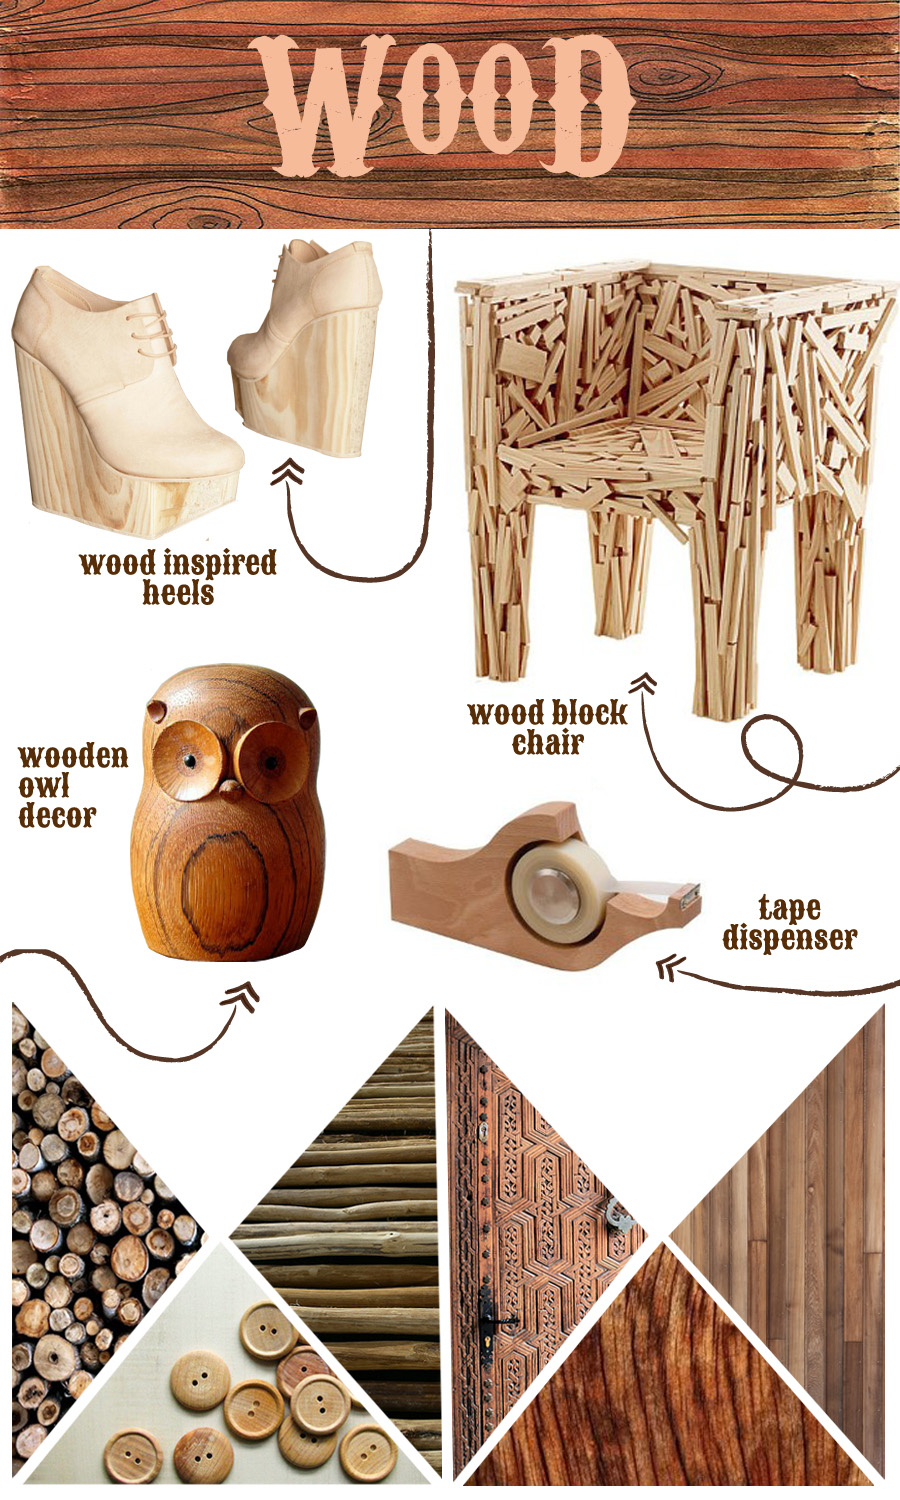
Recently I seem to be noticing wood more and more and enjoying the beauty of the unpredictable pattern of the grain.  Maybe it’s because in China everything is made out of concrete and brick;  or it could be that I am tired of staring at my fake wood flooring and go crazy over the real thing.  In any case, these pictures reminded me of the beauty of wood and how much I miss seeing it!  I hope you enjoy!

Sources: chair, owl, shoes, pattern, buttons, tape, trees, carved door, flooring, wood texture